User Manual of WDAP-C7200AC/WDAP-W7200AC
-16-
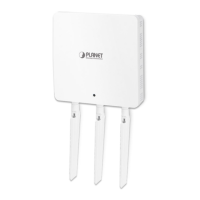
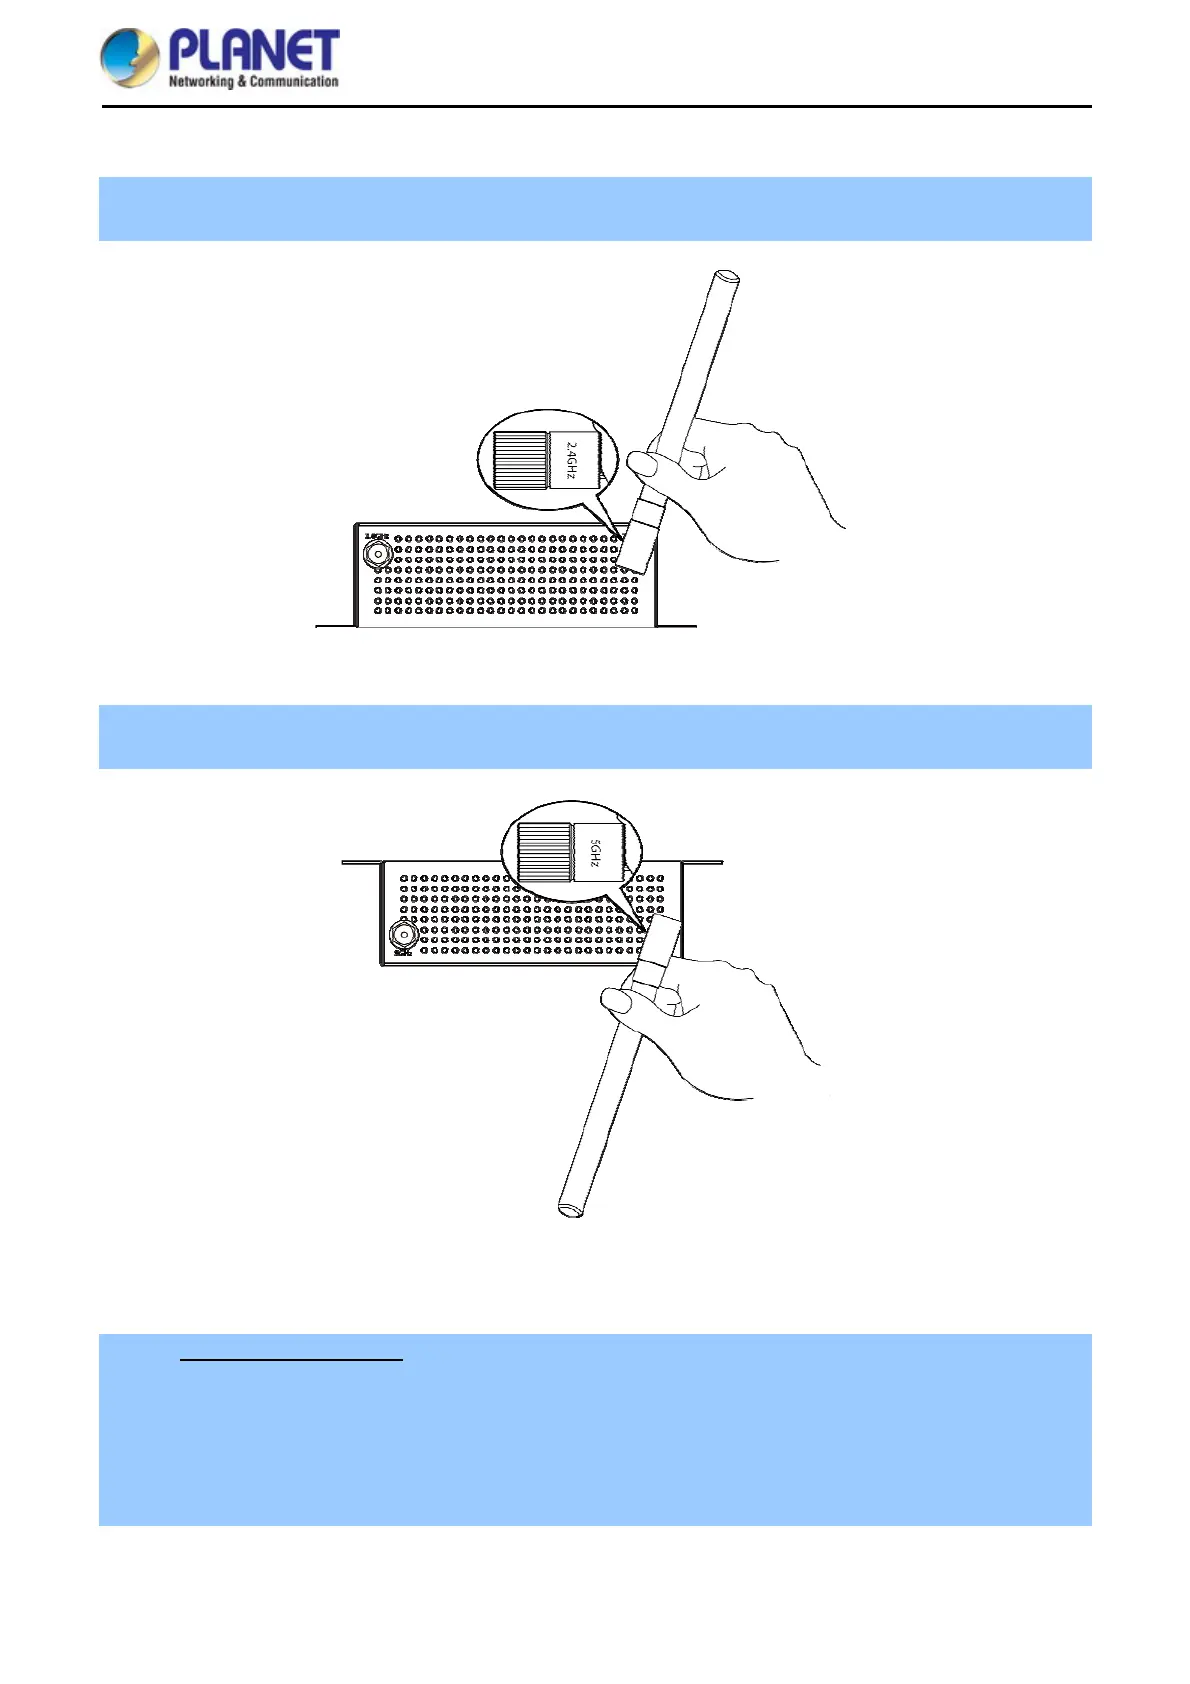
3.2.2 Installing the AP – WDAP-W7200AC
Step 1. Connect the 2.4GHz antennas to the RP-SMA connectors of the WDAP-W7200AC that indicates
“2.4GHz” on the bottom panel.
Figure 3-6 WDAP-W7200AC Installation Diagram 1
Step 2. Connect the 5GHz antennas to the RP-SMA connectors of the WDAP-W7200AC that indicates “5GHz”
on the top panel.
Figure 3-7 WDAP-W7200AC Installation Diagram 2
Step 3. Wall Mount Installation:
(1) There are 4 holes with 8mm diameter on the wall; the distance between the 2 holes is 133mm and the line
through them must be kept horizontal.
(2) Install a conductor pipe inside the board hole and flush the edge of the conductor pipe with the wall surface.
(3) Screw the bolts into the conductor pipe. The WDAP-W7200AC is between bolts and conductor pipe, as
shown below.