114
MBOX® USER MANUAL
It’s important to use a unique index number to make sure that this new version of an existing effect doesn’t interfere
with the operation of the built-in effects. Once the edits are complete, the new txfx le can be placed in the
/Mbox/plugins/effects folder and the Mbox application launched. The results should look like this:
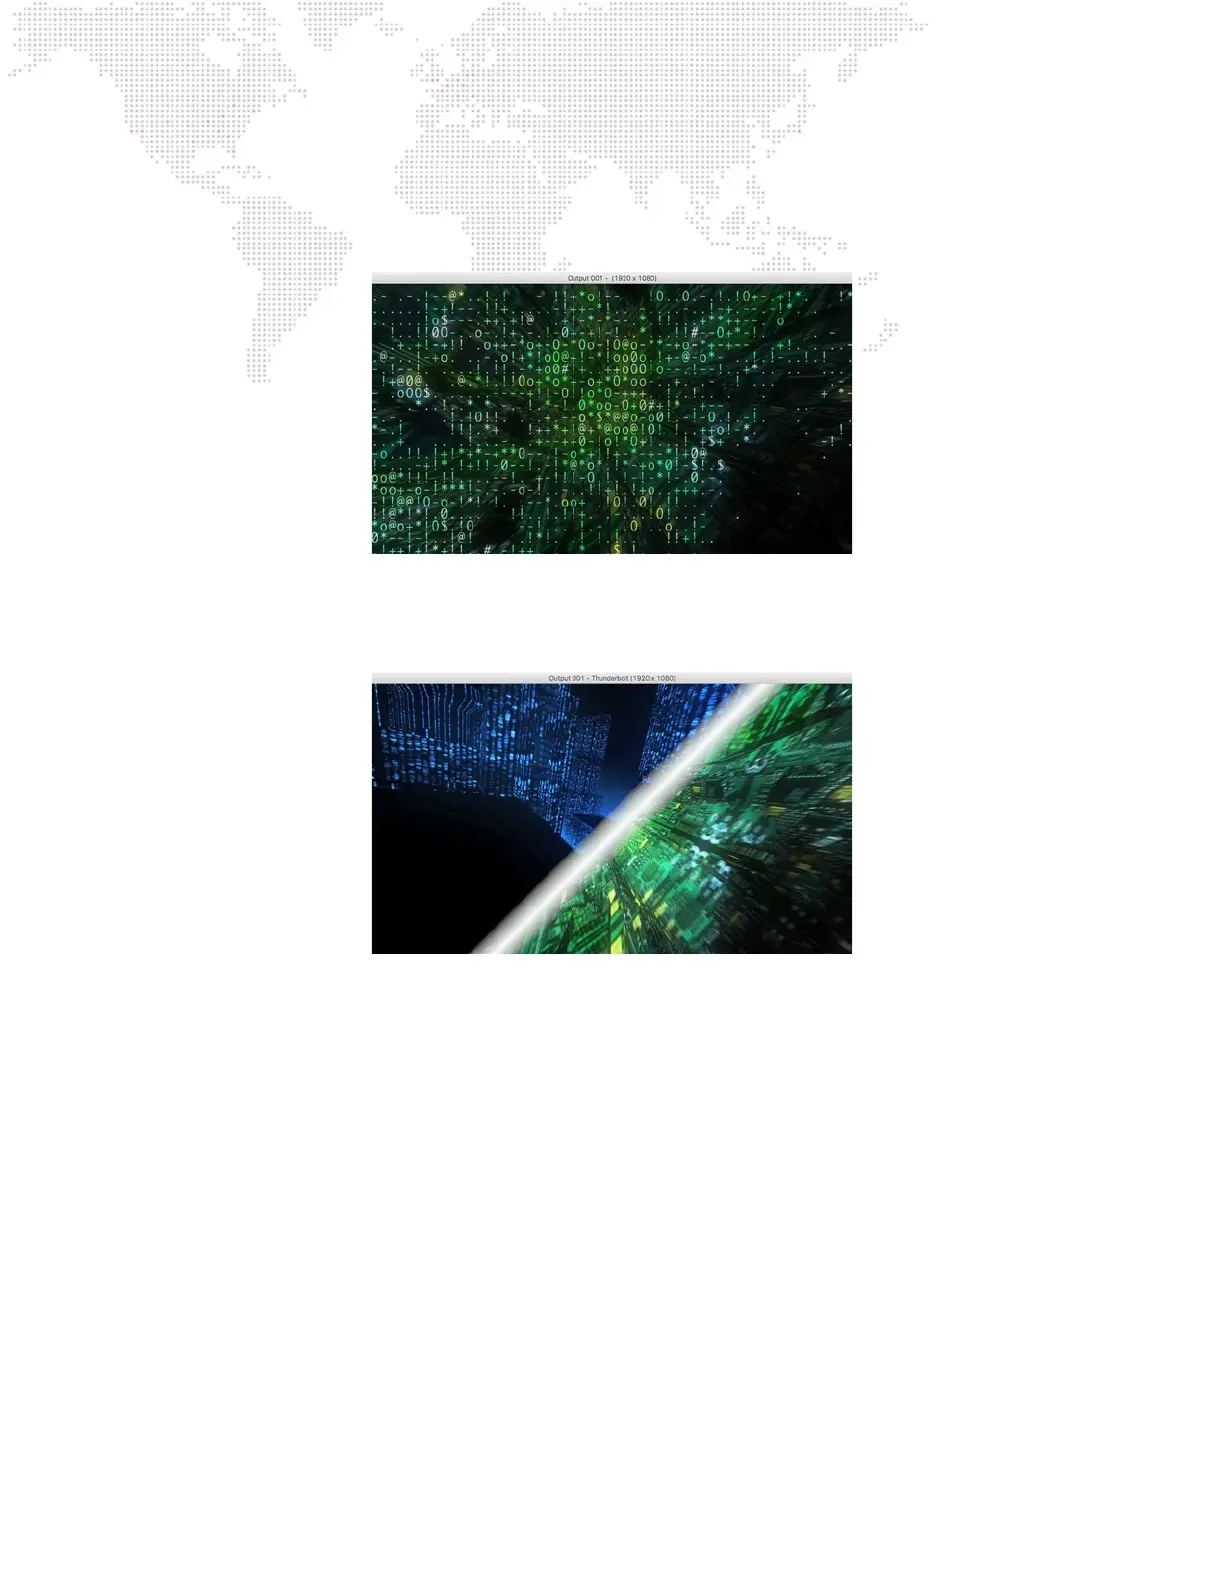
Example 2: Reworking the White Diagonal Transition
This is how the White Diagonal transition normally looks about halfway through the transition. It wipes from the top-left
corner to the bottom-right corner. The stripe at the transition point is white and has a particular thickness.
The White Diagonal transition has a fair number of parameters that can be edited to change how it looks:
+ inputAngle, Value: number = -0.7854: This is the angle of the swipe of the transition.
+ inputColor, Color: array = four values (Red, Green, Blue, Alpha) = 1, 1, 1, 1: These four values relate to the color of
the swipe of the transition. Although this includes a value for alpha, there is a separate control, inputOpacity, that
controls the opacity of the edge.
+ inputOpacity, Value: number = 1: This is the opacity of the colored swipe of the transition.
+ inputWidth, Value: number = 150: This is the width of the colored swipe of the transition.
There are some values in the plist that should not be edited
+ inputImage, inputTargetImage, inputTime, outputImage: These items are critical to getting the transition to work, and
must stay the same.
+ Filter Name: string = CISwipeTransition: This is the name of the Image Unit for this particular transition.
+ inputExtent, Extent: array = two values (X, Y) = 1, 1: These two values relate to how far across the image the
transition will move from beginning to start. To ensure a complete transition, these two values must be left at 1.0.