131
MBOX® USER MANUAL
Note: Why would the screen object actually move? If this conguration were for a system with an actual projector
instead of LED’s, then the screen object might need to move as an actual piece of scenery is moved, so the image stays
on the object.
c. For the control’s scale value, the goal is to be able to move the texture on the screen object so any part of
the 900px x 900px texture can be seen. Since the screen object is 300 x 300, this means that the texture
only needs to move a maximum of 600 pixels in either direction (min and max values could be used
eventually, but not now). With an “8-bit 127” data format, its range being 127 counts in either direction,
the calculation is: divide 600 pixels by 127 counts to get a scale of 4.72440945.
Regarding the accuracy of scale values. The more accurate the resulting values scale/counts calculations are, and the
more decimal places used when entering those values, the more accurate the screen object’s responses to input will be.
For linear movements, use at least 4 digits after the decimal point.
Step 16. Copy and paste the X Position control that was just created, and rename it “tY Position.” Change the new
control’s address to 3, and set the control type to “Texture Y Pos”.
Once there is one screen object created in the editor, it’s a good idea to test the conguration in Mbox to make sure
the correct sign (i.e. direction) has been applied to the scale value for the texture X and Y position properties. In
most cases, particularly with console control (i.e., no scenic encoders), once the direction (and therefore the sign
for the scale property) of one screen object has been determined, the same signing convention can be applied to all
following screen objects.
Step 17. Leave the texture X position’s scale as positive, but make the texture Y position’s scale negative. To do this,
put the cursor before the value, and type a [-] on the keyboard, then hit [tab] to accept the change.
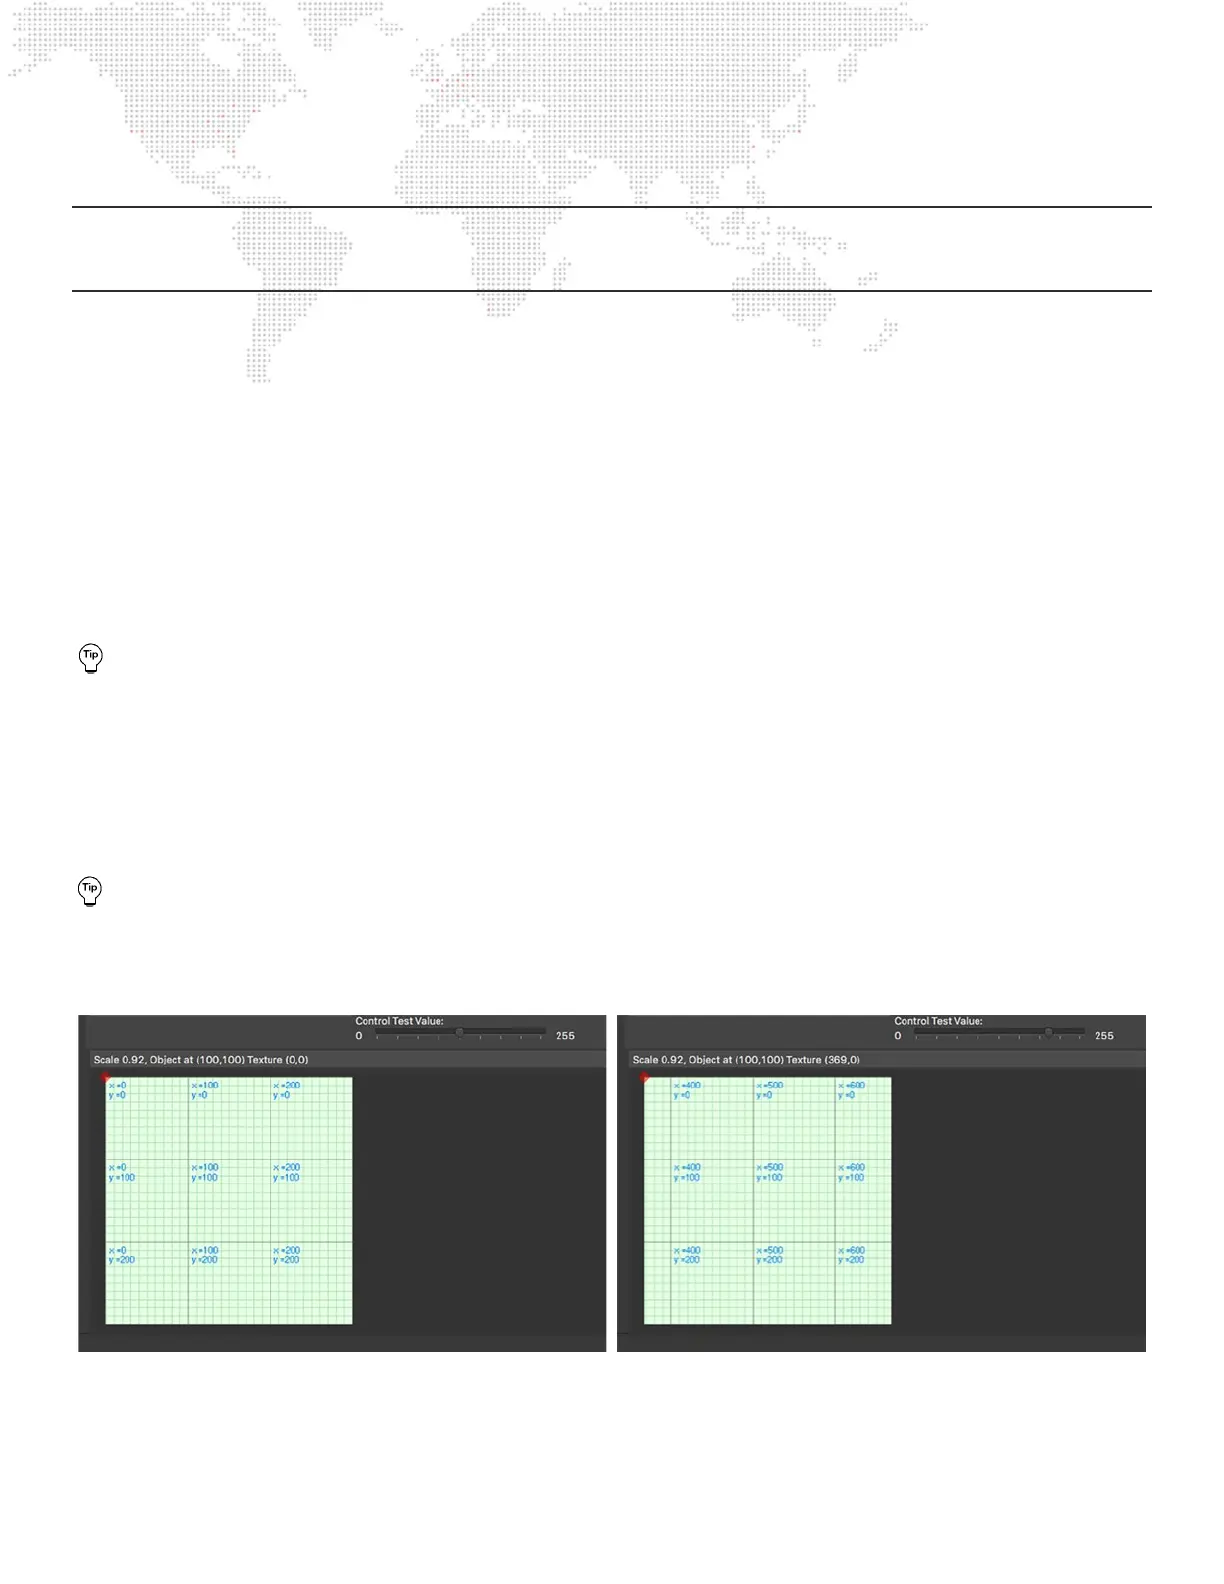
There is a Control Test Value slider on the main window that changes scale based on the selected control’s data
format, and allows for testing of linear controls (e.g., position, opacity) within the editor. When looking at the
preview area, the text eld at the top will show both the screen object’s location and its texture location. As the
slider is moved, check to see that these values change and also check to see if the direction of movement is
correct.