SECTION 1
GETTING ACQUAINTED
6
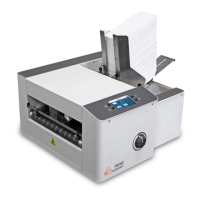
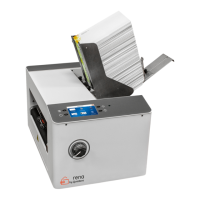
SECTION 1 – Getting Acquainted
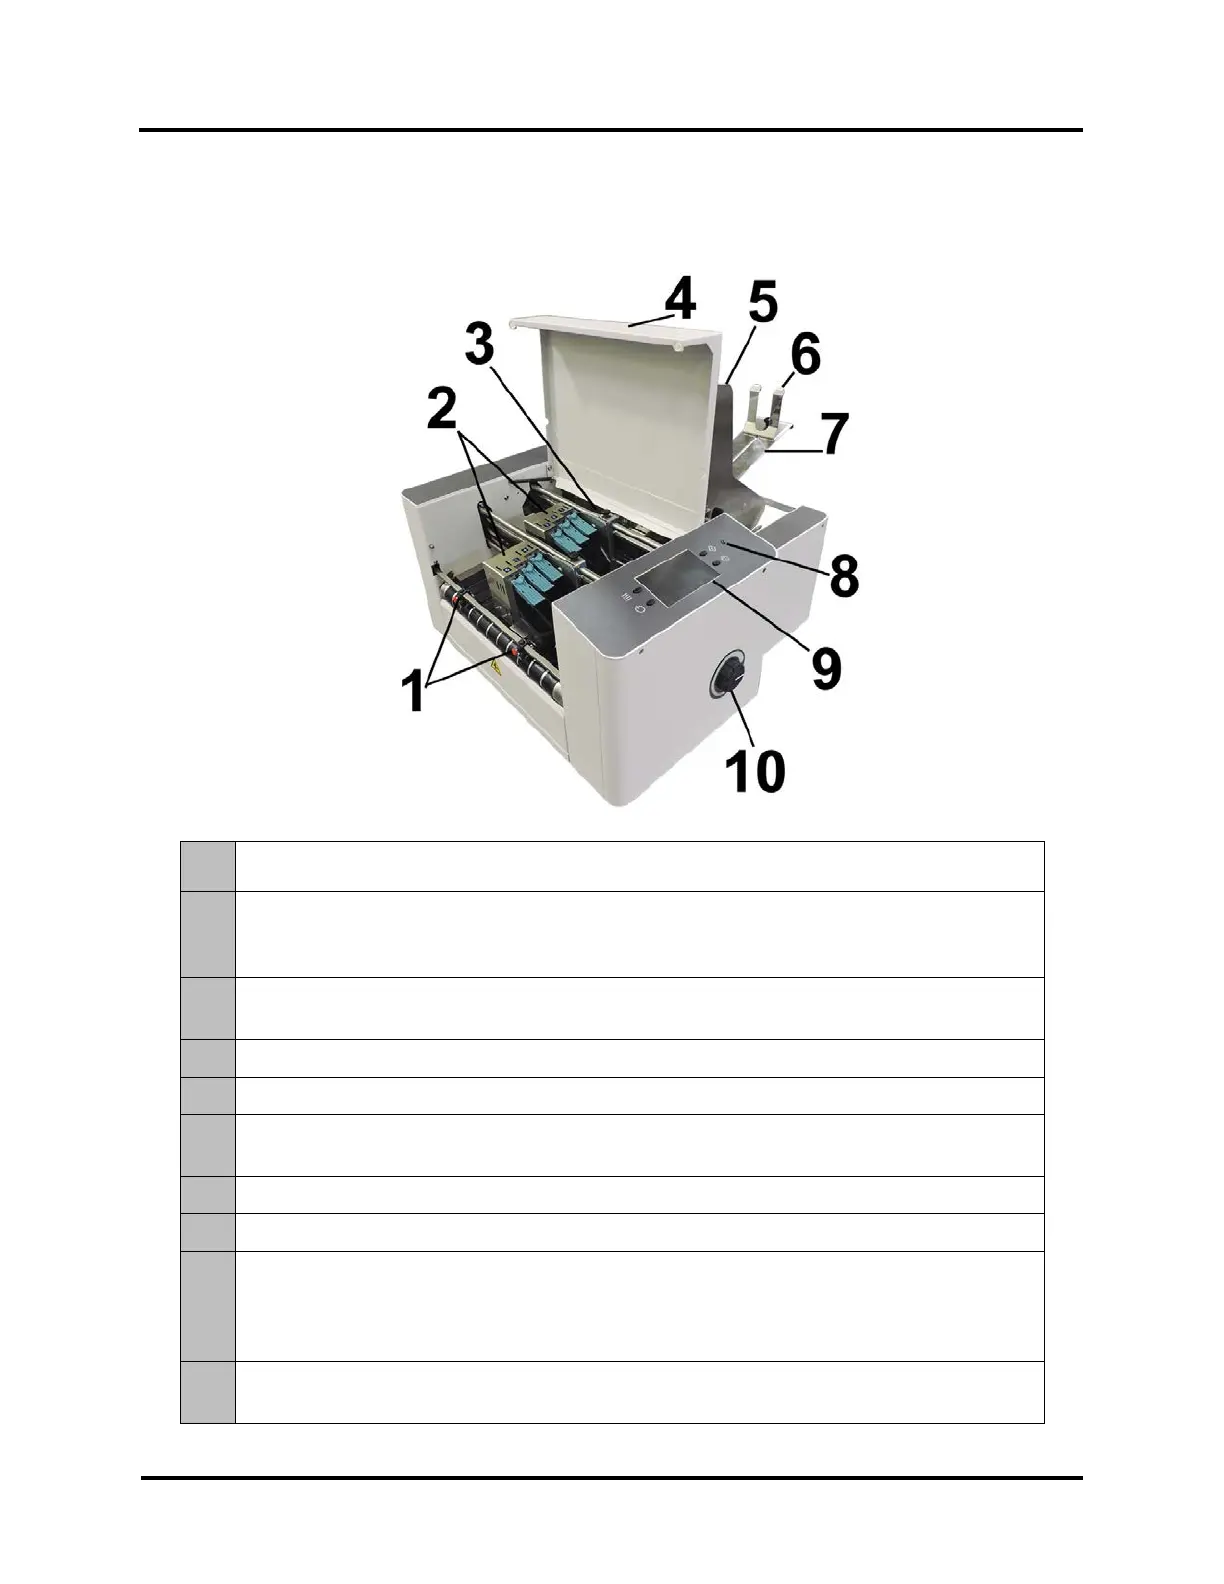
Front View
1.
EXIT ROLLERS – Help media to exit Printer. Assemblies are repositionable. Position so they
provide media drive but are out of the print-area.
2.
PRINT UNITS – Contains two repositionable Print Units. Each Print Unit can accommodate 3
Printheads (ink cartridges). Each Print Unit has the ability of printing a ~1.5 inch high image. A
continuous image up to ~3 inches high can be printed when both Print Units are combined.
3.
MEDIA SENSOR – Senses media as it enters the Printhead area. Sensor is located between the
first Print Unit (Heads 1,2,3) and Feed Rollers.
4.
TOP COVER – Encloses the Print Area.
5.
MEDIA SIDE GUIDES – Used to position and guide media into the Printer.
6.
MEDIA SUPPORT WEDGE – Allows for adjustments in stack angle, based on media type and
length. Helps to force the media against the separation area..
7.
REAR MEDIA SUPPORT – Provides the proper angle to enhance paper separation and feeding.
8.
POWER INDICATOR LIGHT – ON (illuminated) when Main Power Switch is ON.
9.
CONTROL PANEL TOUCHSCREEN – Touchscreen allows access to Printer Menus and controls to
set up and operate the Printer.
The four Control Panel Keys are used to access commonly used Printer functions.
Quick Menu, Shutdown/Restart Menu, Transport Control Menu, Pause/Resume Job.
10.
MEDIA THICKNESS ADJUSTMENT KNOB – Adjusts height of Printhead Carriage to compensate
for different media thicknesses.