SECTION 3
OPERATING PRINTER
47
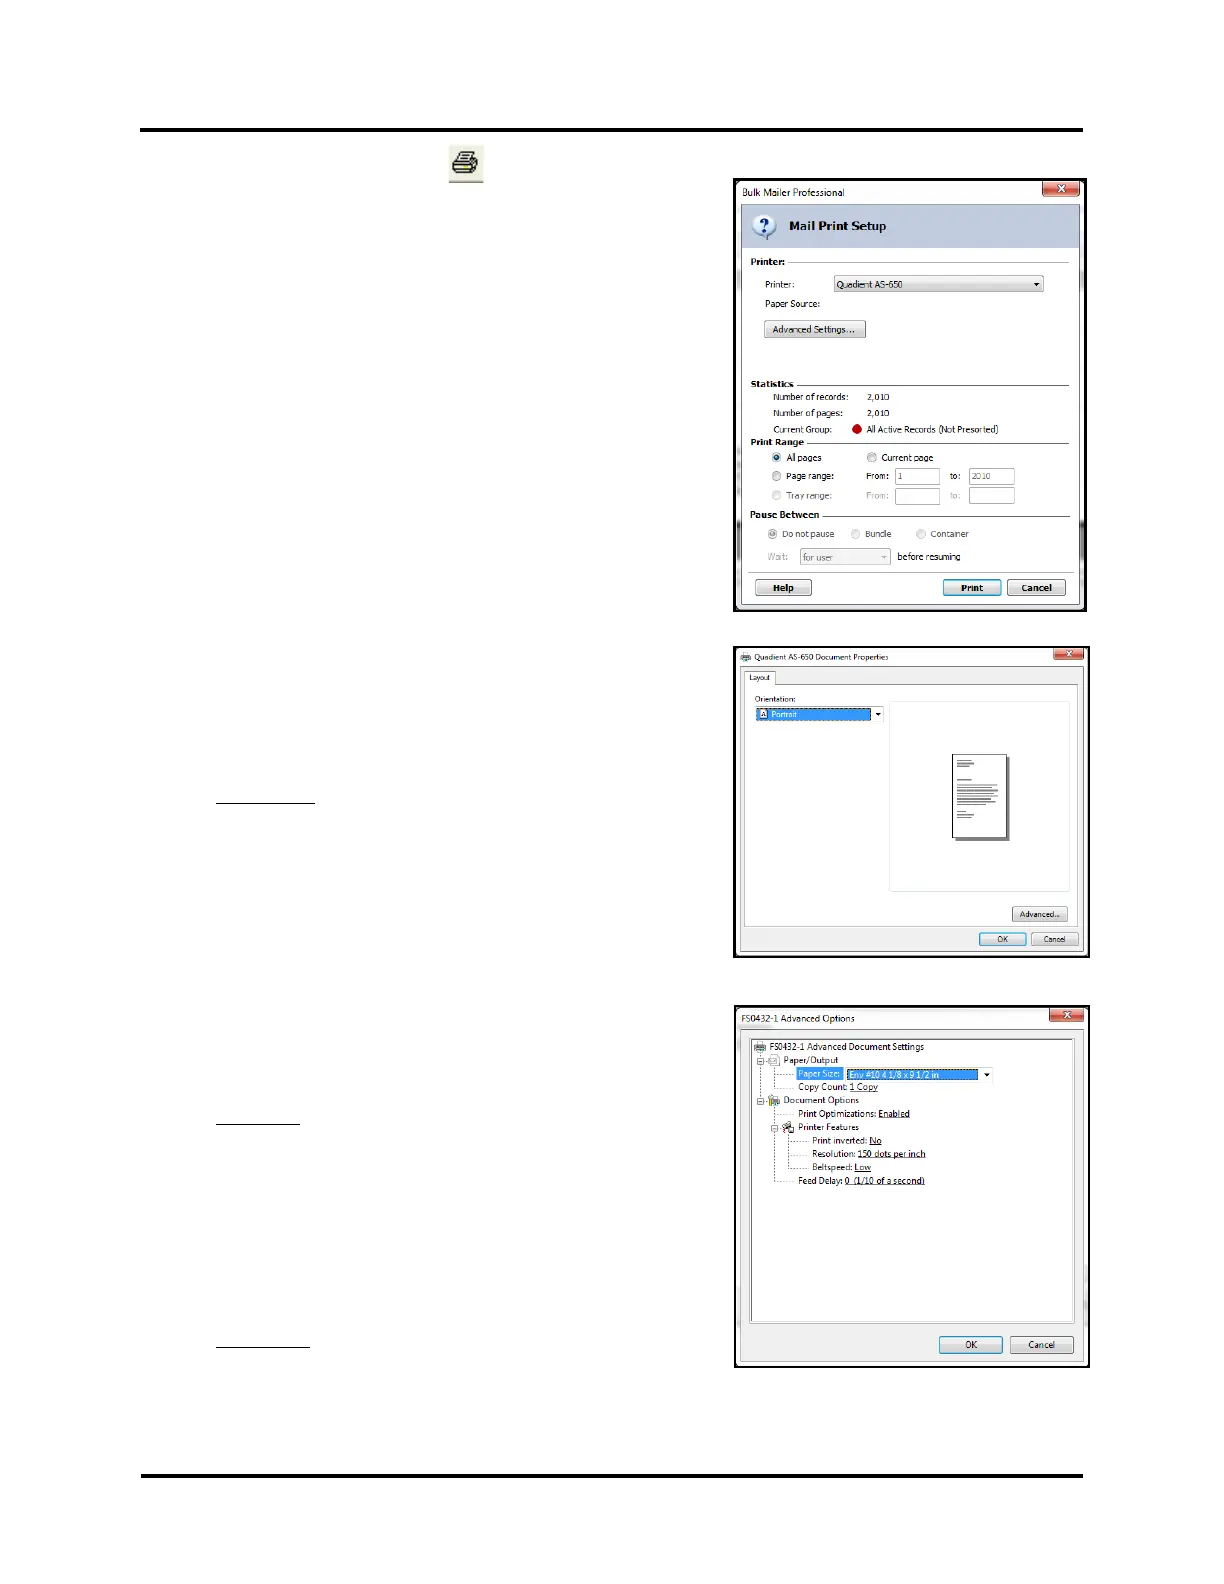
6. Click on the “Print Records” icon , located in the upper
left-hand corner of the Bulk Mailer "print preview" screen.
The "Mail Print Setup" window (Print dialog) box will open.
a. Make sure the corresponding Printer Driver is selected as
your "Printer".
b. Use the features under "Print Range" to select the range of
records you want to send to the printer.
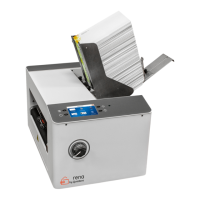
7. Click on the “Advanced Settings” button.
The “Document Properties” window will open.
a. Make sure “Portrait” is selected for the “Orientation”.
Orientation: Portrait, Landscape
Provides 90 degree image rotation.
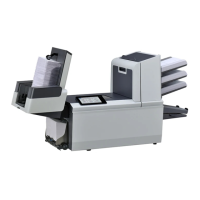
8. Click on the “Advanced” button.
The “Advanced Options” window will open.
a. Select your desired Paper/Output settings.
Paper Size: Select size from pull-down list.
IMPORTANT: Select a “Page Size” (length) that matches the
“Page Width” specified in your “Template” (Layout).
Page Width = Length in direction of travel.
NOTE: If your Page Size is not available, please refer to the
section titled “Adding New Form Size (Paper Size)”.
Copy Count: How many copies of each record you would like
printed.