114©2006 Sunrise Medical
SEATING SECTION
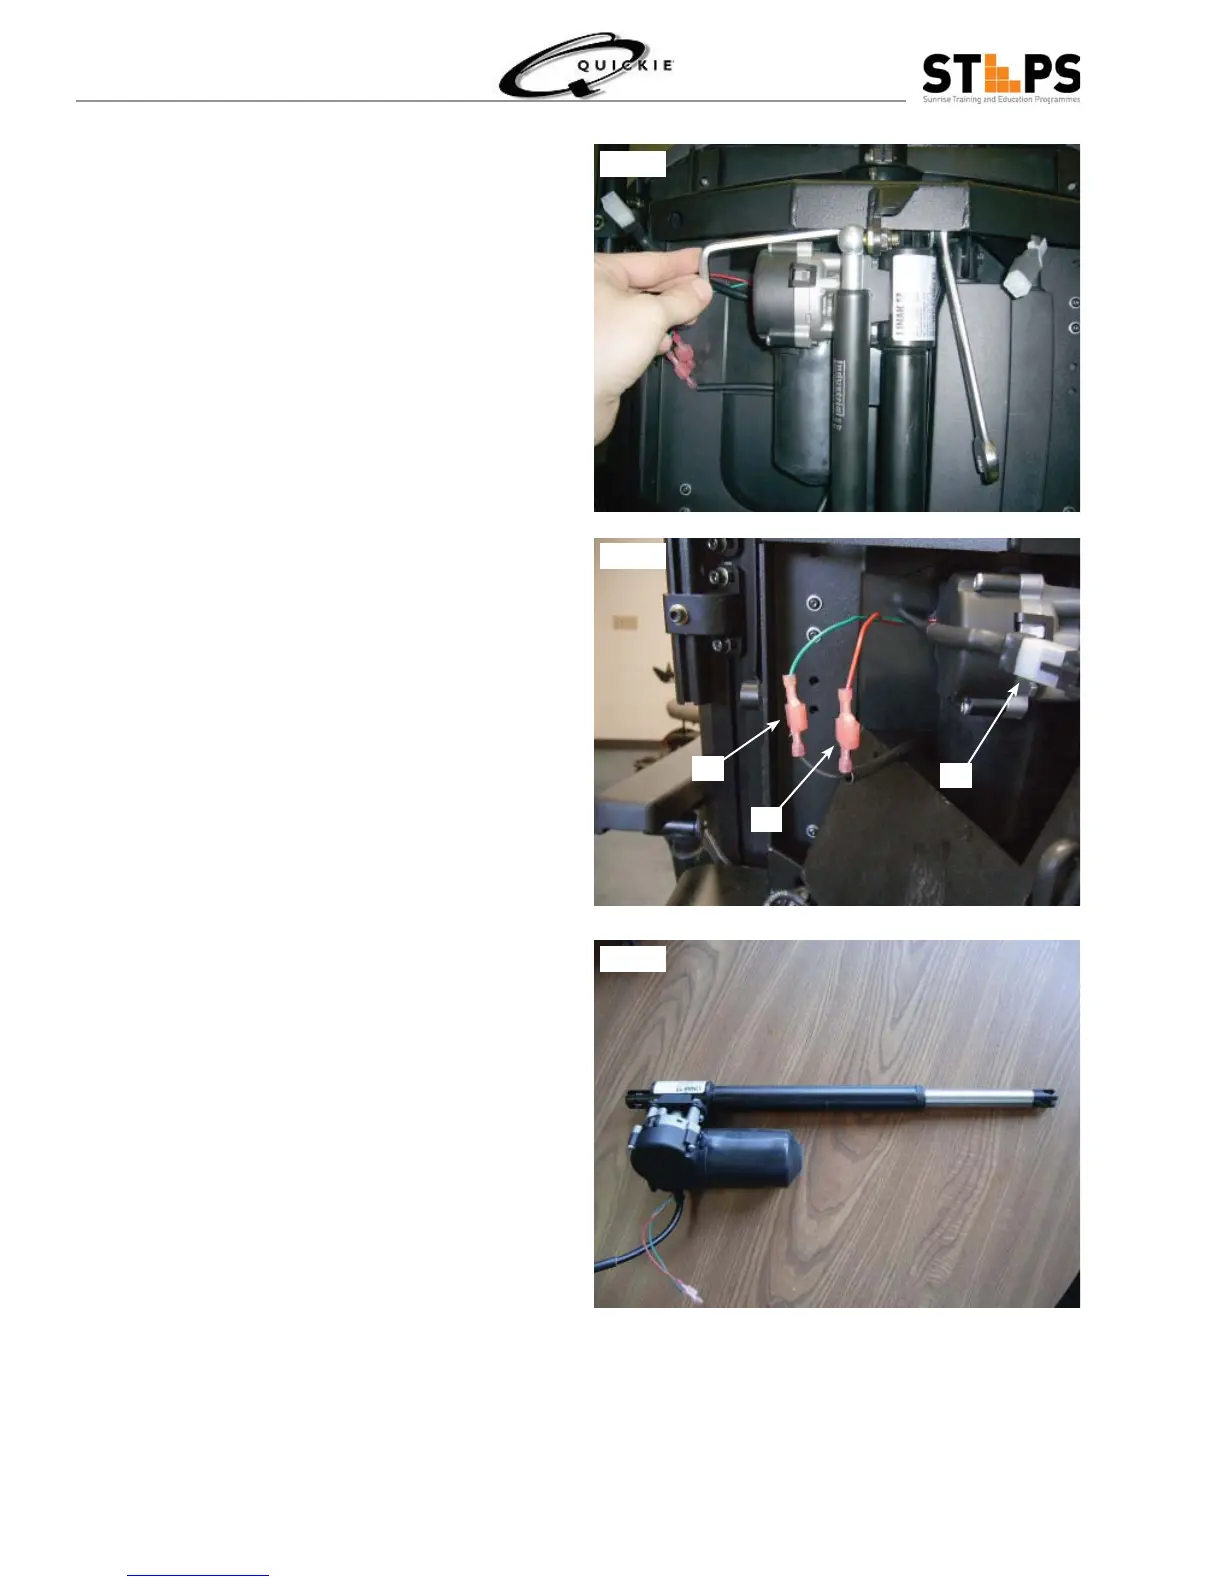
Use a ¼” Hex wrench and a 9/16” open-end 12.
wrench and remove the top bolt that holds the Re-
cline actuator to the back structure (Fig 3.122).
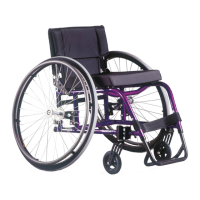
Unplug the three connectors to the recline actua-13.
tor (two spade connectors (G) with red and green
wires, and one 6-pin connector (H)) (Fig 3.123).
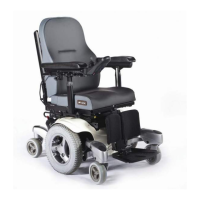
Note: the Recline Actuator can now be replaced 14.
with a new actuator. (Fig 3.124) The part number
is 120988.
Note: in order to reinstall the Gas Strut it must be 15.
reattached before the bottom Recline Actuator
bolts. Once the gas strut is connected, pull on the
back to compress the gas strut before inserting
the bolts to reattach the Recline Actuator.
To install the Recline Actuator, reverse the previ-16.
ous steps.
WARNING
Attaching the Recline Actuator may require 2
people – one to pull on the back to compress the
gas strut and one to insert the bolts into the bottom
Recline Actuator mount.
Fig 3.122
Fig 3.123
Fig 3.124
G
G
H