3. For JET‐DUO 3/5 GHz, MulSector, NEO, NEO DUO, JET AIR, JET PRO and JET‐AIR DUO base staons:
a. Enter its IP address in a web browser (default value: 10.0.0.120).
b. Enter username: “admin: and password: “netwireless”.
c. For worldwide single PN products (JET‐AIR, JET‐AIR DUO) you must select a country and band before
acvang the base staon.
1) To select the country and band, enter the HBS conguraons ‐> air interface ‐> change band
screen.
2) In the “installaon country” tab ‐ In case there is no GPS recepon, choose the country in which
your device is installed. In case there is GPS recepon, the country is automacally selected.
3) In the carrier 1 / 2 tab, select the band in which you want the HBS to operate, and press save.
4) The device will restart aer you change the band.
d. For the JET‐DUO 3/5 GHz, JET‐AIR DUO, NEO DUO, and MulSector, you must acvate each carrier
separately. For the rst carrier, click Acvate under Carrier 1 or Carrier 2, whichever is appropriate
for your deployment (the right panel shows which carrier uses which frequency band)
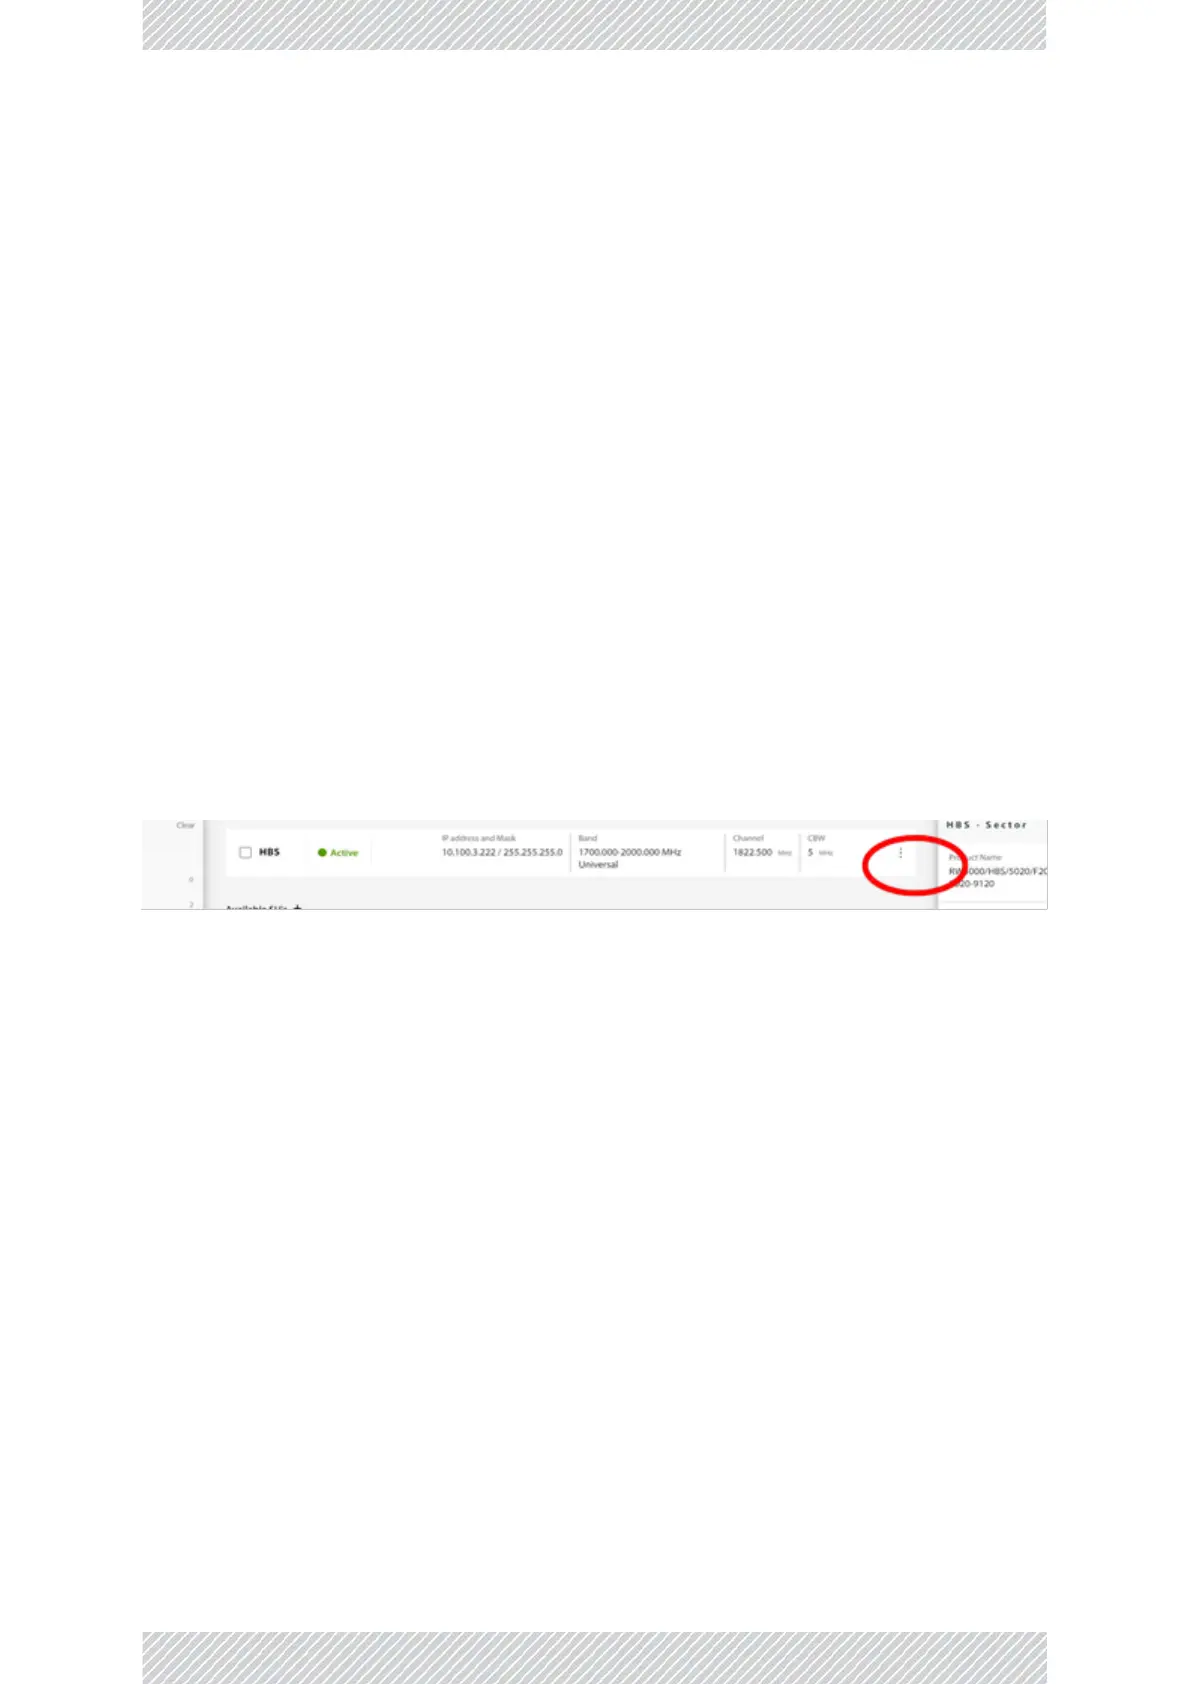
e. For a single‐carrier product (JET AIR, NEO, and JET PRO), click the far‐right three‐buon icon, and
ignore instrucons for the second carrier:
f. Enter the Sector ID, Sector Name and Locaon.
g. Click Next.
h. The operang channel and channel bandwidth will appear. We recommend you use the default
values, but depending on the specic version of the product, these can be changed.
1) Note that for the JET PRO, you chose the operang channel from the pull‐down menu.
i. If it is available for your product, we recommend you select Automac Channel Selecon. Click Next.
j. Check the parameter values in this window, and change any that need to be changed. Once you are
sure the values are correct, click Acvate.
k. Repeat the above for the other carrier.
2.18 Align Subscriber Unit
• Make sure the subscriber unit’s base staon is acvated (check with the NOC).
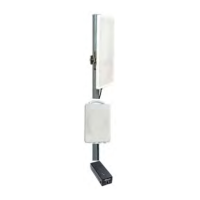
• Point the subscriber unit (or its external antenna) in the general direcon of its base staon (or its
external antenna).
• Connue according to the type of unit you are using.