2. Make sure your computer IP subnet is congured to the same subnet as the radio (default value:
10.0.0.120).
3. Enter its IP address in a web browser (default value: 10.0.0.120).
4. Enter username: “admin” and password: “netwireless”.
5. From the window that appears, select the base staon unit by placing a checkmark next to it, then click
on the Congure icon.
6. From the window that appears, select Management ‐> Network:
7. Enter the new IP address, Subnet Mask and Default Gateway in accordance with your radio plan, then
click Save.
8. You will be warned that the device (HBS radio unit) will be reset. If all the values are correct, click OK.
9. Make sure your computer IP subnet is congured to the same subnet as the new radio IP.
10. From a command line, ping radio unit using new IP address to verify change.
Once you are nished with the steps above, disconnect the radio unit and prepare it for deployment in the
eld.
2.4 Check items to be installed
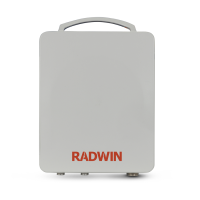
• Radio unit + mounng kit
• 2 LPUs for each radio (recommended)
• PoE (if outdoor, requires mounng kit)
• CAT‐5e cables
• Grounding cables (14 AWG) for radio unit, LPUs and outdoor PoE (if used)
• External antenna + mounng kit (if using an external antenna)
• RF cables (if using an external antenna for LFF, SFF, or MulSector units)
• Turbo Gain antenna (if using this antenna for the SU PRO/AIR EMB unit)
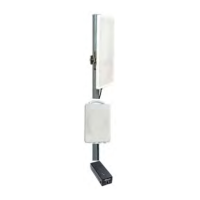
• Extra radio holder if mounng MulSector units back‐to‐back (this item is usually included in the
standard MulSector base staon package)
2.5 Install Standard Mounng Kit
2.5.1 Standard Mounting Kit
Use the standard mounng kit for:
• LFF (large form‐factor) radio units
• SFF (small form‐factor) radio units
• SU Integrated radio units
• JET, JET DUO, NEO, NEO DUO, JET AIR, JET‐AIR DUO and JET PRO radio units