Replacing Parts
5
1
Replacing Parts
Some illustrations in this manual
might be slightly different from your
machine or options, depending on the
models you have. However, all the
procedures for replacement are the
same.
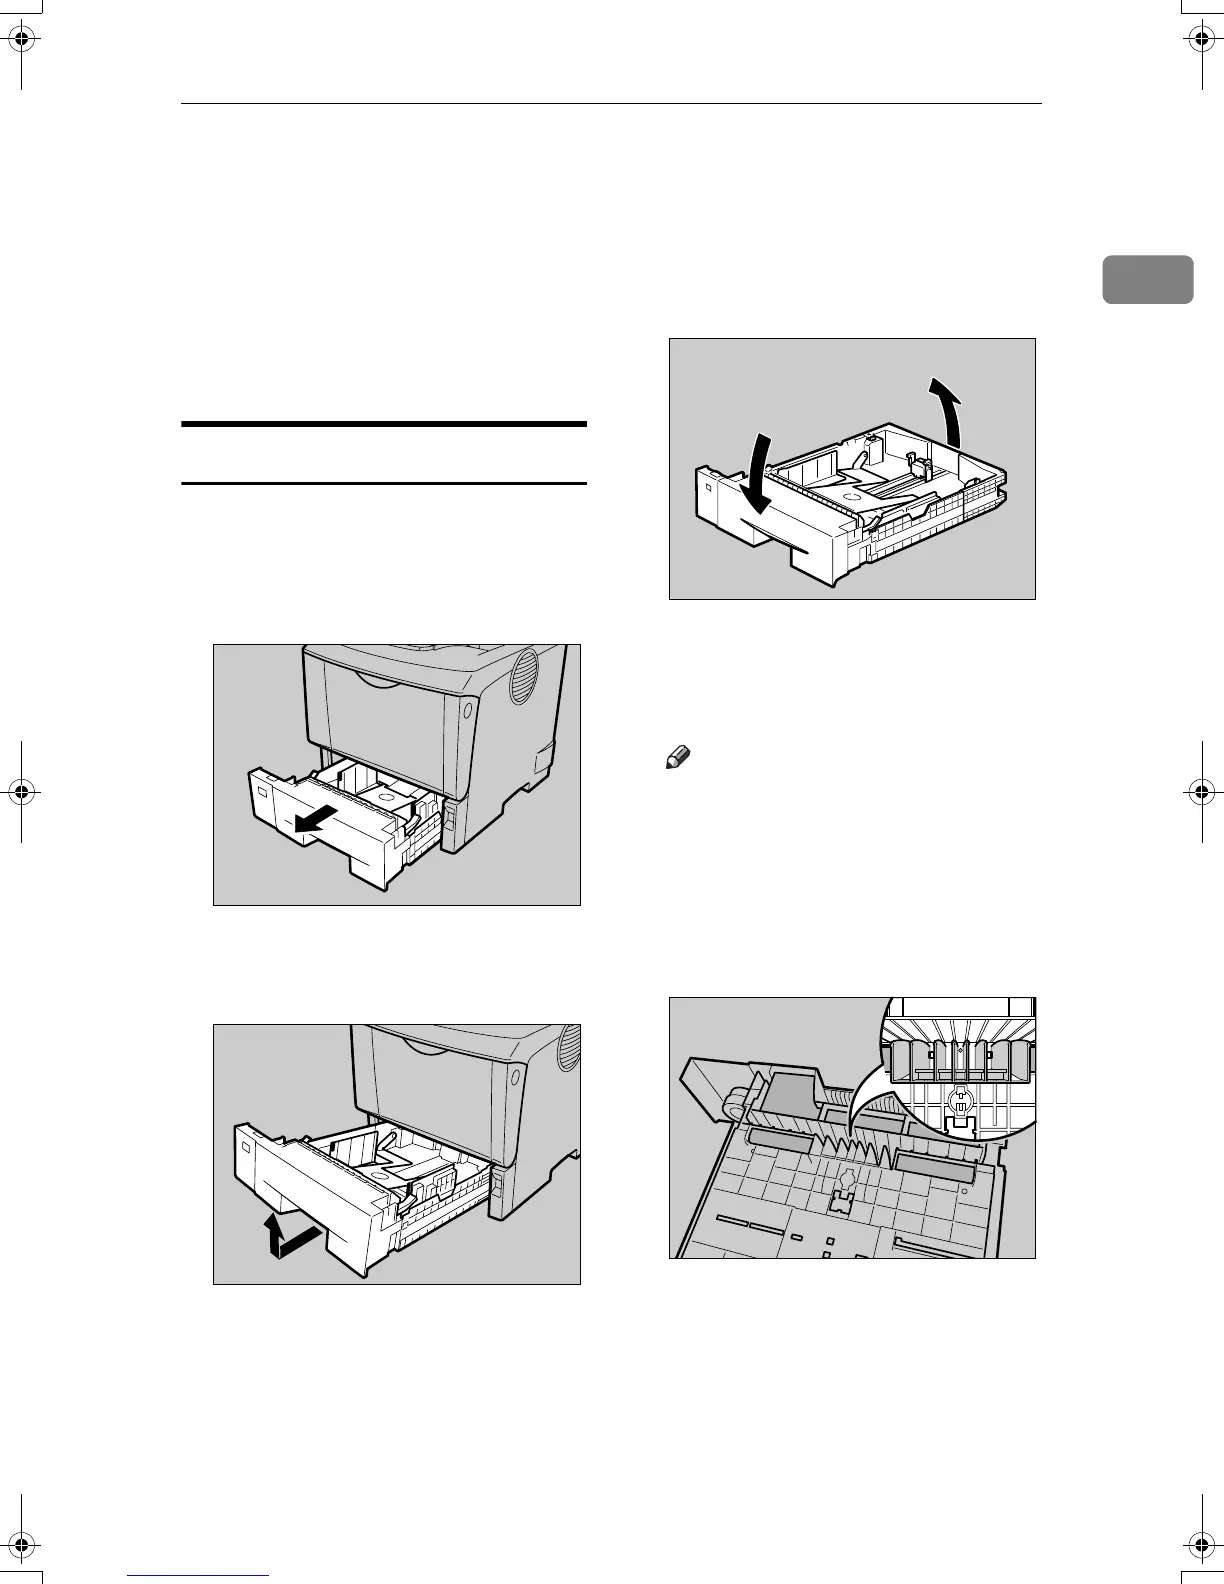
Replacing the Friction Pad
The following procedure shows how
to replace the tray's friction pad (Tray
1).
A
Pull out the paper tray until it stops.
B While lifting the front side of the
tray, pull it out of the printer.
C Remove paper from the paper tray.
Place the tray upside down on a
flat surface.
D Use a sharp-pointed item like a
ball-point pen, to release the two
catches that lock the friction pad.
Note
❒ The friction pad may fall off
when the catches are released.
Place your hand over the friction
pad while releasing the catches.
❒ The friction pad spring may
come off. Be careful the spring
does not fall off and become lost.
AUB108S
AUB109S
AUB321S
AUB301s
SincereP1_pera_maintkitA-GB_F_FM_forPaper.book Page 5 Monday, October 16, 2006 3:48 PM
 Loading...


