Publication 2094-UM001A-EN-P — September 2006
Configure and Startup the Kinetix 6000 Drive System 129
3. Click OK.
The New Module dialog opens.
a. Name the module.
b. Set the Node address.
Set the node address in the software to match the node setting on
the drive. Refer to Configure the IAM/AM, Step 2, on page 120.
c. Select an Electronic Keying option.
d. Check the box Open Module Properties.
4. Click OK.
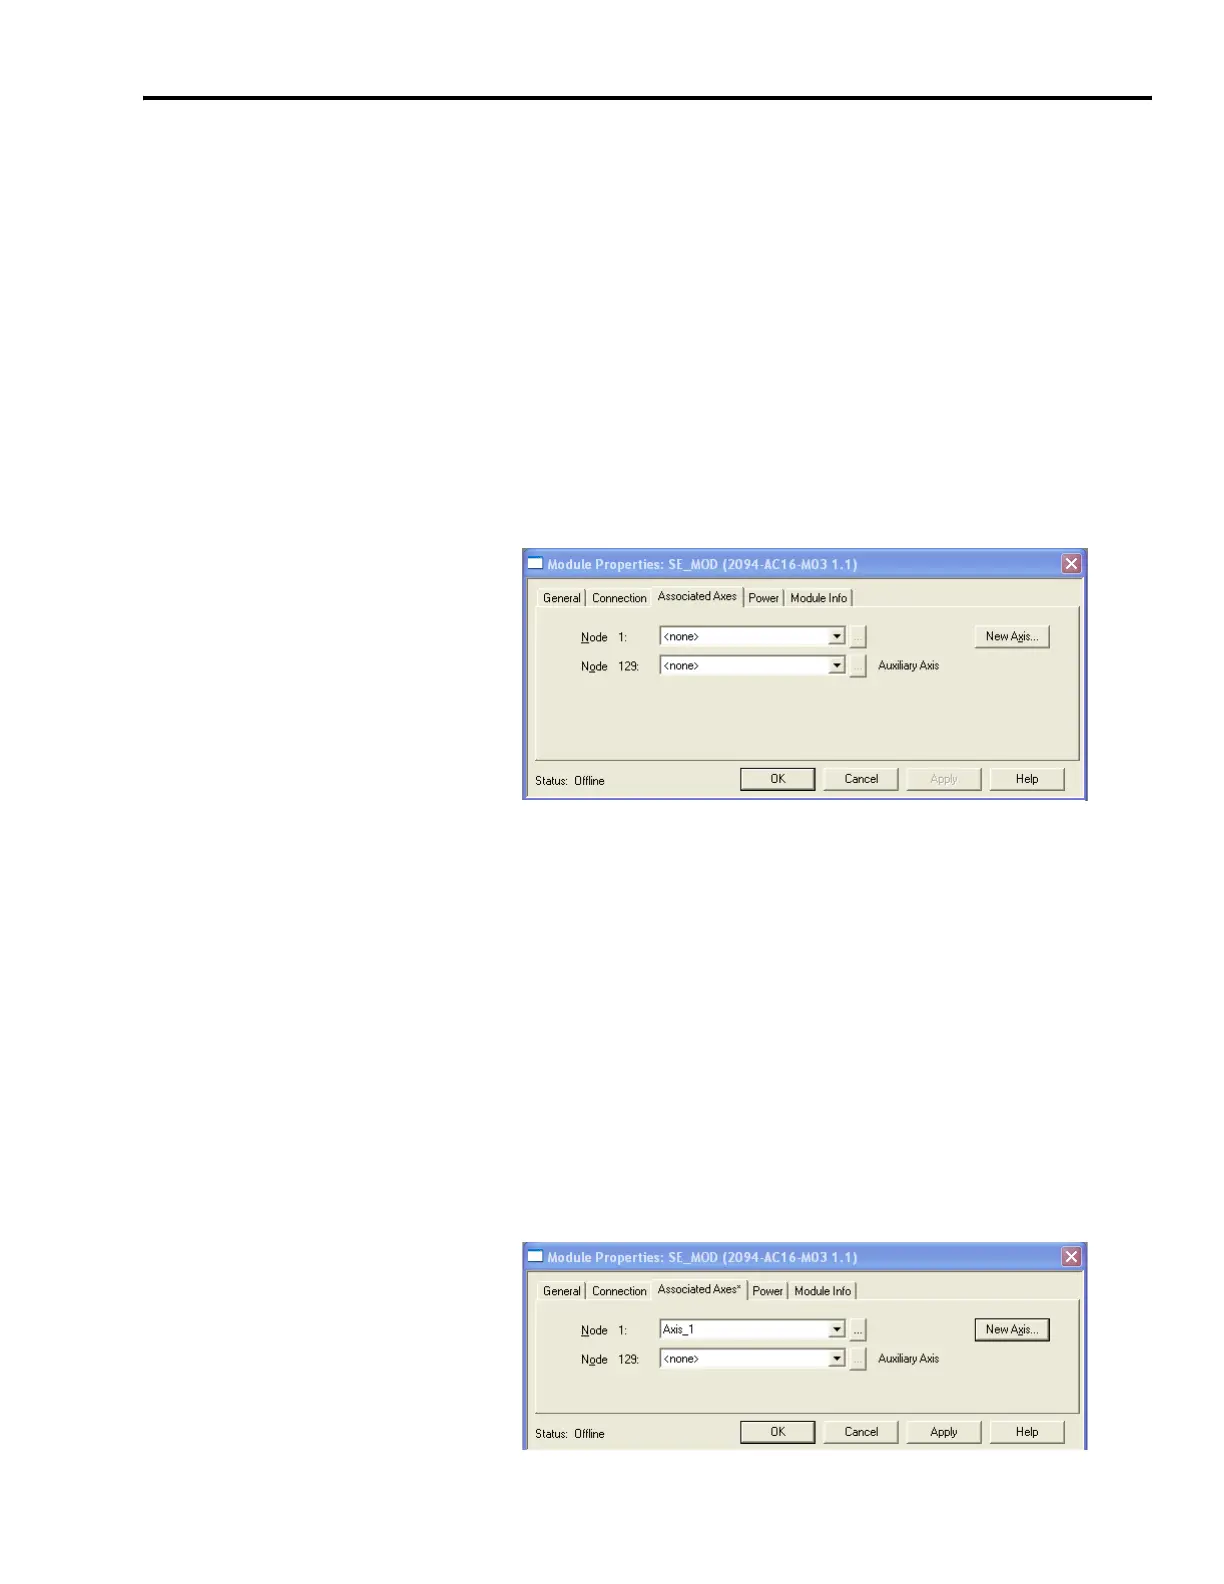
5. Select the Associated Axes tab.
6. Click the New Axis button.
The New Tag dialog opens.
7. Add the axis.
a. Name the axis.
b. Select AXIS_SERVO_DRIVE as the Data Type.
8. Click OK.
The axis appears under the Ungrouped Axes folder in the explorer
dialog.
9. Assign your axis to the node address (as shown in the dialog
below).

 Loading...