Chapter 4 Commissioning
2104.6536.72 - 4.1 - E-1
1Quick Start
1. Connect the AC supply voltage to the exciter(s) (interface X1).
The exciter should boot up. The boot procedure is complete once the system overview
appears on the display.
2. On the exciter, press the Local key so that the associated LED lights up.
The transmitter is now in local mode and can be operated via the display or a PC con-
nected to X3.
3. On the display, switch to the menu System > Tx Type > Transmitter and make (or ver-
ify) the following settings:
a) The TV standard with Tx Type
b) The proper system configuration with one or two amplifiers with Number of Ampli-
fiers
c) The transmitter mode Single Tx with Tx Mode
Note The "Operating" chapter contains a detailed description of local operation of the trans-
mitter using the display and keyboard.
4. Reboot the exciter.
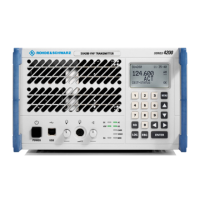
Fig. 1 System overview after making settings in the Transmitter menu
5. On the display, check whether input signals are present and can be properly processed.
There should not be any faults (F), warnings (W) or new log entries (Log) displayed. The
signal processing in the exciter should also not mute the RF signal (the muting display
M should not light up).
However, the transmitter will not yet emit power. The F(orward Power) display should
show 0 W.
Note If any problems are indicated, read the "Troubleshooting" chapter and correct the prob-
lems.
ATTENTION!
The exciter can be damaged by overvoltage. Make sure that the AC supply voltage in your
power system complies with the specifications for the AC power supply option in your
exciter.
– Option B9: 90–264 V AC, 100 W (24 V secondary)
– Option B10: -48 V DC (-38 to -76 V DC), 100 W (24 V secondary)
Check the power cable for any possible damage.
 Loading...