Chapter 4 Commissioning
2104.6536.72 - 4.2 - E-1
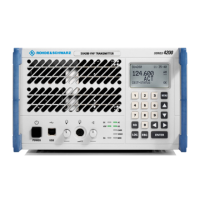
6. Using the previously connected PC (see the "Installation" chapter) and an up-to-date
Java-enabled browser, log on to the exciter. Proceed as follows:
a) Enter the network address for the exciter. The default setting is as follows: http://
192.168.057.253).
The login screen appears.
b) Log on using the username Configuration and password (default setting: 1234).
The opening screen for the transmitter should appear in the browser.
Note The "Operating" chapter contains a detailed description of how to operate the transmitter
via a browser.
7. In the menu Exciter > RF Out > Synthesizer, set the transmit frequency under Fre-
quency.
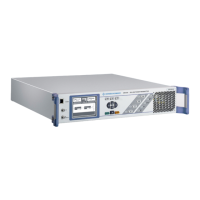
8. Connect the power cable to the amplifiers (interface X1) and apply power.
The fans in the amplifiers should start up quickly.
9. On the amplifiers, monitor the STATUS LED and the AC AND DC power supply LEDs.
The LEDs should light up as follows:
Note If the STATUS LED on the amplifiers does not indicate OK after some time, read the
"Troubleshooting" chapter and fix the problem.
10.In the menu Amplifier > Setup > Output Power under Output Power, set the desired
output power.
11.On the exciter, close the RF loop via X6 (TX CONTROL). If no RF loop system is present
(permitted only for the lowest power), insert the supplied protective connector instead.
12.In the Exciter menus, set the desired modulation parameters or check to make sure that
the factory settings are correct. See the "Operating" chapter for more information.
13.On the exciter, press the RF ON/OFF key so that the associated LED lights up.
The transmitter should now be powered on. If an RF signal is generated with no errors,
the RF PRESENT LED should now light up and the transmitter should emit power.
ATTENTION!
Overvoltage can damage the amplifiers. Make sure that the AC supply voltage in your
power system complies with the specifications for the AC power supply option in your
amplifiers.
Check the power cables for any possible damage.
Sequence Signaling Meaning
1. LED STATUS: flashing green-red An attempt is underway to establish a
CAN bus connection to the amplifiers.
LED AC: green Voltage supply is present
LED DC: red RF output on exciter not yet enabled
(RF OFF)
2. LED STATUS: green CAN bus connection established
 Loading...