Chapter 5 Configuring T H E P M 1 3 0 P L U S
General M E T E R S E T U P
86 PM130 PLUS Powermeter Series
factor. Each counter can also be incremented in response to any internal
or external event, checked and cleared through the Control Setpoints.
Using the Front Display
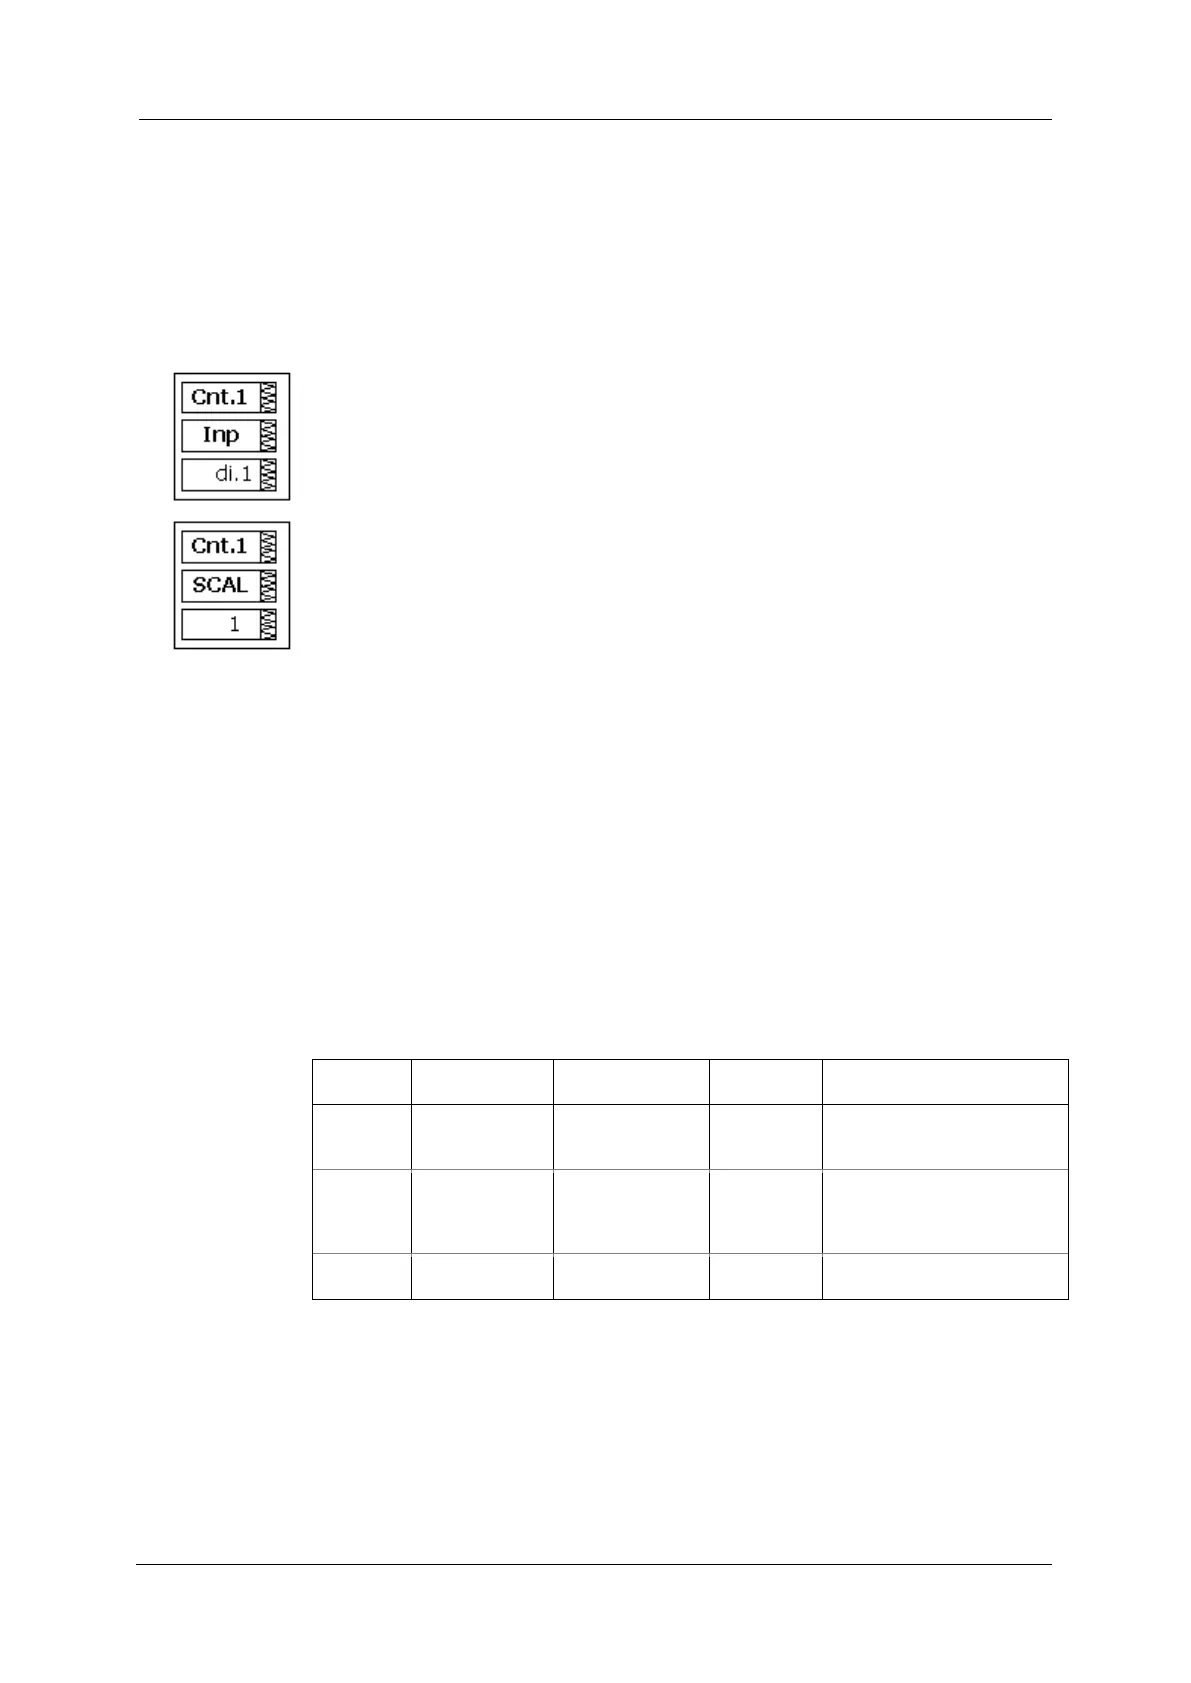
Select Cnt from the main menu. This menu entry appears only if the
optional digital I/O module is plugged into the meter.
Use the UP and DOWN arrow buttons to scroll to the required counter.
To select a counter parameter:
1. Press the SELECT button to activate the middle window.
2. Use the UP and DOWN arrow buttons to scroll to the required
parameter.
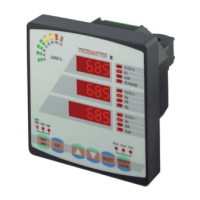
To change the parameter value:
1. Press the SELECT button to activate the lower window.
2. Use the UP and DOWN arrow buttons to select the required value.
3. Press ENTER to confirm the new parameter setting or press ESC to
discard changes.
4. You are returned to the middle window and can configure another
parameter.
To store your new settings:
1. When the middle window is highlighted, press the ENTER button.
2. You are returned to the upper window and can select another counter
or exit the menu.
3. Press ESC to exit the menu.
See Table 25 for the counter options.
Using PAS
Select General Setup from the Meter Setup menu, and then click on the
Pulse/Event Counters tab.
Table 25 lists available counter options.
Table 25: Counter Options
None,
DIGITAL INPUT
#1 - #12
Links a digital input to the
counter
The value added to the
counter when a pulse is
detected on the pulse source
input
Displays the present counter
contents