SATEL VERSA 23
schedule (keys bearing numbers from 1 to 5). In the LCD keypad, the name of selected
schedule will appear in the lower display line, and in the LED keypad, the LED
corresponding to the selected schedule number will start blinking. In the LCD keypad, you
can also select a schedule by pressing the and keys to scroll through the list
displayed in the lower line. Having selected a schedule, press the key.
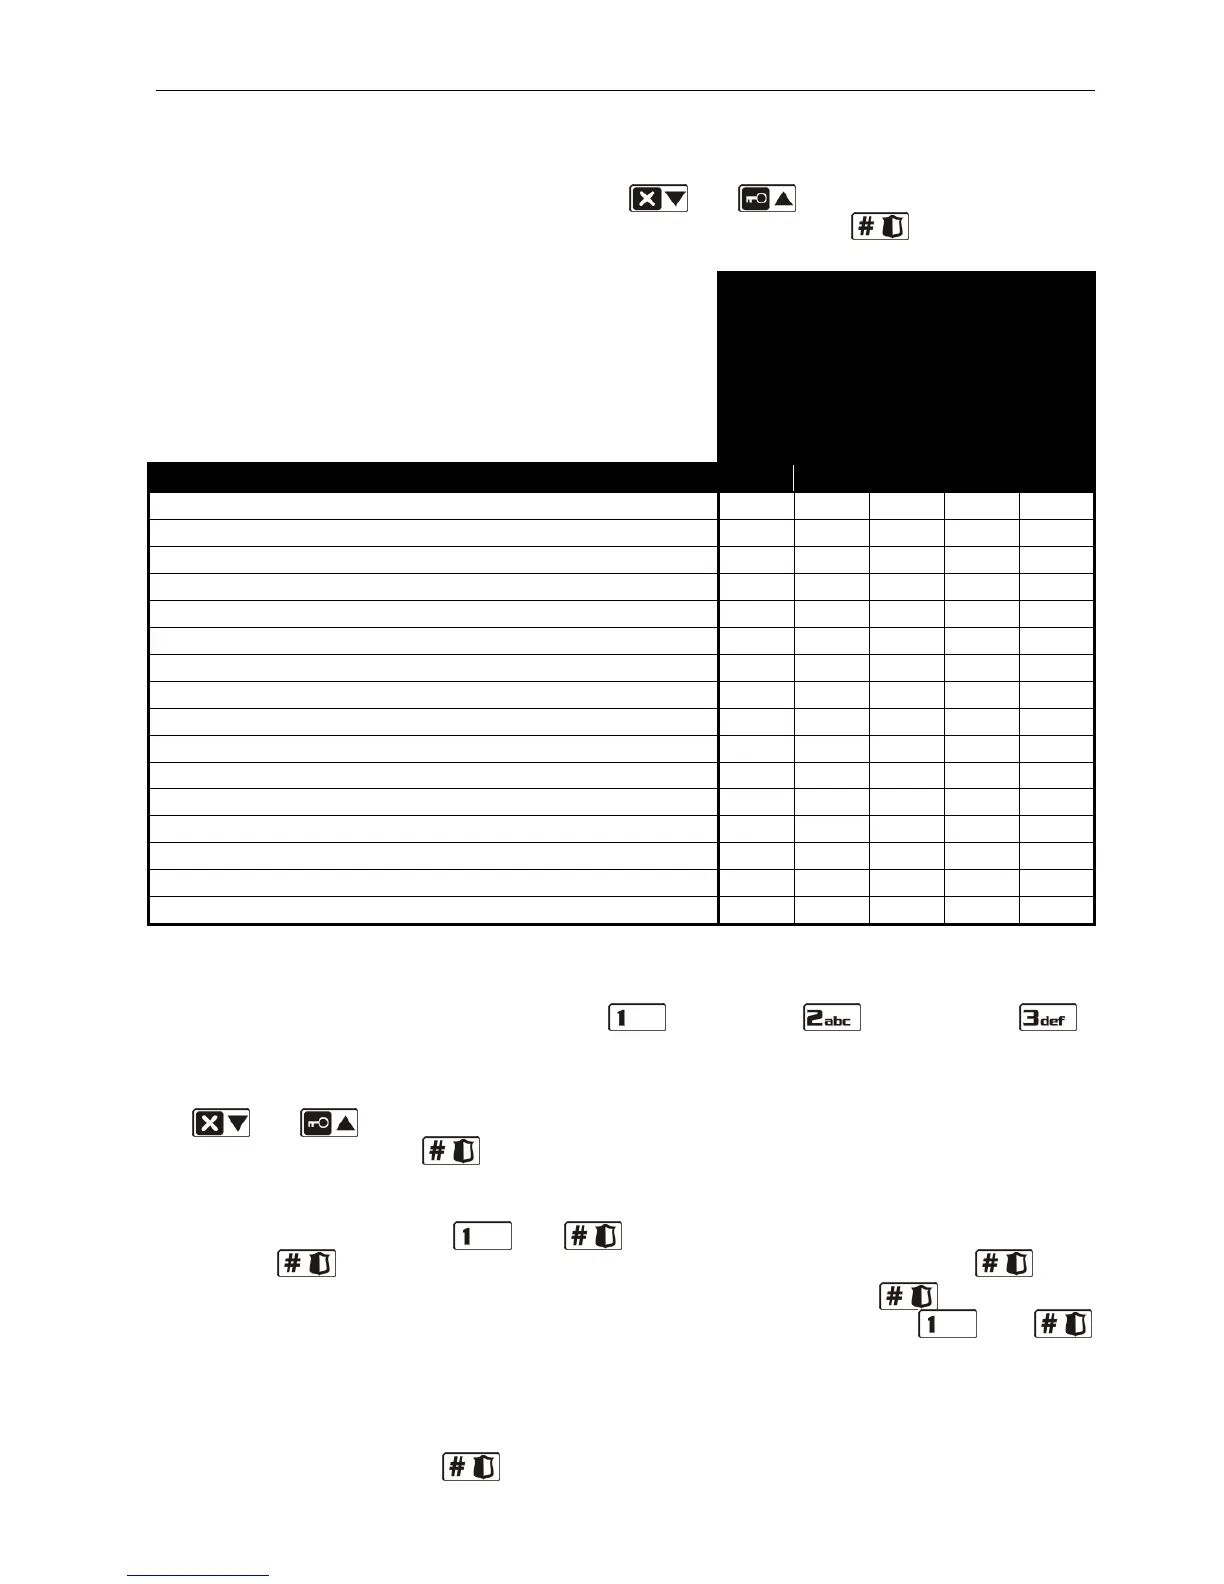
Table 3. Default names of user schedules and rights assigned to them.
4. Step 4. Selecting partitions accessible to the user. You can select the partitions by
pressing the corresponding number key: - partition 1, - partition 2 or -
both partitions. In the LCD keypad, information on the selected partition(s) will appear in
the lower display line, and in the LED keypad, the LED with number corresponding to your
choice will start blinking. In the LCD keypad, you can also select the partition by using the
and keys to scroll through the list displayed in the lower line. Having selected
the partition, press the key.
5. Step 5. Adding 433 MHz keyfob. If the INT-RX, INT-RX-S or VERSA-MCU module is
connected to the control panel, the user may be assigned a 433 MHz keyfob. To add a
keyfob, press in turn the and keys (if the keyfob is not to be added, press
only the key or any other key with a number from 2 to 9, and then press key).
6. Step 5a. Selecting 433 MHz keyfob addition method. Press the key at once, if
the keyfob serial number is to be entered, or press successively the and
keys, if the serial number is to be read by the module which supports the 433 MHz
keyfobs during transmission.
7. Step 5b. Adding 433 MHz keyfob. Depending on the selected method:
– enter the serial number by means of the corresponding number keys (see: ENTERING
DIGITS
) and press the key;