33
7.01 Create New Route
7.01 Create New Route
(GPS Map → MAIN MENU → ROUTES
MENU → Create New Route)
Alternative access:
GPS Map → POSITION INFO via centre
press → Create New Route
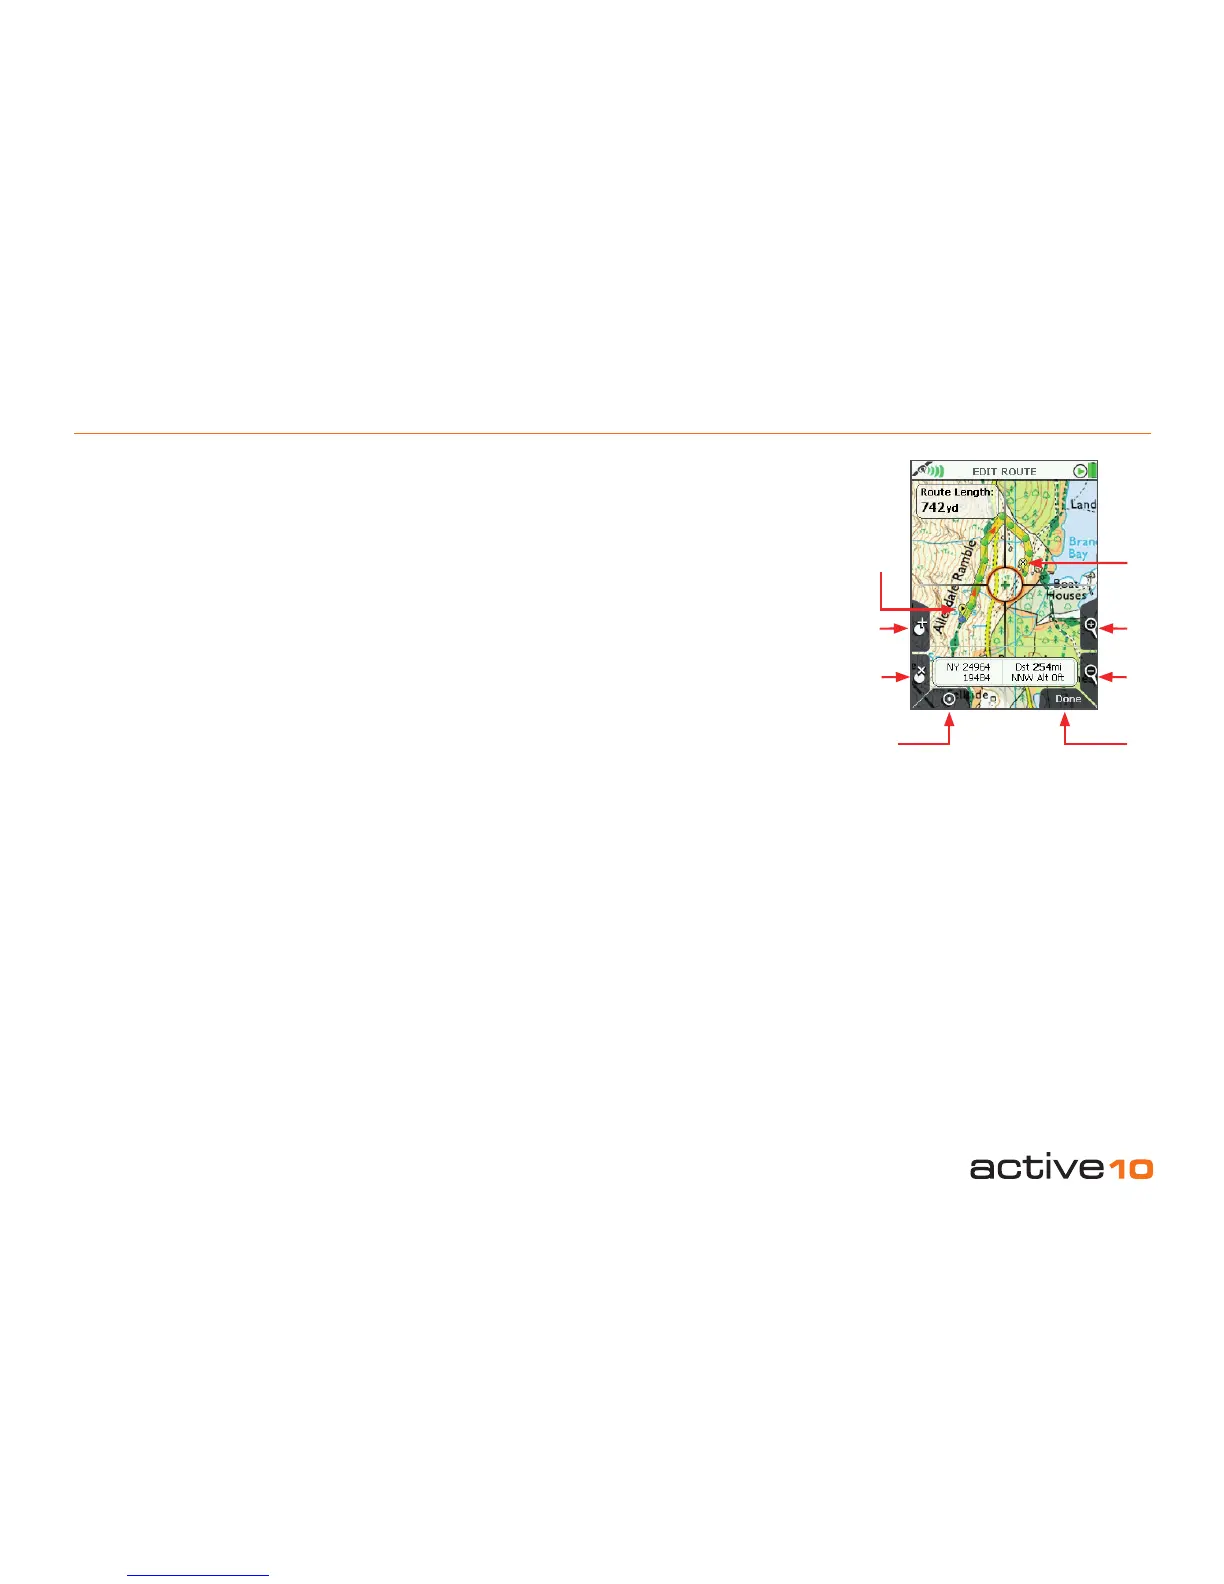
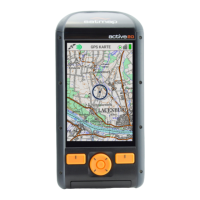
Use the CREATE ROUTE page to plot routes
by laying down a series of waypoints.
Buttons:
Add Waypoint
Press the button or centre press the joystick
Remove Waypoint
Press the button or centre press the joystick
ROUTES MENU
Return to ROUTES MENU page (section
7.00)
Zoom
Zoom in and out
Done
Press when route is nished, unless you have
‘closed’ the route (see opposite)
In ROUTES MENU highlight Create New
Route, then either press the Create New
Route button or centre press the joystick.
The centre cross inside the orange location
icon with long cross hairs is now green. Place
waypoints wherever your planned route
changes direction; as waypoints are laid
down, a yellow highlighted route is created.
Zoom in for greater accuracy in placing
waypoints.
The start point icon has a forward arrowhead,
the nish icon is a chequered ag and
waypoint icons are green dots.
If the nal waypoint is very close to the start, a
prompt will appear asking if you wish to close
the route. Closing the route connects the last
waypoint to the start point.
Press Done to return to the ROUTES MENU.
If there is no mapcard inserted, the route will
be saved to the unit in a folder called Internal
Storage. If there is a mapcard in the unit,
the route will be saved onto the mapcard in
a folder called SD Card (gure 7.00). If you
wish to move the route to the unit, use the
Edit button (section 7.02h).
To view the route, highlight it and press
View; a route map plus route length is shown
(section 7.03).
Use the Select/Up Folder button to navigate
between folders.
Add
Waypoint
Remove
Waypoint
ROUTES
MENU
Figure 7.01
Zoom
In
Finish
Start
Done
Zoom
Out