38
7.04 Routes Folders via SatSYNC
7.04 Create Routes Folders Using
SatSYNC
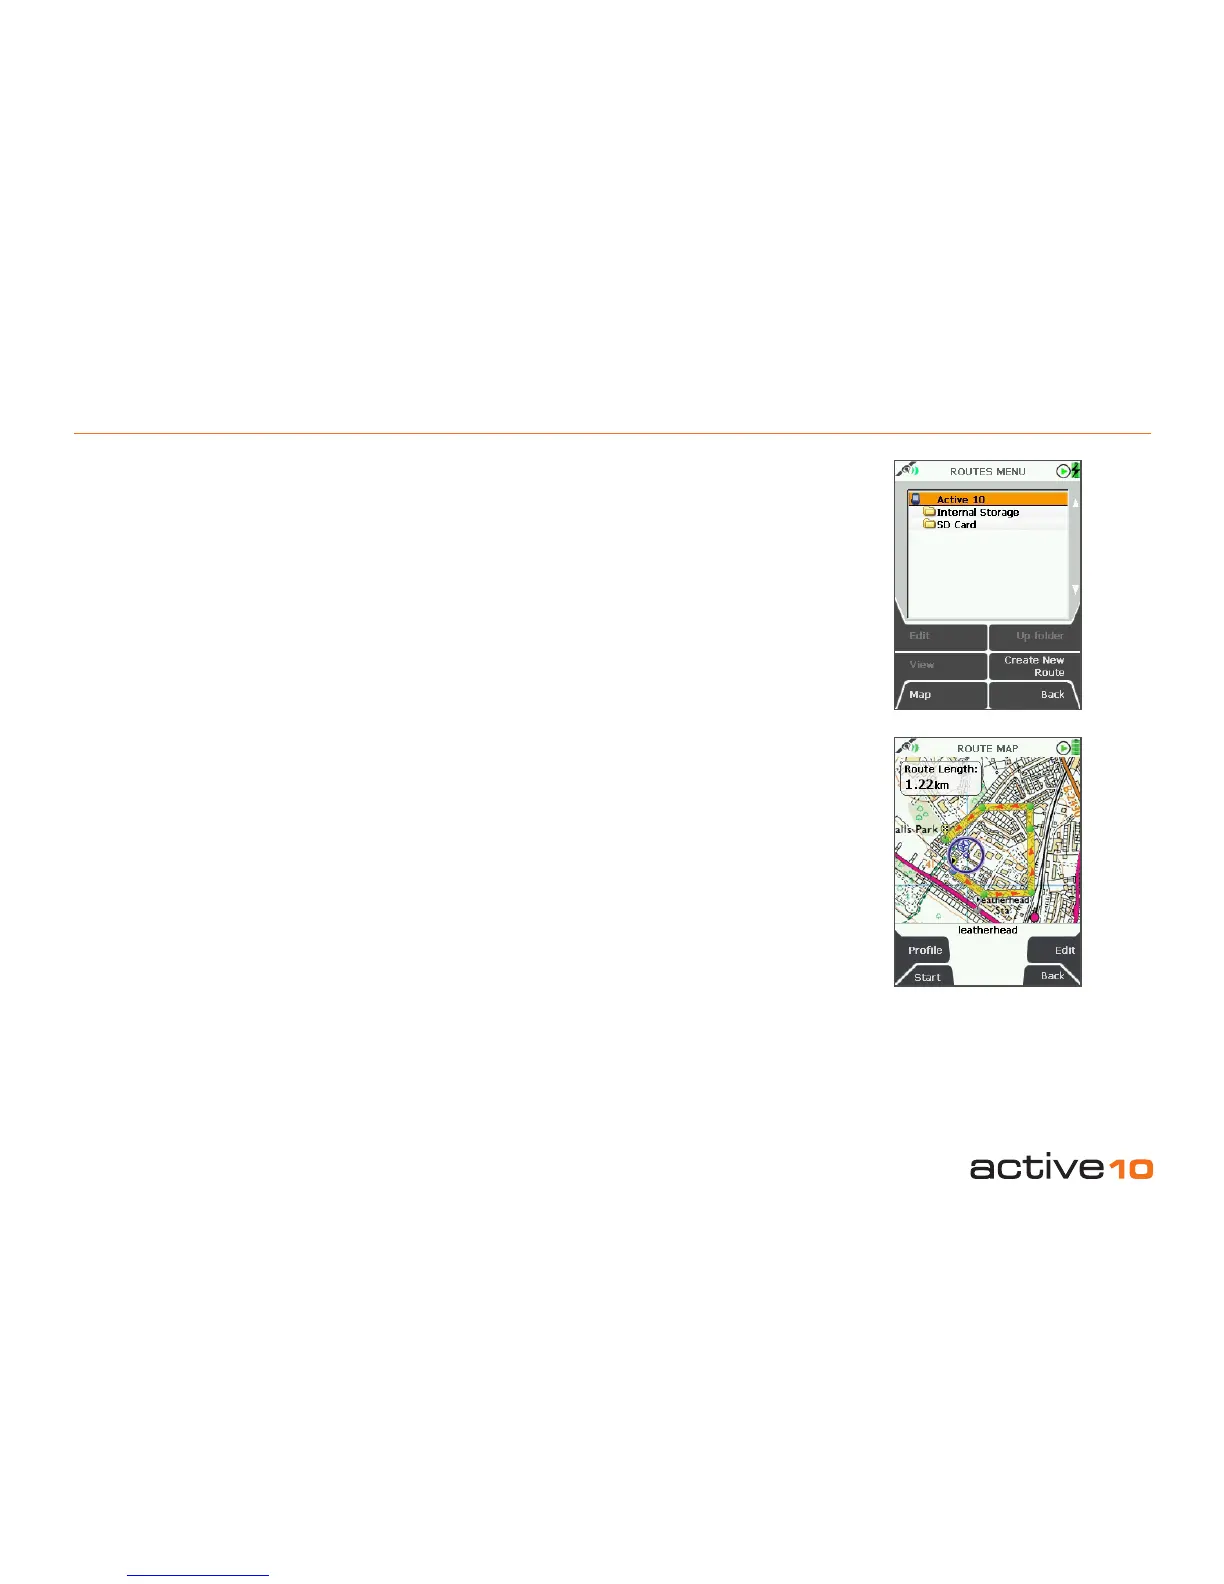
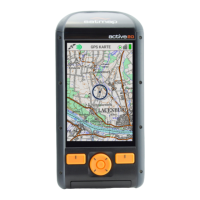
(GPS Map → MAIN MENU → ROUTES
MENU)
You will need to be able to import a route from
another folder eg. ‘Routes’ on your desktop.
First connect your Active 10 to a computer
and open SatSYNC. Using the right pane (SD
Card Files) press the Create a new folder
button. Enter a name eg. Pub walks. The new
folder will not show on the Active 10 until a
route is added.
Note: In SatSYNC, the name of a folder is
preceded by a folder icon. The name of a
route has a .map extension and is preceded
by a blue page icon.
To add a route, highlight the new folder and
open it by pressing the Open an existing
folder button above the pane. Then press
Import and select a route. Follow the
on-screen instructions. Each time a route is
added/deleted the unit will sound beeps and
default to the Map Packs page while the
folder information is updated.
Once a route is stored on a card, a folder
appears under ‘Active 10’ entitled SD Card.
Further sub folders are created in the same
way.
To delete a folder on the unit, delete all routes
in the folder and press Up folder. The
unwanted folder disappears. To delete a
folder in SatSYNC, press the Delete an
existing folder button above the pane.
Routes can also be stored on the unit. This
can be done either via SatSYNC or on the
unit itself.
• In SatSYNC, follow the same process as
previously outlined (using the left pane,
Active 10 Internal Files) or drag routes
from one pane to the other.
• On the unit, highlight a route, press Edit,
then Move/Copy from SD card.
Once a route is stored on the unit, a folder
appears under ‘Active 10’ entitled Internal
Storage.
Routes stored in the unit are managed in the
same way as routes stored on an SD card.
Figure 7.04