B.7
Date Code 20170601 Instruction Manual SEL-387-0, -5, -6 Relay
SEL-300 Series Relays Firmware Upgrade Instructions
Upgrade Procedure
Step 3. Click Start.
The Capture Text command copies all the information you
retrieve and all the keystrokes you type until you send the
command to stop capturing text. The terminal emulation
program stores these data in the text file.
Step 4. Execute the Show Calibration (SHO C) command to retrieve
the relay calibration settings.
Use the following Show commands to retrieve the relay
settings: SHO G, SHO 1, SHO L 1, SHO 2, SHO L 2,
SHO 3, SHO L 3, SHO 4, SHO L 4, SHO 5, SHO L 5,
SHO 6, SHO L 6, SHO P 1, SHO P 2, SHO P 3, SHO P F,
SHO R, and SHO T.
Issue the Password (PAS) command and save the original
password settings.
NOTE: Settings classes can vary
among SEL relays. See the relay
instruction manual for a listing.
Step 5. From the Transfer menu in HyperTerminal, select Capture
Text and click Stop.
Step 6. The computer saves the text file you created to the directory
you specified in Step 2.
Step 7. Write down the present relay data transmission setting
(SPEED).
This setting is SPEED in the SHO P relay settings output. The
SPEED value should be the same as the value you recorded in
A. Prepare the Relay on page B.2.
D. Start SELBOOT
Step 1. Find and record the firmware identification string (FID):
a. From the File menu, choose Properties.
b. Select the Settings tab in the Properties dialog box
(Figure B.4).
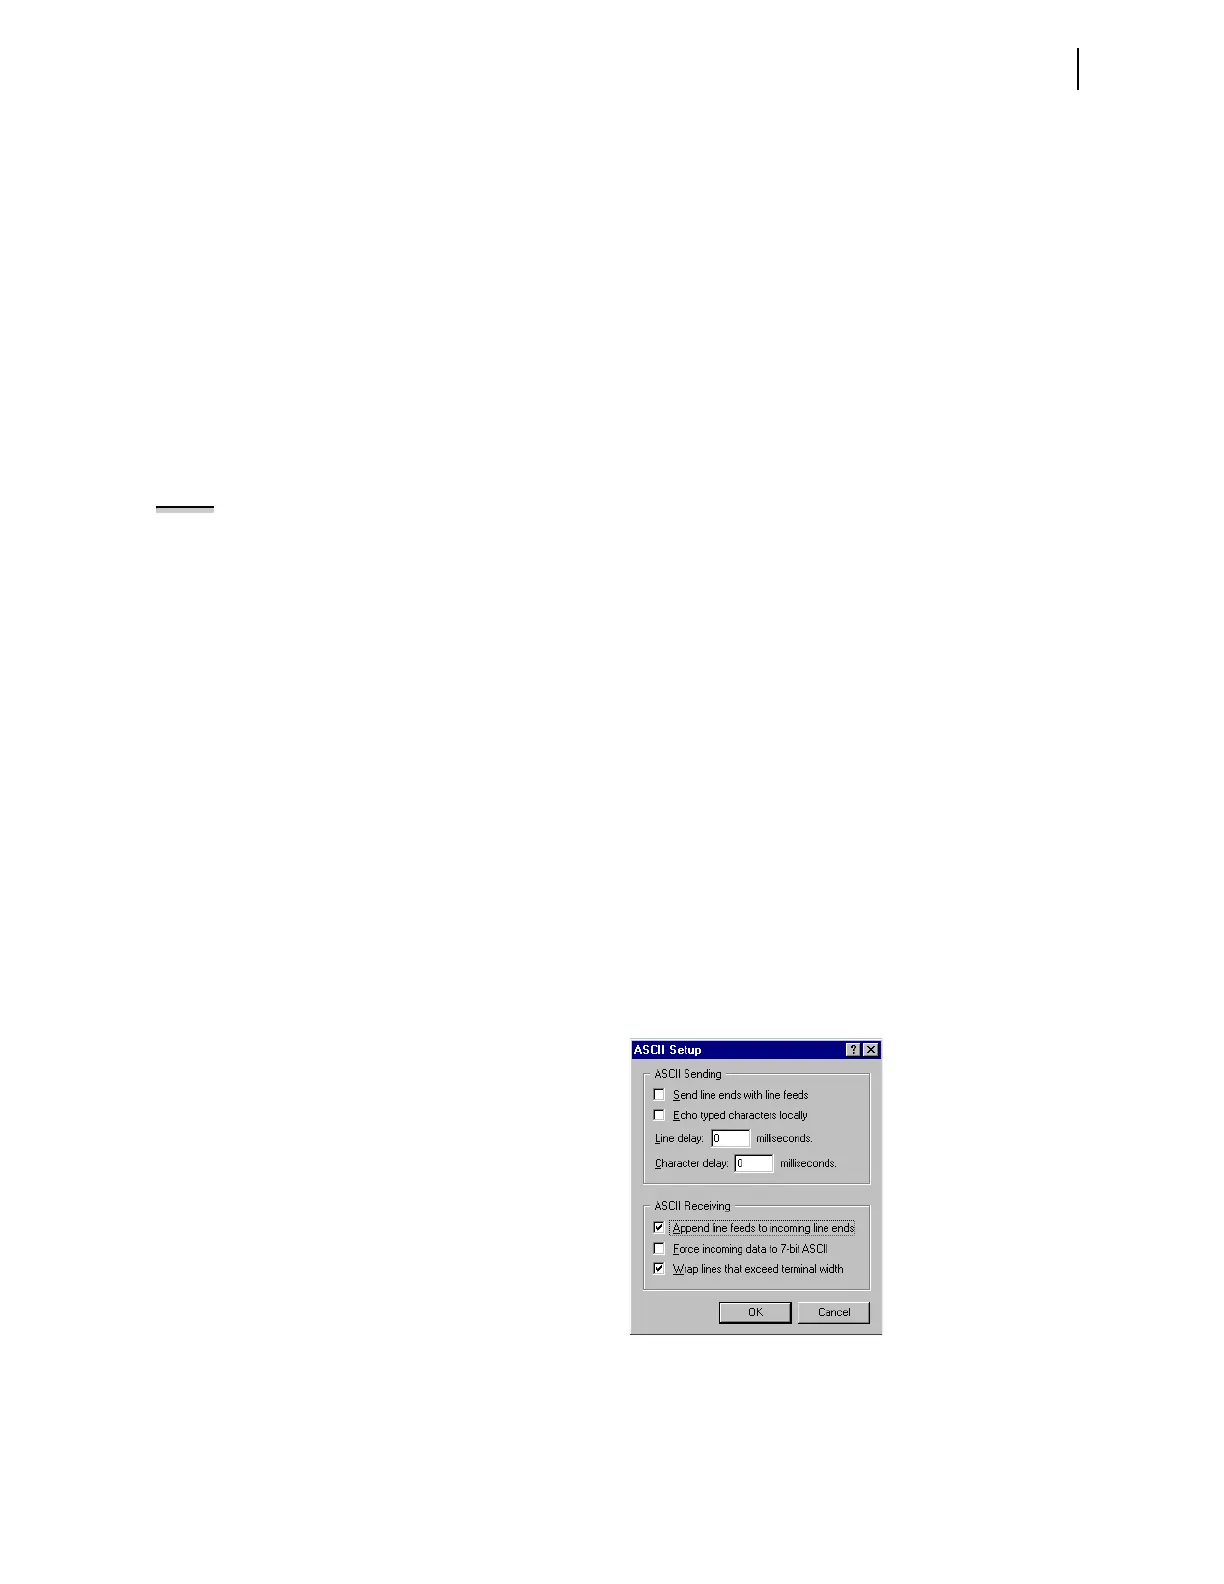
c. Click ASCII Setup.
You should see a dialog box similar to Figure B.8.
d. Under ASCII Receiving, select the check box to
Append line feeds to incoming line ends.
Figure B.8 Preparing HyperTerminal for ID Command Display.
e. Click OK twice to go back to the terminal emulation
window.
f. Type ID <Enter> and record the FID number the relay
displays.