5200 Multi Purpose and 5200 Multi Purpose HF Gas Analysers
05230001A / Revision 9
25
3. If you have fitted tubes to the sample gas outlet and/or bypass gas outlet, route
the ends of the tubes so that they can freely vent to atmosphere.
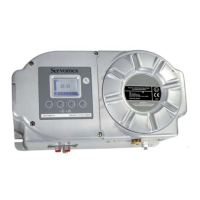
4. If you have ordered and received a printer, connect the printer to the serial
connector on the rear of the Multi Purpose (see Figure 2). Alternatively, if
required, connect a PC (personal computer) or other device to the serial
connector: refer to Appendix A4.
5. If your Multi Purpose is configured to provide optional milliAmp outputs, for each
output:
• Connect the wires in your cable to the screw terminals on the milliAmp
interface connector supplied: refer to Section 2.10 for the cable requirements,
and refer to Figure 9 below for the connection requirements.
• Fit the interface connector to the corresponding milliAmp output connector on
the rear of the Multi Purpose (see Figure 2), and secure with the two captive
screws on the interface connector.
Figure 9 - milliAmp interface connector
6. Fit the power outlet on the power supply unit to the power socket on the rear of
the Multi Purpose.
7. Fit the power supply unit plug to a suitable electrical supply outlet.
8. Press and hold the Power On/Off key on the front of the Multi Purpose for at least
2 seconds to switch the Multi Purpose on.
+
The two outlets can be left to vent to local atmosphere. However if you
do fit a tube to one or both of the outlets, the tube(s) must be suitably
sized so that the gases can vent from the Multi Purpose without over-
pressurisation of the Multi Purpose or the tubes.
+
If you have two milliAmp outputs, ensure that you fit the correct
interface connector to the corresponding milliAmp connector on the
rear of the Multi Purpose.
Pin Use
1+ve
2-ve
3 screen
+
When the Multi Purpose is switched on, the Alarm LED, the Fault LED
and the audible alarm will all go on for 1 second to demonstrate that
they are functioning correctly, and will then go off again.