68
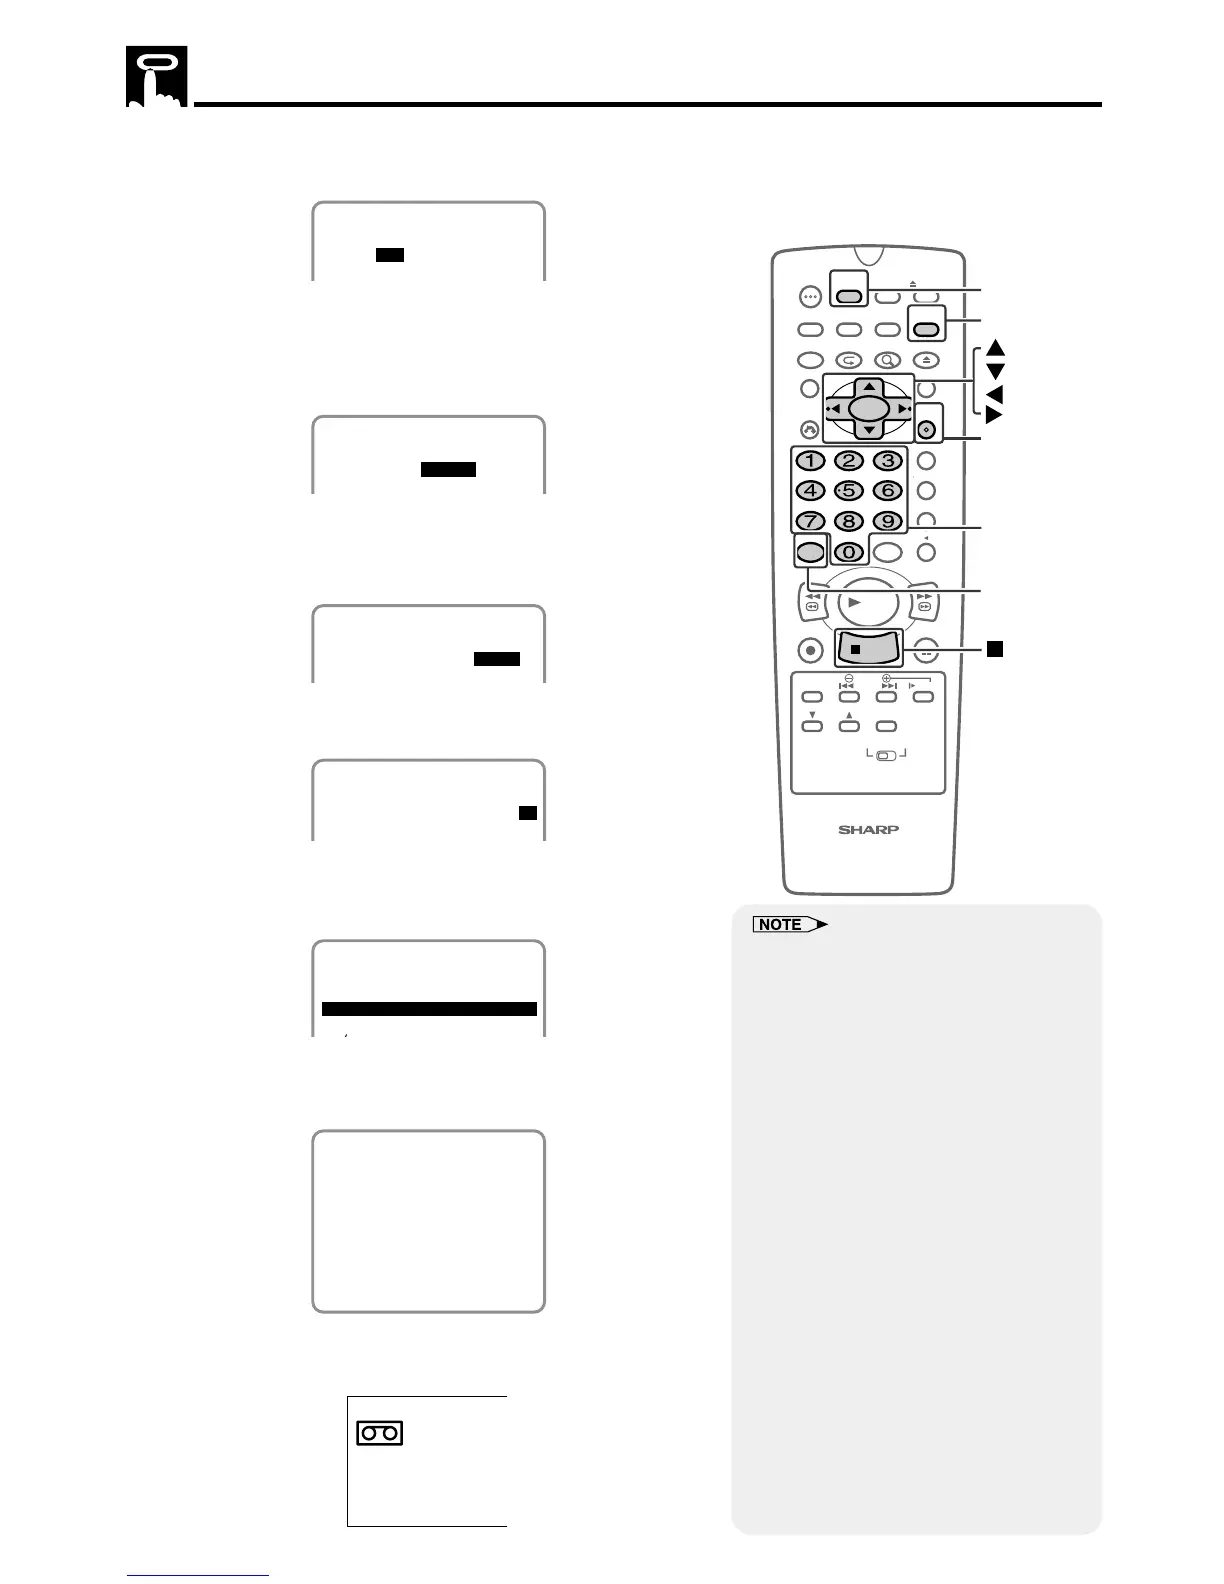
5 Select the desired channel with ' / " and then press
||
||
|.
(Example) Channel 07
1/2
8/10 07 --:-- --:--SP
DATE CH START STOP
-/-- --- --:-- --:----
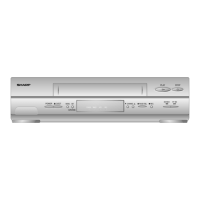
6 Set the recording start time (hour digits and minute digits) with
' / " and then press
||
||
|.
(Example) 9:05 PM
Press AM/PM to select “AM” or “PM”.
1/2
8/10 07 9:05P --:--SP
DATE CH START STOP
-/-- --- --:-- --:----
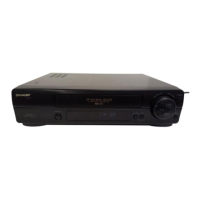
7 Set the recording stop time with ' / " and then press
||
||
|.
(Example) 10:35 PM
It is not necessary to select AM or PM.
1/2
8/10 07 9:05P 10:35SP
DATE CH START STOP
-/-- --- --:-- --:----
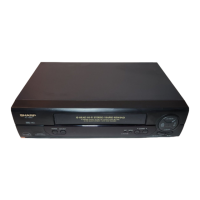
8 Select the tape speed with ' / ".
(Example) SP
1/2
8/10 07 9:05P10:35SP
DATE CH START STOP
-/-- --- --:-- --:----
10 Press VCR MENU to finish settings.
The display shown below appears on the screen for 5 seconds,
after which the normal screen returns.
TIMER ON/OFF BUTTON
FOR TIMER RECORDING.
11 Press TIMER ON/OFF to enter the timer standby mode. Be sure
that “TIMER” is lit up on the VCR Front Panel display.
TIMER
Timer Recording
• If the power is interrupted for more than
60 seconds (power failure, etc.) during
timer recording, the Auto Clock Setting
will reset the time after the power is
returned (the timer indicator on the VCR
Front Panel display will flash.) but the
timer settings will be cancelled.
• Number buttons can be used instead of
' / " to set the data.
• If the cassette ends before recording all
the programs, the VCR will stop, eject
the cassette, and turn the power off
automatically.
• In Step 9, if TIMER ON/OFF is pressed
with no cassette inserted, the TIMER
indicator flashes for 5 seconds indicat-
ing that timer recording is not possible.
• In Step 9, if the inserted cassette is
without the erasure protection tab,
TIMER indicator flashes and the
cassette is ejected.
• To stop timer recording, press ËSTOP.
• If a button is not pressed within 3
minutes during the setting procedure, the
screen will return to the normal screen.
• There are two timer setting screens (1/2,
2/2).