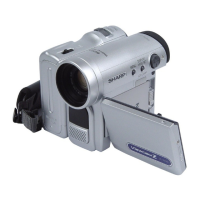
Preparation
Inserting and Removing the
Battery Pack
Inserting the Battery Pack
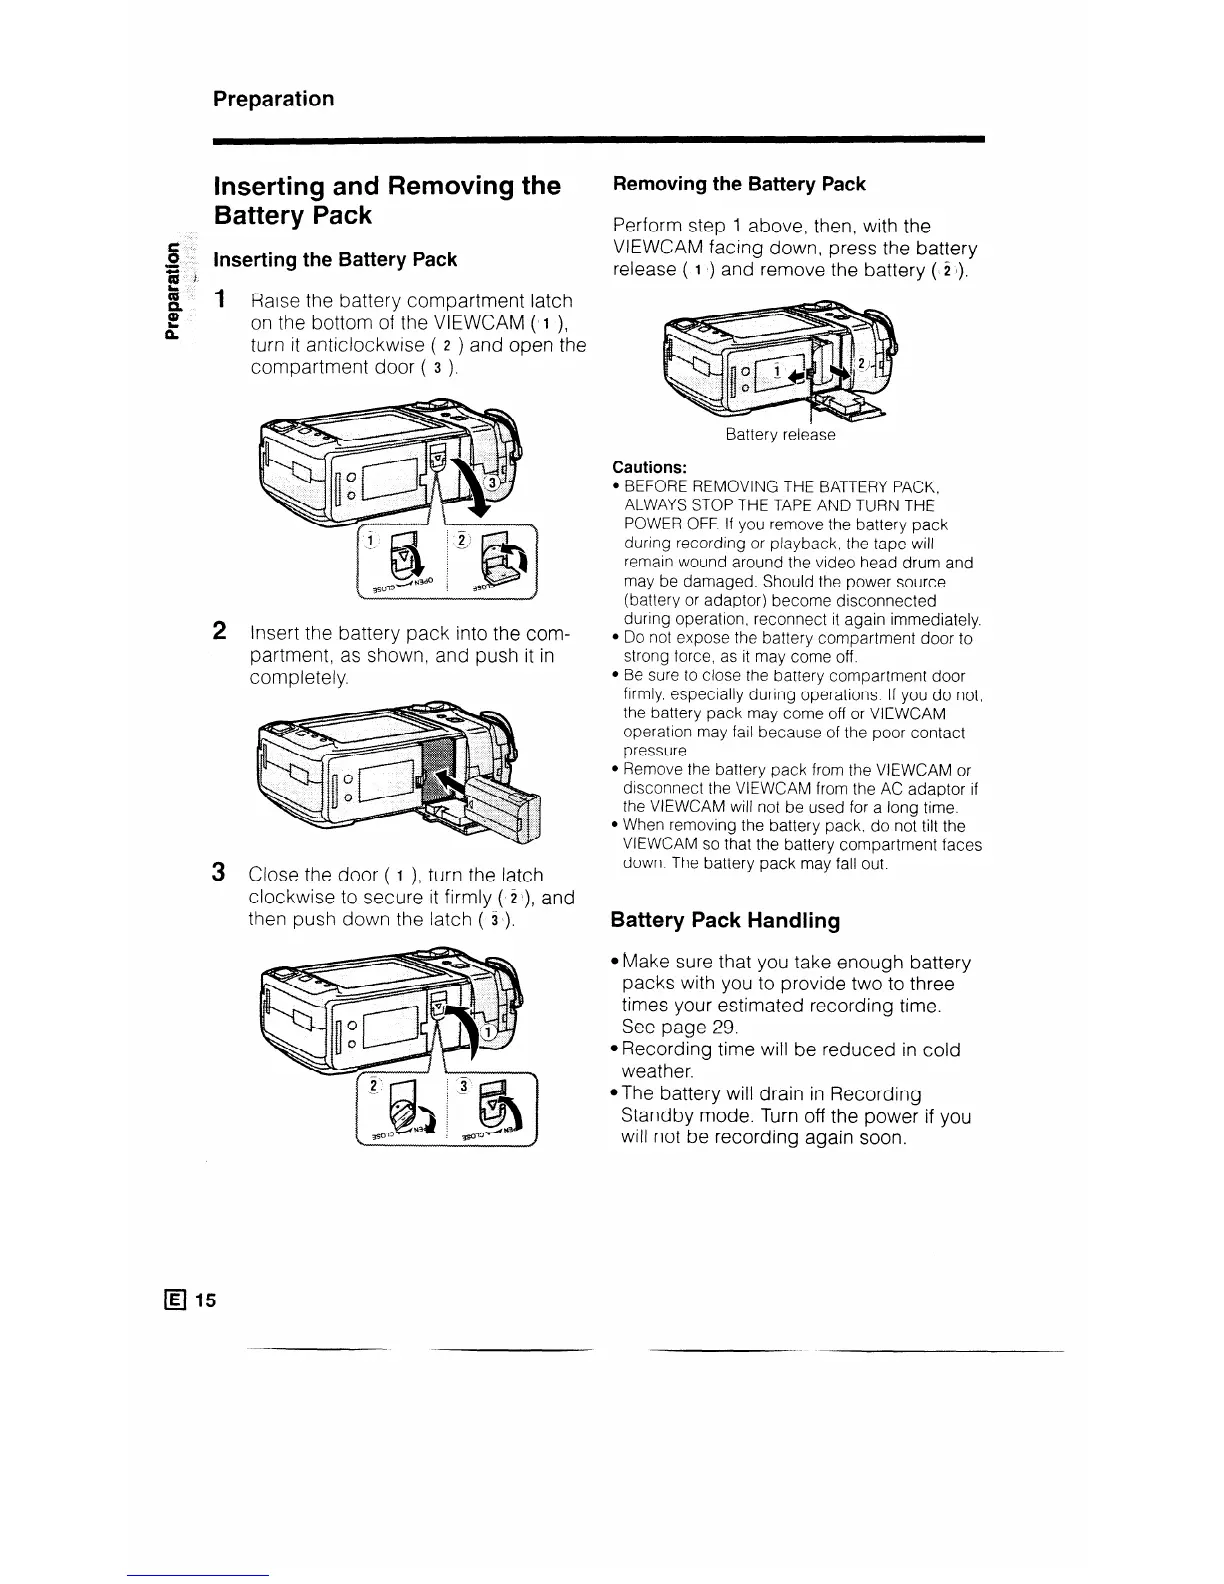
1 Raise the battery compartment latch
on the bottom of the VIEWCAM ( I ),
turn it anticlockwise ( z ) and open the
compartment door ( 3 ).
q 15
2 Insert the battery pack into the com-
partment, as shown, and push it in
completely.
3 Close the door ( I ), turn the latch
clockwise to secure it firmly ( C), and
then push down the latch ( 31).
Removing the Battery Pack
Perform step 1 above, then, with the
VIEWCAM facing down, press the battery
release ( 1 b) and remove the battery ($2 I).
Battery release
Cautions:
l BEFORE REMOVING THE BATTERY PACK,
ALWAYS STOP THE TAPE AND TURN THE
POWER OFF. If you remove the battery pack
during recording or playback, the tape will
remain wound around the video head drum and
may be damaged. Should the power source
(battery or adaptor) become disconnected
during operation, reconnect it again immediately.
l Do not expose the battery compartment door to
strong force, as it may come off.
l Be sure to close the battery compartment door
firmly. especially during operations. If you do not,
the battery pack may come off or VIEWCAM
operation may fail because of the poor contact
pressure.
l Remove the battery pack from the VIEWCAM or
disconnect the VIEWCAM from the AC adaptor if
the VIEWCAM will not be used for a long time.
l When removing the battery pack. do not tilt the
VIEWCAM so that the battery compartment faces
down. The battery pack may fall out.
Battery Pack Handling
4vlake sure that you take enough battery
packs with you to provide two to three
times your estimated recording time.
See page 29.
@Recording time will be reduced in cold
weather.
@The battery will drain in Recording
Standby mode. Turn off the power if you
will not be recording again soon.