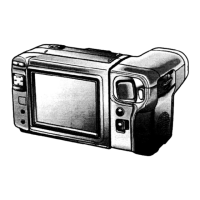
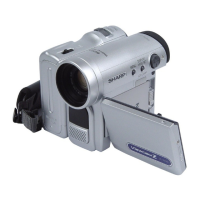
Powering the VIEWCAM from
an AC Outlet
1
Slide the cable notch cover in the direction
of the arrow.
2 Raise the battery compartment latch on
the bottom of the VIEWCAM ( l ), turn it
anticlockwise ( i ) and open the
compartment door ( 3 ).
3 Insert the DC cable connecting plate into
the compartment and push it in until it
clicks ( t ). Pass the cable through the
cable notch ( 2 ), and close the door ( ! ).
Turn the latch clockwise to lock the door,
and push down the latch ( 4 ).
Cable notch
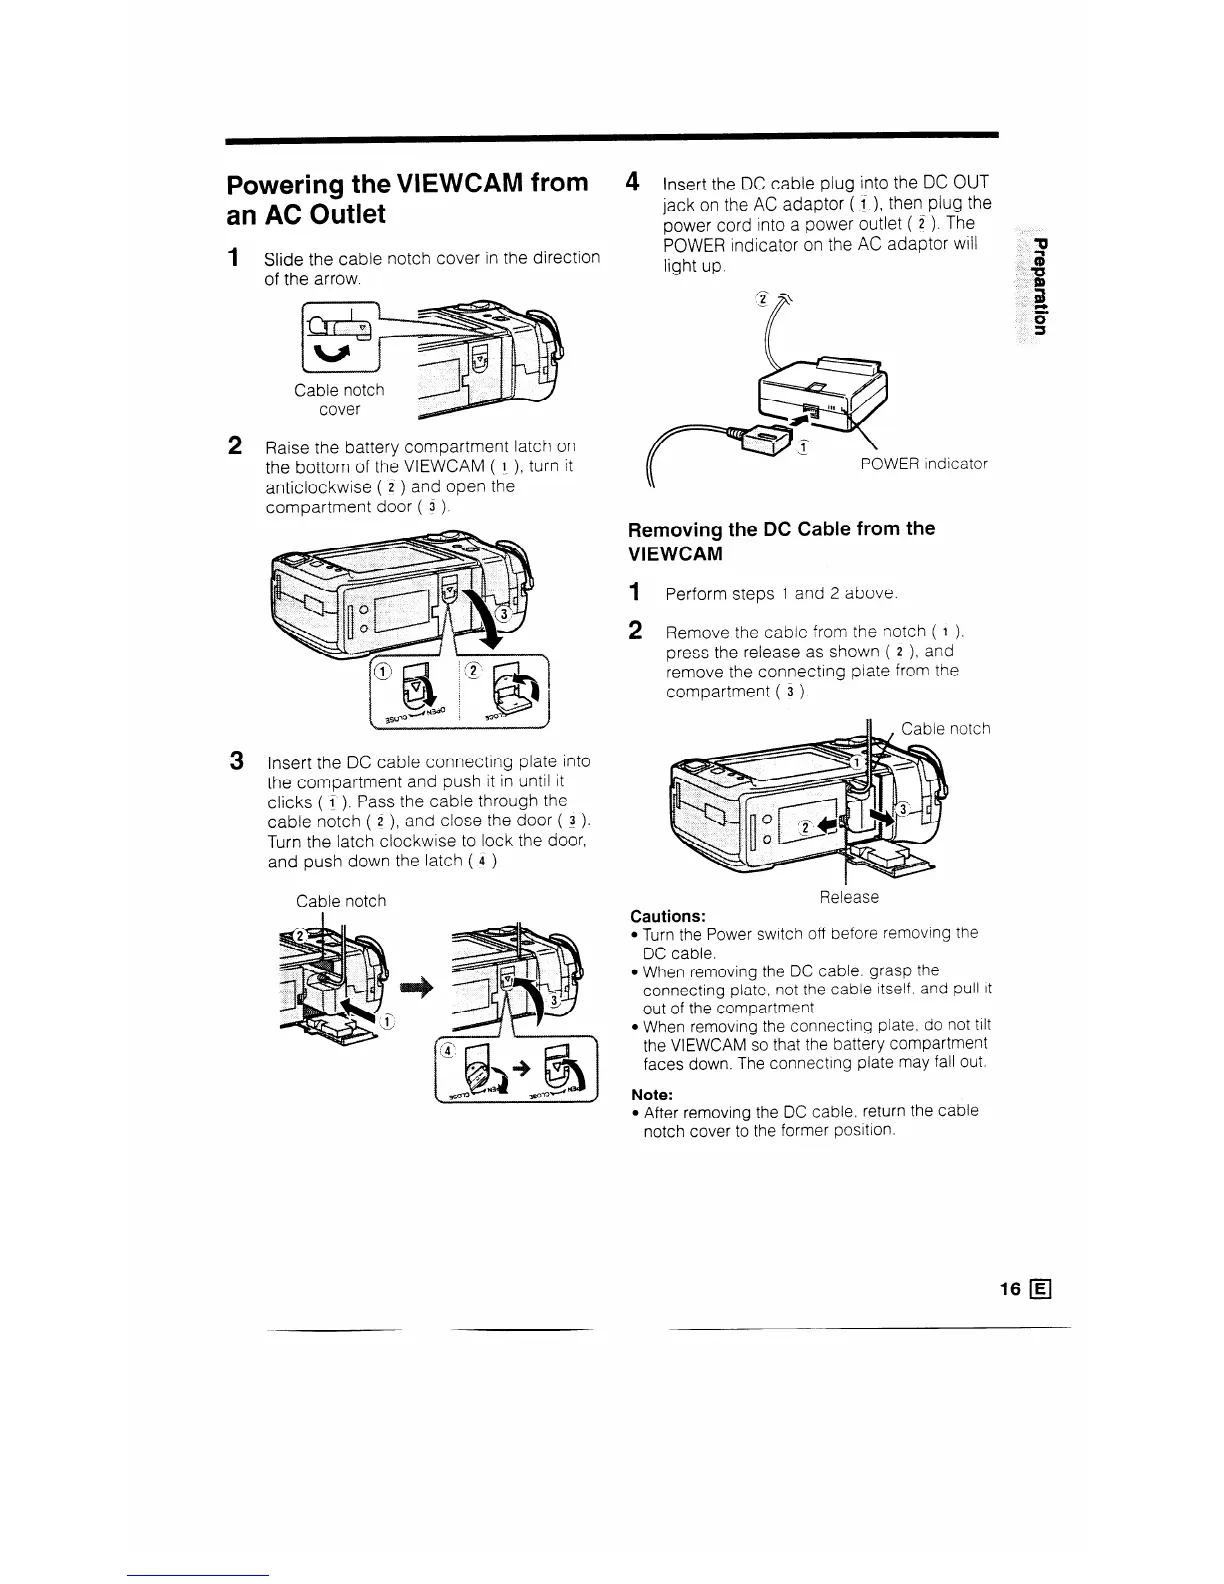
4
Insert the DC cable plug into the DC OUT
jack on the AC adaptor (1 ), then plug the
power cord into a power outlet ( Z ). The
POWER indicator on the AC adaptor will
light up.
ER indicator
Removing the DC Cable from the
VIEWCAM
1 Perform steps 1 and 2 above.
2 Remove the cabie from the notch ( 1 )?
press the release as shown ( 2 ), and
remove the connecting plate from the
compartment ( 3 ).
Cautions:
Release
l Turn the Power switch off before removing the
DC cable.
l When removing the DC cable. grasp the
connecting plate, not the cable itself. and pull It
out of the compartment.
l When removing the connecting plate, do not tilt
the VIEWCAM so that the battery compartment
faces down. The connecting plate may fall out.
Note:
l After removing the DC cable, return the cable
notch cover to the former position.
16 q
__