Operating instructions Chapter 10
S100
8012238/YY30/2015-02-20 © SICK AG • Subject to change without notice 45
Do not use any additional sealant for sealing the optics cover, e.g. silicon, as these
substances may affect the optics.
Mount the optics cover as per the following instructions to ensure that the housing is
sealed to IP 65.
How to replace the optics cover:
Only use a new optics cover (see 13.3.6 on page 65).
When replacing the optics cover, take ESD protection measures.
Set a torque wrench to 1.2 Nm (hand-tight) and have this at hand.
Disconnect the system plug and remove the S100.
Take the S100 to a clean place (office, repair shop or similar).
First clean the outside of the S100. This prevents foreign bodies entering the device
when it is opened.
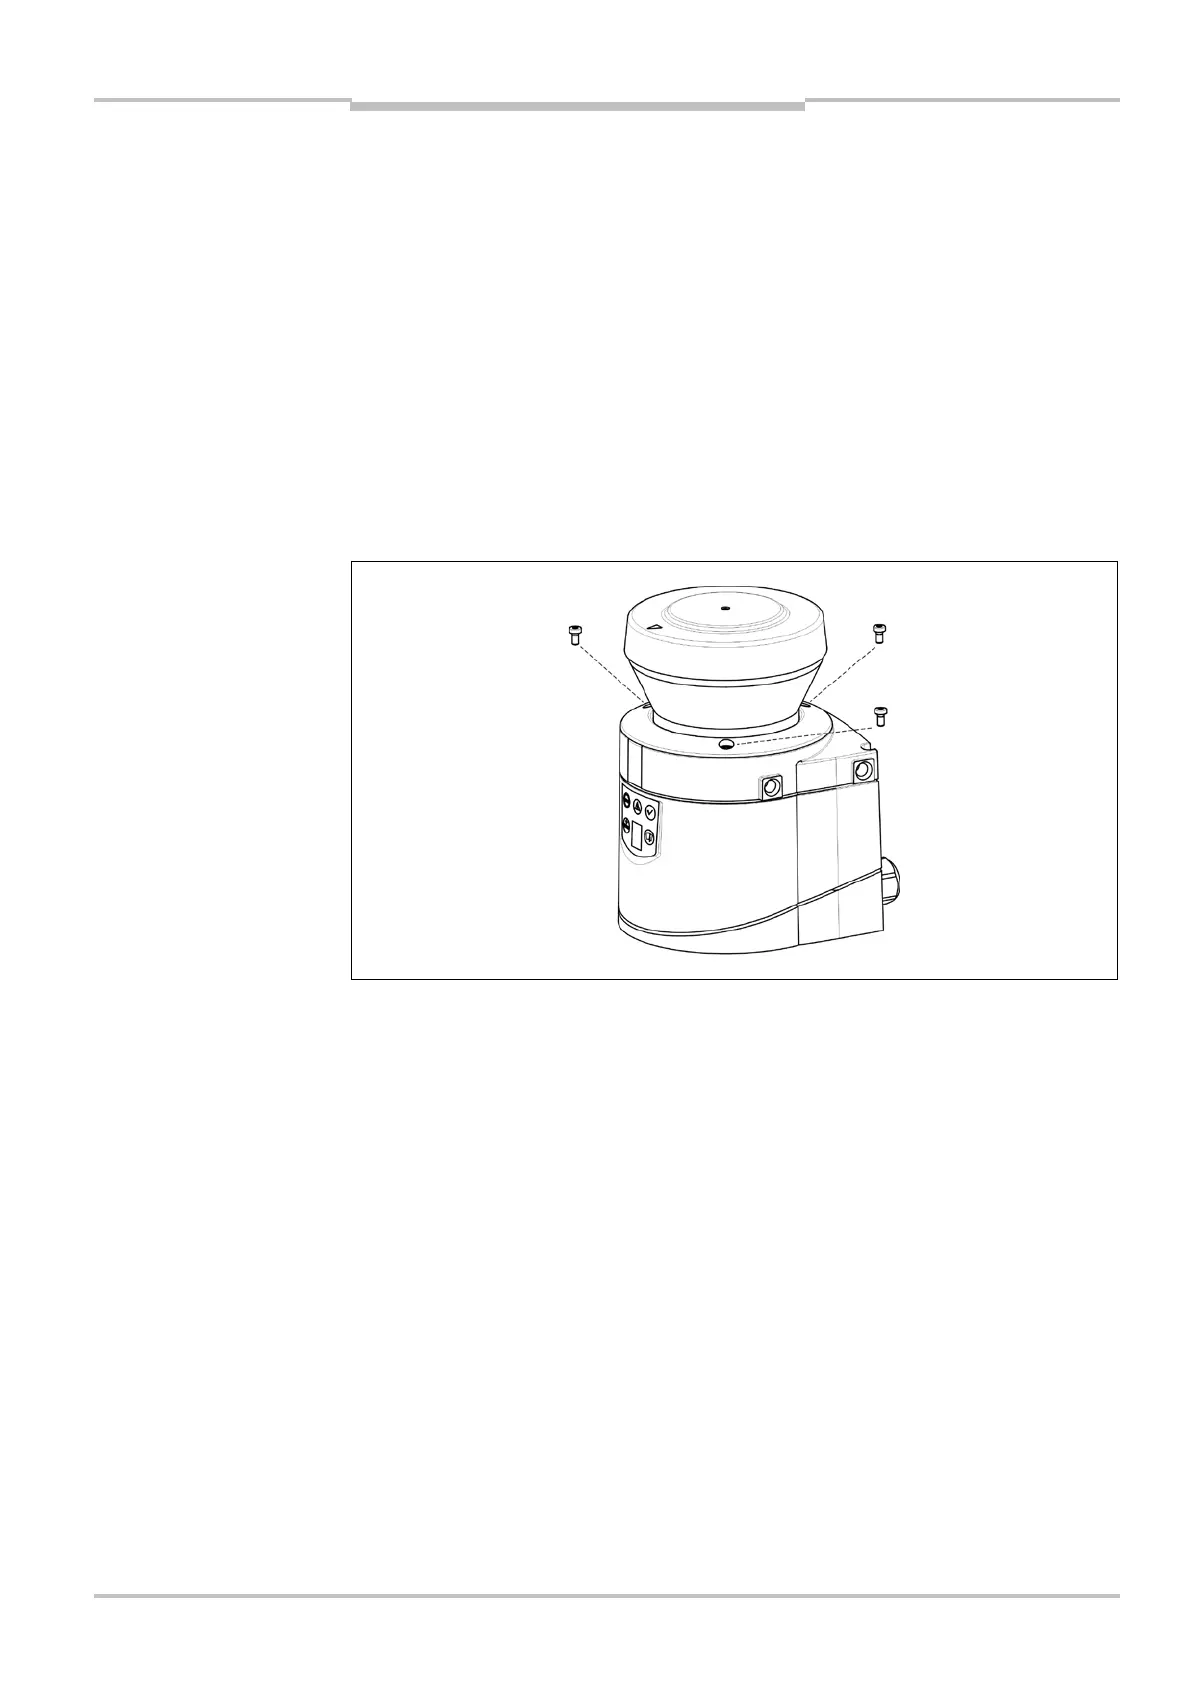
Undo the fixing screws to for the optics cover.
Then remove the optics cover.
Check whether the mirror on the motor is clean and remove any contamination with an
optic brush.
Take the new optics cover out of the packaging and remove the protection for the seal.
Remove any remnants of packaging.
Place the optics cover on the laser scanner and fit the new fixing screws to .
When fitting the new cover, ensure the arrow on the top of the cover points to the front
and that the optics cover is fully in contact without a gap.
Then tighten the front screws with the torque set.
Make sure the optics cover is free of dirt and that it is not damaged.
Re-commissioning the S100:
Correctly re-mount the S100 (see chapter 5 “Mounting” on page 25).
Connect the S100 system plug.
After power up the S100 automatically reads the saved configuration from the system
plug (see section 9.2 “Re-commissioning” on page 43).
Then perform an optics cover calibration with the aid of the CDS-S100.
Notes
Fig. 29: Undo the fixing
screws for the front screen