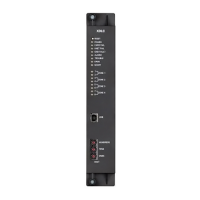
Mounting the XCA1016 add-on module
1. Insert the add-on module XCA1016 (4) into the connecting terminals of the lower
main board starting from the left.
2. Tighten all screws of the connecting terminals.
Mount the XCA1110 pyrotechnical actuator kit
1. Plug in the pyrotechnical actuator kit on the punched rail on the chassis (5).
Ensure that the terminals of the contacts are facing upward.
2. Connect the relay coil according to your application.
Connecting the FCA 1005-D RT blocking card
1. Insert the connection pins of the RT blocking card (6) into the CL5 "RT-alarm"
and the CL6 "RT fault" terminals of the XCM1001-2 main board and tighten the
terminals (see chapter 5.6.4).
2. Connect the wires from the remote transmission device to the "RT-alarm" and
"RT fault" terminals (see chapter 5.6.4).
3. Connect the "+" and "-" terminals of the RT blocking card with terminals 16 "Out
24 V" of the XCM1001-1 main board (see chapter 5.2.2 and 5.2.3).
4. Connect the "RT output" terminal of the RT blocking card to the main board
according to your application (see chapter 5.6.4).
5. Set the jumpers appropriately for the remote transmission device being used
(see table at chapter 5.6.4).
Mount the Z3B171 Relay module
1. Plug in the relay module on the punched rail on the chassis (7). Ensure that the
terminals of the contacts are facing upward.
2. Connect the relay coil according to your application.
Mount the I/O module FDCIO 222 or I-module FDCI222
1. Mount the FDCIO 222 (8) or FDCI 222 (8) with 1 screw (see chapter 6.2.3 for
details on the connections).
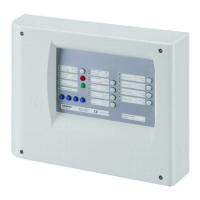
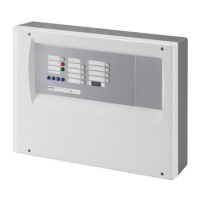
7.7 Connecting the control unit
1. Insert all cables.
2. Connect the peripheral devices.
3. Terminate the unused, monitored detector lines and control lines with an end-of-
line resistor or a closure element.
4. Remove the mains fuse.
5. Connect the mains line.
 Loading...