Chapter: 9. Appendix, Miscellaneous Drawings
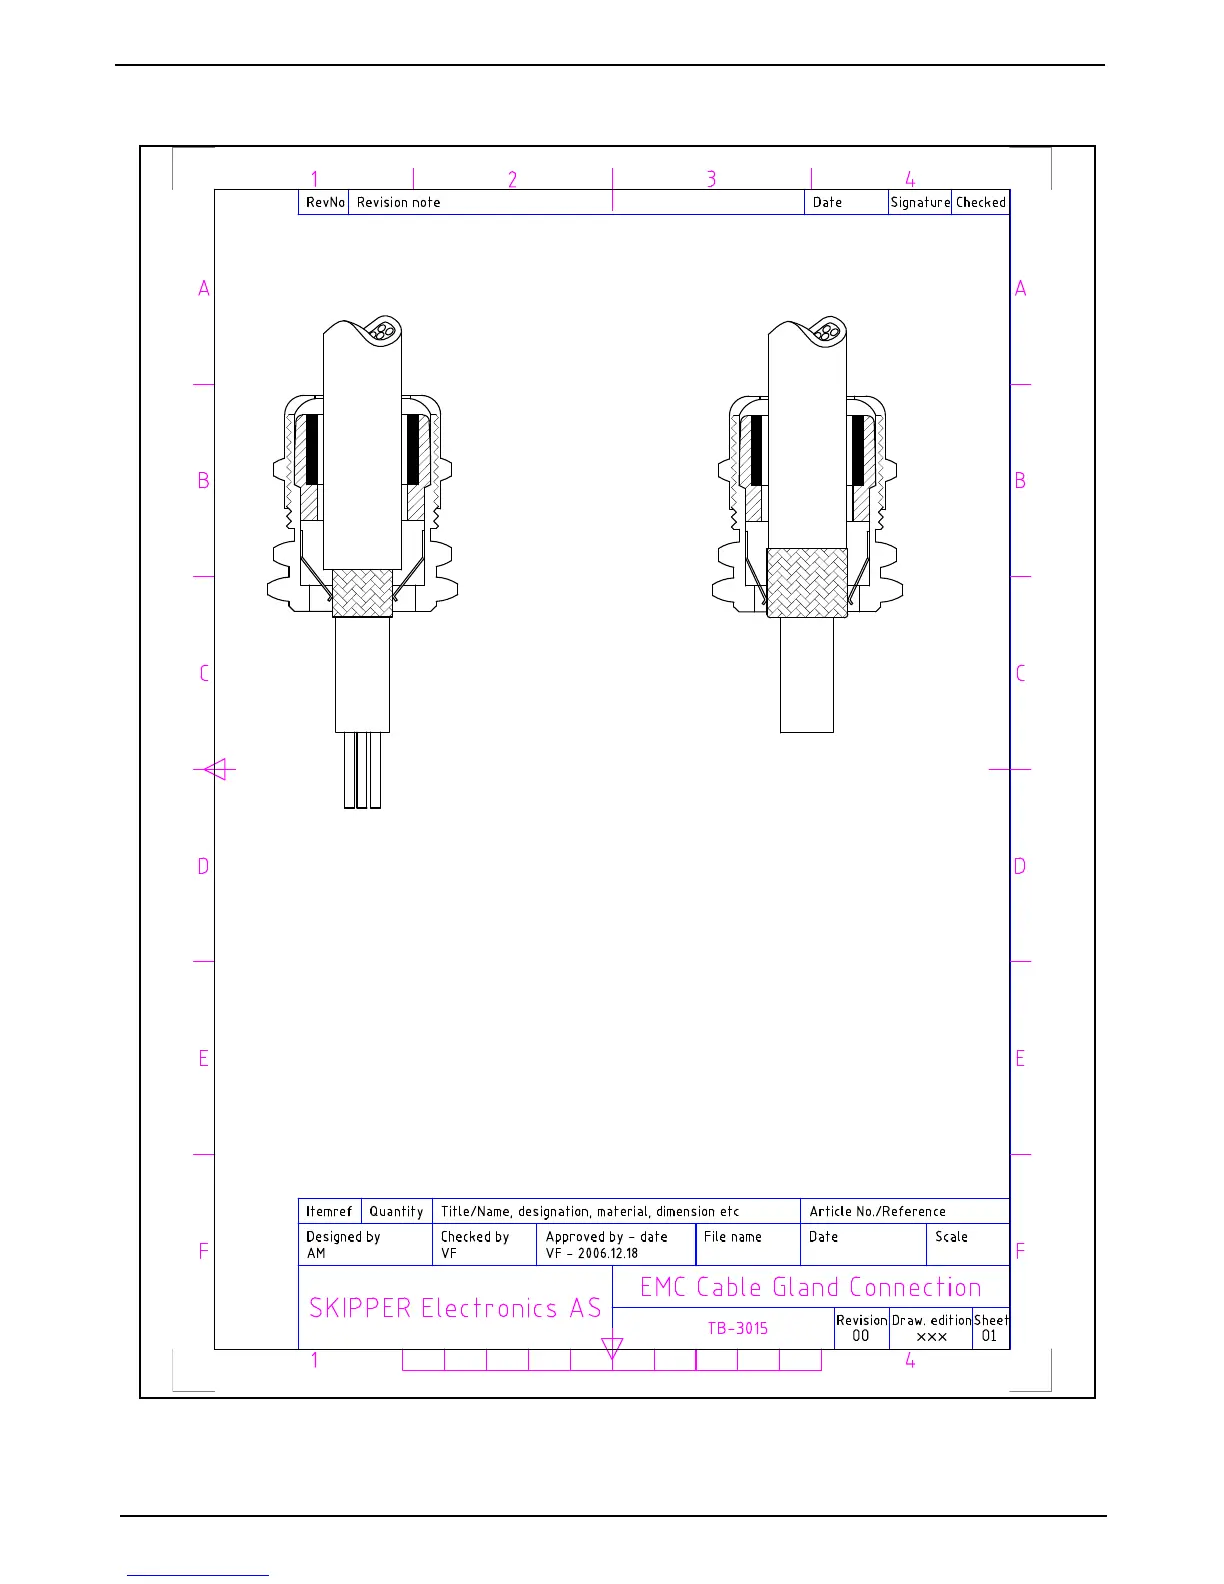
The assembly of cable gland is quick and easy:
1. Partially expose the braided screen by removing the outer
sheath of the cable at a lenght of approx. 10 mm
2. Insert the cable through the dome nut and the gland body until
the contact spring is pressed against the braided screen.
3. Firmly screw on dome nut .
Cable glands play an important part in safeguarding EMC requirements
where cables and leads enter into a shielding system.
They have to ensure a permanent connection with very low ohmic or
inductive resistance between the cable shield and the housing potential.
1. Straight braided screen
2. Twisted backward
.....braided screen
Fig. 9.3 Cable Gland Connection