Axles, Drive Shafts, Wheels and Tires
5-6
31211015 6036, 6042, 8042, 10042, 10054
5.3.4 Axle Maintenance
CLEANING: Clean parts with machined or ground surfaces
(such as gears, bearings and shafts) with emulsion cleaners
or petroleum-based cleaners. DO NOT steam clean internal
components and the interior of the planetary hub and axle
housing. Water can cause corrosion of critical parts. Rust
contamination in the lubricant can cause gear and bearing
failure. Remove old gasket material from all surfaces.
DRYING: Use clean, lintless towels to dry components after
cleaning. DO NOT dry bearings by spinning them with
compressed air; this can damage mating surfaces due to lack
of lubrication. After drying, lightly coat components with oil
or a rust-preventive chemical to help protect them from
corrosion. If storing components for a prolonged period, wrap
them in wax paper.
PERIODIC OPERATION REQUIREMENT: Every two weeks,
drive the machine far enough to cause the drive-train
components to make several complete revolutions. This will
help ensure that internal components receive lubrication to
minimize deterioration caused by environmental factors
such as high humidity.
SUBMERSION: If the machine has been exposed to water
deep enough to cover the hubs, disassemble the wheel ends
and inspect for water damage and contamination. If the
carrier housing was submerged in water, especially if the
water level was above the vent tube (breather), drain the axle
and inspect internal parts for water damage and
contamination. Before assembling and refilling the unit with
the specified lubricant(s), clean, examine and replace
damaged parts as necessary.
Note: Use a suitable puller for bearing removal. Clean, inspect
and lubricate all bearings just prior to reassembly. If
replacement of a damaged bearing cup or cone is necessary,
replace the cup and cone as a set.
5.3.5 Axle Replacement (6036 & 6042)
a. Axle Removal
The front and rear axle assemblies differ in that the front axle
assembly is equipped with a parking brake mechanism and a
limited-slip feature; the rear axle has neither. The following
steps outline a typical axle removal
procedure, suitable for either the front or the rear axle
assembly.
Cleanliness is extremely important. Before attempting to
remove the axle, thoroughly clean the machine. Avoid
spraying water or cleaning solution on the stabilizer
solenoids and other electrical components. If using a steam
cleaner, seal all openings before steam cleaning.
Note: Clear the work area of all debris, unnecessary personnel,
etc. Allow sufficient space to raise the machine and to remove
the axle.
1. Park the machine on a firm, level surface, level the
machine, fully retract the boom, lower the boom, place
the transmission in (N) NEUTRAL, engage the parking
brake, straighten all wheels and shut the engine OFF.
2. Place a Do Not Operate Tag on both the ignition key
switch and steering wheel, stating that the machine
should not be operated.
3. Open the engine rear and side engine doors. Allow the
system fluids to cool.
4. Properly disconnect the battery. Refer Section 9.8,
“Battery”, for procedure.
5. If the axle will be disassembled after removal, place a
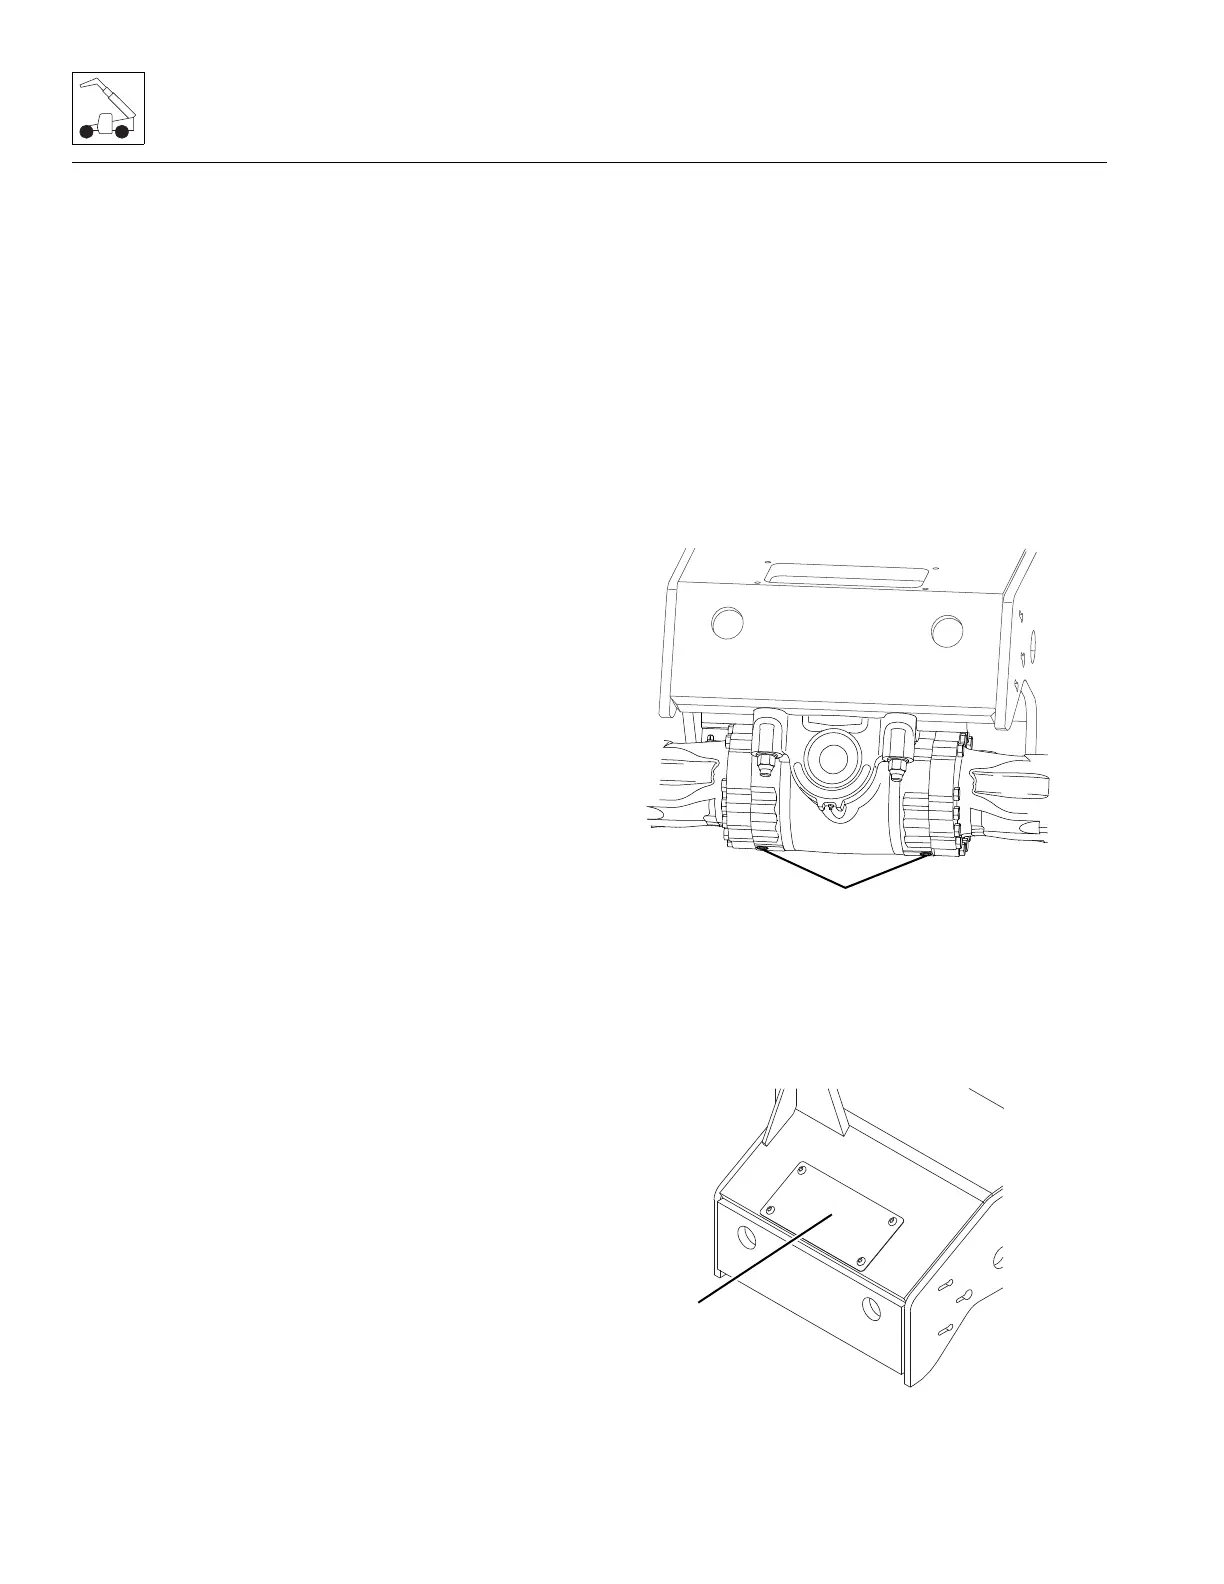
suitable receptacle under the axle drain plug (1).
Remove the drain plug and allow the axle oil to drain
into the receptacle. Transfer the used axle oil into a
suitable covered container, and label the container as
“Used Oil”. Dispose of used oil at an approved recycling
facility.
6. Front Axle: Remove the front access panel (2) to gain
access to the front axle hose connections and mounting
bolts.


 To Next Page