73
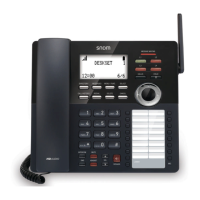
D717 User Manual Configuring the Function Keys
Fig. 3 Fig. 4 Fig. 5
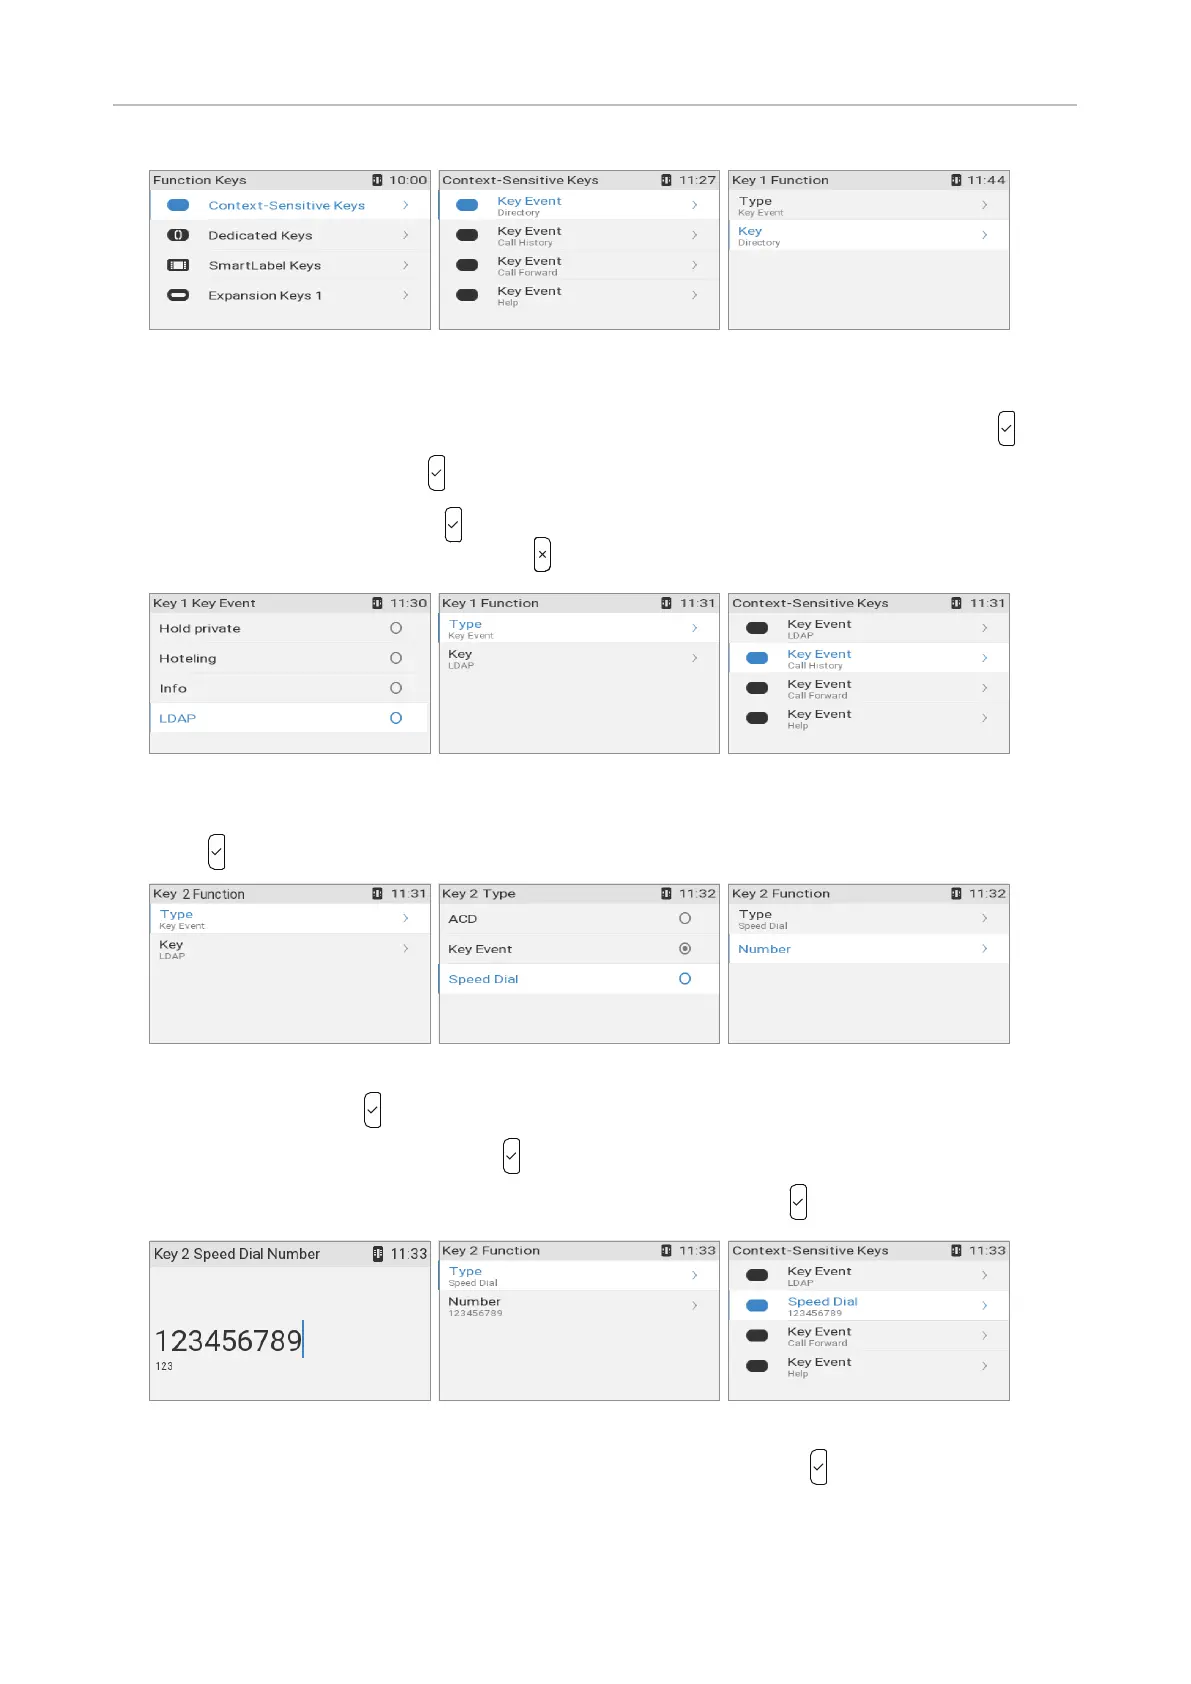
2. The keys in the Context-sensitive keys menu from top to bottom represent the keys underneath
the display from left to right (Fig. 4). Select the key, in our example the left key, and press .
3. Select Key (Fig. 5), and press .
4. Select LDAP (Fig. 6), and press to save and return to the Key 1 Function menu (Fig. 7). Since the
type does not need to be changed, press to return to the Context-sensitive keys menu.
Fig. 6 Fig. 7 Fig. 8
5. Select the key, in our example the second key from the left underneath the display (Fig. 8), and
press to open the Key 2 Function menu (Fig. 9).
Fig. 9 Fig. 10 Fig. 11
6. Select Type and press .
7. Select Speed Dial (Fig. 10) and press to save and return to the Key 2 Function menu (Fig. 11).
8. The Number setting has been added to the menu. Select and press (Fig. 11).
Fig. 12 Fig. 13 Fig. 14
9. Enter the number to be dialed by pressing the key (Fig. 12), and press to save and return to the
Function menu (Fig. 13). Type each phone number exactly how it needs to be dialed by the phone,
i.e., with any required prefixes (area code, country code, operator/auto attendant, etc.) and without
spaces or punctuation between the digits.