Appendix B: Opening Conduit Drill Guides
Thisstepmaybeperformedbeforeoraftermountingtheinverter.
ThedrillguidesforACgrid,PVDCandbatteryDCarealreadyopen.Ifrequired,usethisprocedurefor
openingadditionaldrillguides.
CAUTION!
SolarEdge does not permit opening or puncturing the Connection Unit in any location other than the pre-
defined drill guide locations, or otherwise altering the construction of the enclosure, as this may
compromise safety and will void the warranty. This includes, but is not limited to, the use of fasteners
like rivets, screws, nails, inserts, or pins.
For jurisdictions requiring field applied markings on the Connection Unit enclosure, such as labels or
placards that display PV system information, adhesive labels or placards that comply with ANSI Z535
and are compatible with the enclosure material may be used.
SolarEdge n'autorise pas l'ouverture or la perforation du commutateur de sécurité a tout endroit autre
que les emplacements de perforation guidés prédéfinis, ou la modification de l'enceinte électrique, car
cela compromettrait la sécurité et annulerait la garantie. Ceci inclus, sans être limité à, l'utilisation de
fixations comme des rivets, vis, clous, inserts ou des broches.
Pour les juridictions ou un marquage de sécurité est requis sur le couvercle du coupeur DC, tels que des
labels ou étiquettes qui figurent des information du système PV, des labels ou étiquettes adhésifs
compatibles avec ANSI Z535 peuvent être utilisés qui sont compatibles avec le matériau du couvercle.
ForACconnectionsyoucanuseoneofthefollowingconduitopeningsoptions:
l Option1-ConnecttheACgridandbackuploadswiresusingtheACopening(drillguidealreadyopen;
noneedtoopenanadditionaldrillguide).Inthiscaseuseminimum1"(32mm)conduitforinsertingall
wires.
l Option2-Usetwoseparateconduits:minimum1"(32mm)conduitfortheACgridconnectionand
3/4"(25mm)conduitfortheloadbackupconnection.Inthiscase,anadditionaldrillguideshouldbe
openedforthebacked-uploads.
To open conduit drill guides:
1.
MovetheConnectionUnitsafetyswitchandtheinverterON/OFFswitchtoOFF.
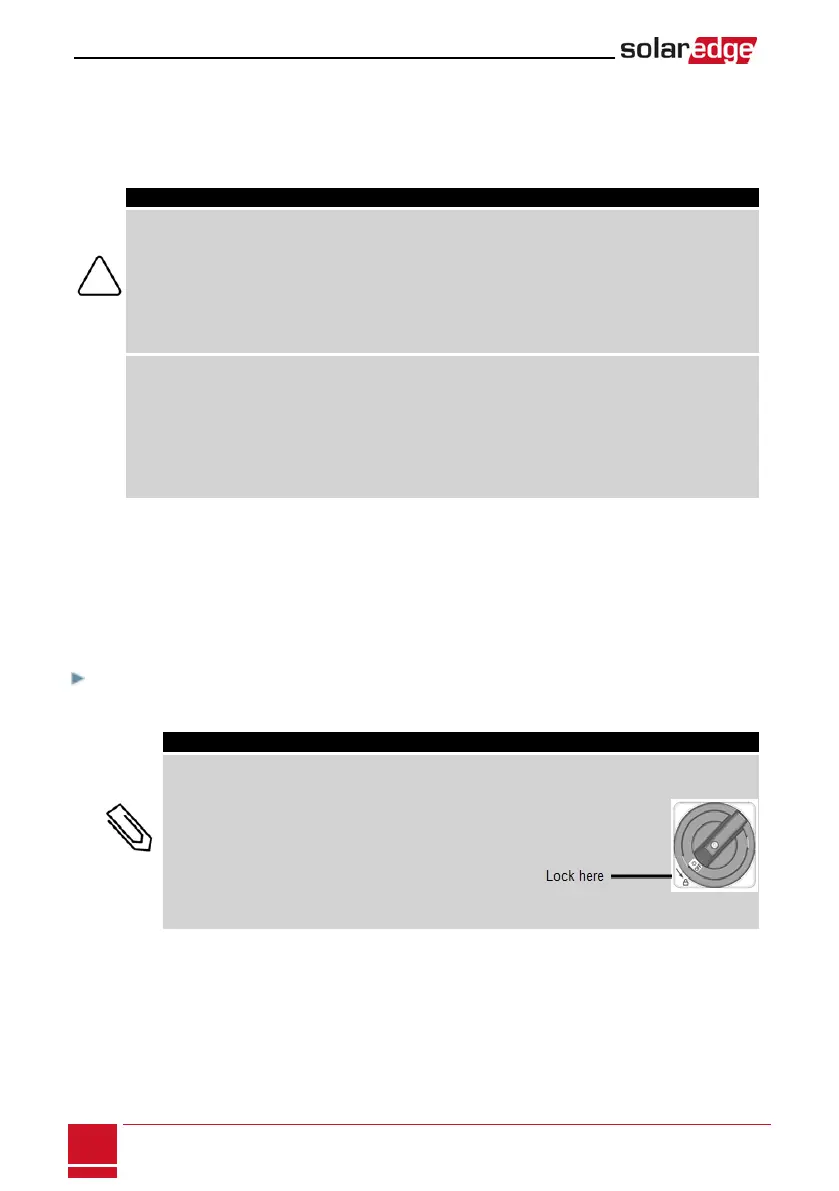
NOTE
When the Connection Unit is OFF (for example during maintenance) it may be locked to prevent a
safety hazard:
1. Move the switch to the Lock position.
2. Insert the lock through the knob opening and lock.
SolarEdge-StorEdge Installation Guide MAN-01-00262-1.3
102
Appendix B: Opening Conduit Drill Guides