CAUTION!
HEAVY OBJECT. To avoid muscle strain or back injury, use proper lifting techniques, and if required - a
lifting aid when removing or replacing.
Objet lourd. Pour éviter la fatigue musculaire ou des blessures au dos, utilisez des techniques de levage
appropriées et, si nécessaire - un auxiliaire de levage lors du retrait ou du remplacement.
1. Determinetheinvertermountinglocation,onawall,studframingorpole,protectedfromdirect
solarirradiation.Toallowproperheatdissipation,maintainthefollowingminimumclearanceareas
betweentheinverterandotherobjects:
l Ifinstallingasingleinverter:
o
8"(20cm)fromthetopoftheinverter.
o
4"(10cm)fromthebottomoftheConnectionUnit.
o
4"(10cm)fromtherightandleftoftheinverter.
l Ifinstallingmultipleinverters:
o
Wheninstallinginvertersoneabovetheother,leaveatleast8"(20cm)betweenthetopofan
inverterandthebottomoftheConnectionUnit.
o
Wheninstallinginverterssidebyside,leave8"(20cm)betweeninverters.
2. Positionthemountingbracketagainstthewall/poleandmarkthedrillingholelocations:
o
Ensurethattheflatedgeofthebracketisatthebottom,asinFigure12.
o
Useatleasttwobracketholes.Additionalholescanbeusedtofixthebracket.Determinewhich
andhowmanyholestouseaccordingtomountingsurfacetypeandmaterial.
3. Drilltheholesandmountthebracket.Verifythatthebracketisfirmlyattachedtothemounting
surface.
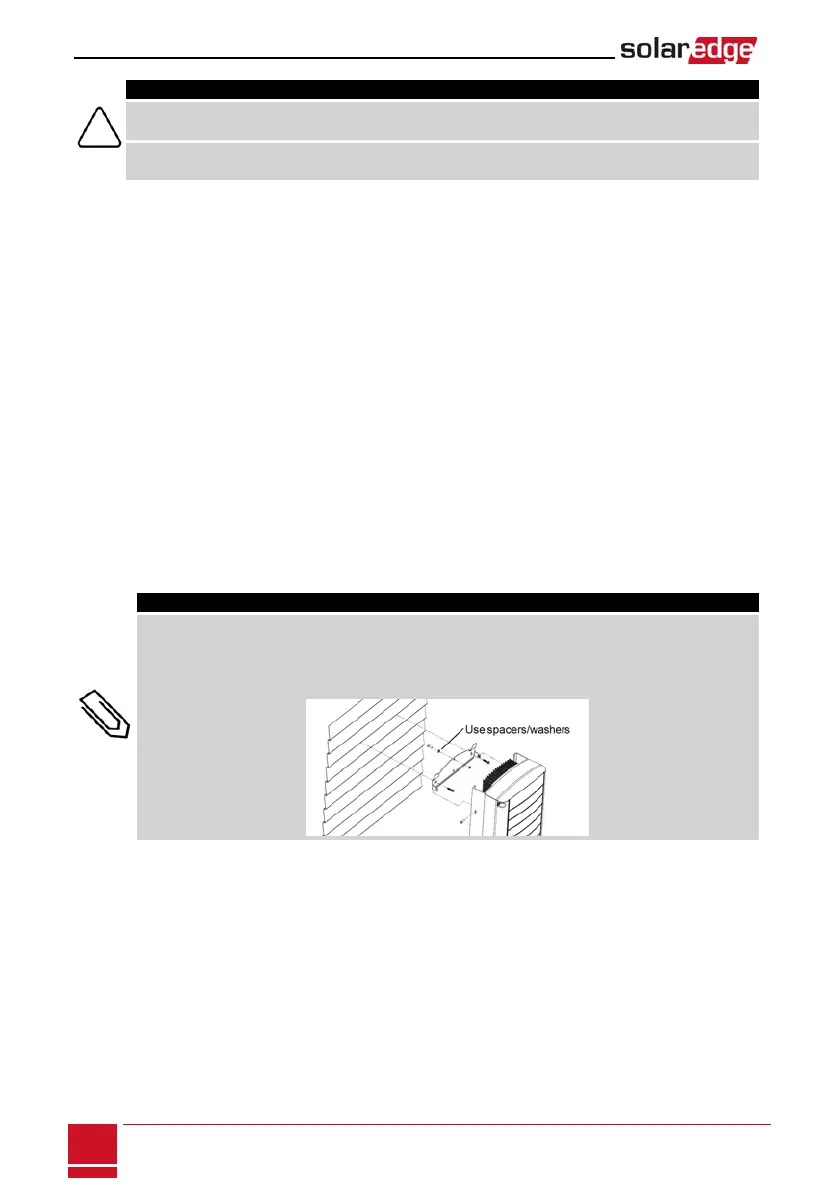
NOTE
When mounting an inverter on an uneven surface, you may use spacers/ washers behind the top
mounting hole of the bracket. Depending on the angle, use the appropriate size and number of spacers
so that the bracket is perpendicular to the ground. Recommended: a stainless steel 3/4" long screw,
with a 1/4" socket button head , two jam nuts and three washers.
4. Hangtheinverteronthebracket(seeFigure12):Lifttheinverterfromthesides,orholditatthetop
andbottomoftheinvertertolifttheunitintoplace.DonotliftholdingtheConnectionUnitasitmay
bedamaged.
SolarEdge-StorEdge Installation Guide MAN-01-00262-1.3
24
Mounting the Inverter