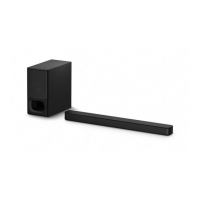
HT-ST5000
5
NOTE OF REPLACING THE MB-1611 BOARD OR
WLAN/BT COMBO CARD
When the MB-1611 board or WLAN/BT combo card is replaced,
be sure to perform with referring to the following item.
When replacing the MB-1611 board:
• NETWORK INFORMATION WRITING METHOD (refer to
this page)
• NETWORK CONNECTION CHECKING METHOD (refer
to page 6)
• NFC CONNECTION CHECKING METHOD (refer to page
6)
• NOTICE OF MAC ADDRESS CHANGE TO CUSTOMERS
(refer to page 7)
• WIRELESS CONNECTION (LINK) WORK OF BAR
SPEAKER AND SUBWOOFER (refer to page 7)
When replacing the WLAN/BT combo card:
• NETWORK INFORMATION WRITING METHOD (refer to
this page)
• NETWORK CONNECTION CHECKING METHOD (refer
to page 6)
• NFC CONNECTION CHECKING METHOD (refer to page
6)
• NOTICE OF MAC ADDRESS CHANGE TO CUSTOMERS
(refer to page 7)
NETWORK INFORMATION WRITING METHOD
When the MB-1611 board or WLAN/BT combo card is replaced,
perform the writing work of the network information in the service
mode.
Procedure:
1. Connect this unit with TV monitor.
2. Press the [
1
] button to turn the power on.
3. Press button on the remote control in order of the following.
[
x
] → [DISPLAY] → [
X
] → [V]
(Make the interval when each button is pressed within one sec-
ond)
4. Enter the service mode. The OSD menu on TV monitor can be
operated by remote control.
5. Press the [v] button on the remote control to select “Diag”, and
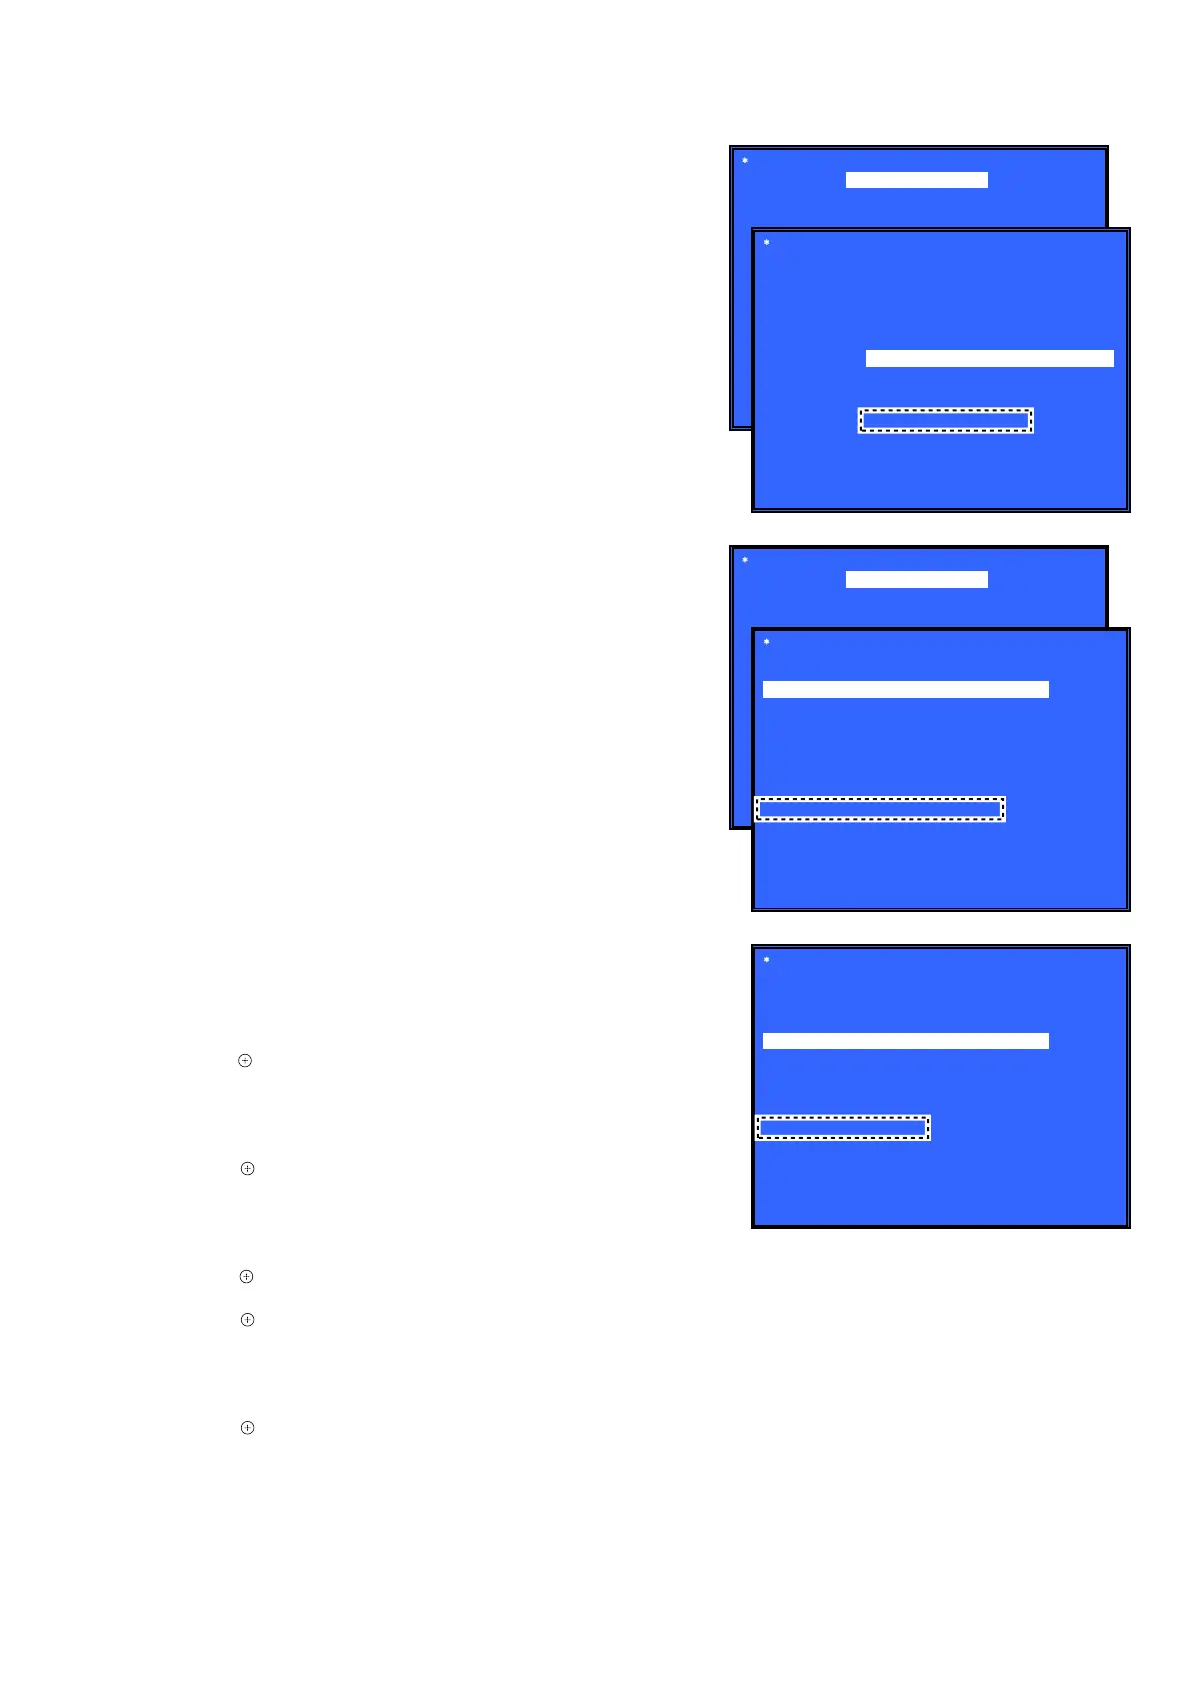
press the [ ] button on the remote control.
6. Press the [b] button on the remote control to select “Wireless
LAN Test” (refer to Screen 1).
7. Press the [v] button on the remote control to select “[5] Write
P2P address to Registry”.
8. Press the [ ] button on the remote control, wait until the dis-
play show “Status: Write Successful!” (refer to Screen 2).
9. Press the [BACK] button on the remote control to return to
category select screen, and press the [b] button on the remote
control to select “Bluetooth Device Test” (refer to Screen 3).
10. Press the [ ] button on the remote control to select “(1) Blue-
tooth Enable”.
11. Press the [ ] button on the remote control, wait until the dis-
play show “Status: Bluetooth Enable Successful!” (refer to
Screen 4).
12. Press the [v] button on the remote control to select “(3) Write
Bluetooth device address to Registry”.
13. Press the [ ] button on the remote control, wait until the dis-
play show “Status: Write Successful!” (refer to Screen 5).
14. Press the [
1
] button to turn the power off.
Diag
Diag
Category: Wireless LAN Test
[2] Connect to AccessPoint
[3] Start Display RSSI Value
[4] Start Ping Test
P2P device address: 32:52:cb:15:e7:95
HELP: [UP] [DOWN] [ENT] [RET]
Status: Write Successful!
(Screen 1)
(Screen 2)
Category: Wireless LAN Test
[1] Show WLAN HwInfo
(Screen 5)
Status: Write Successful!
Diag
Category: Bluetooth Device Test
(2) Bluetooth Disable
(3) Write Bluetooth device address to Registry
(4) Bluetooth Inquiry Test
Bluetooth Device address: 32:52:CB:15:E7:95
HELP: [UP] [DOWN] [ENT] [RET]
(1) Bluetooth Enable
[5] Write P2P address to Registry
[6] P2P Registry Check
Diag
Diag
Category: Bluetooth Device Test
(2) Bluetooth Disable
(3) Write Bluetooth device address to Registry
(4) Bluetooth Inquiry Test
HELP: [UP] [DOWN] [ENT] [RET]
(Screen 3)
(Screen 4)
Category: Bluetooth Device Test
(1) Bluetooth Enable
Status: Bluetooth Enable Successful!
 Loading...