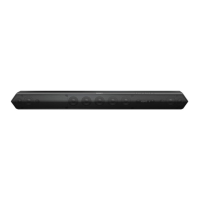
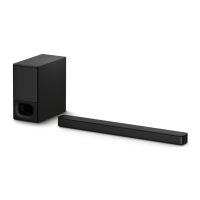
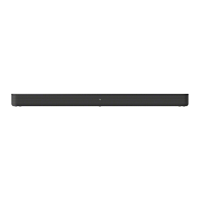
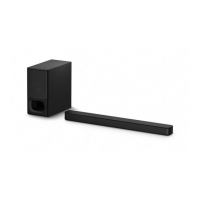
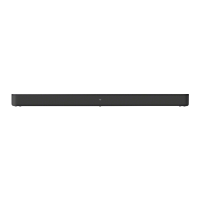
HT-ST5000
55
SECTION 3
TEST MODE
SYSCON RESET
It can reset of SYSCON.
Procedure:
1. Press the [
1
] button to turn the power on.
2. Press the [
1
] button for ten seconds. Then reset of SYSCON is
completed.
Note: There is no change in the display of the front panel display.
ALL RESET
It can initialize all settings of IFCon and SYSCON.
Procedure:
1. Press the [
1
] button to turn the power on.
2. Press the two buttons of the [–] and [
1
] simultaneously for fi ve
seconds.
3. The message “WAIT” blinks for a few seconds → “RESET”
→ “HELLO” is displayed on the front panel display and then
turn the power off.
RESET
WAIT
HELLO
Display is turned off
Blinks
RESOLUTION RESET
It can reset of output video resolution (change to 480p).
Procedure:
1. Press the [
1
] button to turn the power on.
2. Perform a mode in operation with either the main unit or re-
mote control.
For the main unit operation:
Hold down the [
] button on the main unit and press the but-
tons on the main unit in the order of [+] → [–] → [+].
For the remote control operation:
Press the buttons on the remote control in the order of [
x
] →
[DISPLAY] → [b] → [V].
3. The output video signal setting is changed to the lowest resolu-
tion (480p).
CHILD LOCK
It can invalid other than the [
1
] button on the main unit for pre-
venting misoperation, such as child mischief.
Note: Remote control operation is not invalid.
Procedure:
1. Press the [
1
] button to turn the power on.
2. Hold down the [ ] button and press the buttons in the order of
[–] → [+] → [–].
3. The message “LOCK” is displayed on the front panel display
and then operations other than the [
1
] button on the main unit
become invalid.
(Even if pressing other than the [
1
] button, the message
“LOCK” is blinking on the front panel display and the can not
operate)
LOCK
Releasing method:
1. Hold down the [
] button and press the buttons in the order of
[–] → [+] → [–].
2. The message “UNLCK” is displayed on the front panel display
and then child lock mode is released.
UNLCK
DEMO MODE 1 (Standalone)
The demo mode 1 (Standalone) can be performed.
Procedure:
1. Press the [
1
] button to turn the power on.
2. Perform a mode in operation with either the main unit or re-
mote control.
For the main unit operation:
Press the two buttons of the [ ] and [–] simultaneously for
fi ve seconds.
For the remote control operation:
Press the buttons on the remote control in the order of [BACK]
→ [ ] → [INPUT +] → [%] → [INPUT +] → [%].
3. The message “DMON” is displayed on the front panel display,
and enter the demo mode, then changed to the initial setting for
demo mode 1.
DMON
Initial setting for demo mode 1:
• Cannot power off by the [
1
] button (both the main unit and the
remote control).
• The auto standby function becomes invalid.
• When the non-operation and no sound for fi ve minutes is fol-
lowed, setting will return to the state when entering demo
mode 1.
• When insert the AC power cord into the wall outlet, it auto-
matically turns on and enters the demo mode 1.
Releasing method:
Perform the “DEMO RESET” on page 56.
Note: The demo mode 1 does not released by unplug the AC power cord.
 Loading...