11a b
When mounting (above) or dismounting the cover (below),
do not press the button:
To dismount the cover, insert a screwdriver into the
notches on the underside of the flush plate.
Flush-mounted installation of the glass urinal
flush plate
The first eight steps in the procedure for installing the
urinal flush plate for the U urinalflusher are the same for
all (flush-mounted) TECE urinal flush plates.
1a
b
VP250 108 00 a
VP250 108 00 a
2a
b
VP250 108 00 a
min.
VP250 108 00 a
min.
top
oben
First, mark the bare-wall protection protrusion, and remove
the polystyrene support. Loosen the screws and remove
the bare-wall protection.
3a
b
min.
VP250 108 00 a
min.
top
oben
min.
min.
Replace the polystyrene support to provide stability, and
cut the bare-wall protection along the marking. Replace
the bare-wall protection and screw it onto the flush valve
housing.
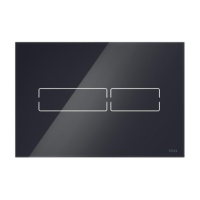
TECE flush plates – TECEsquare
-
Flush plates