SELECTION LINE: Service & Maintenance Manual - rev. 4.0
Page 4.4
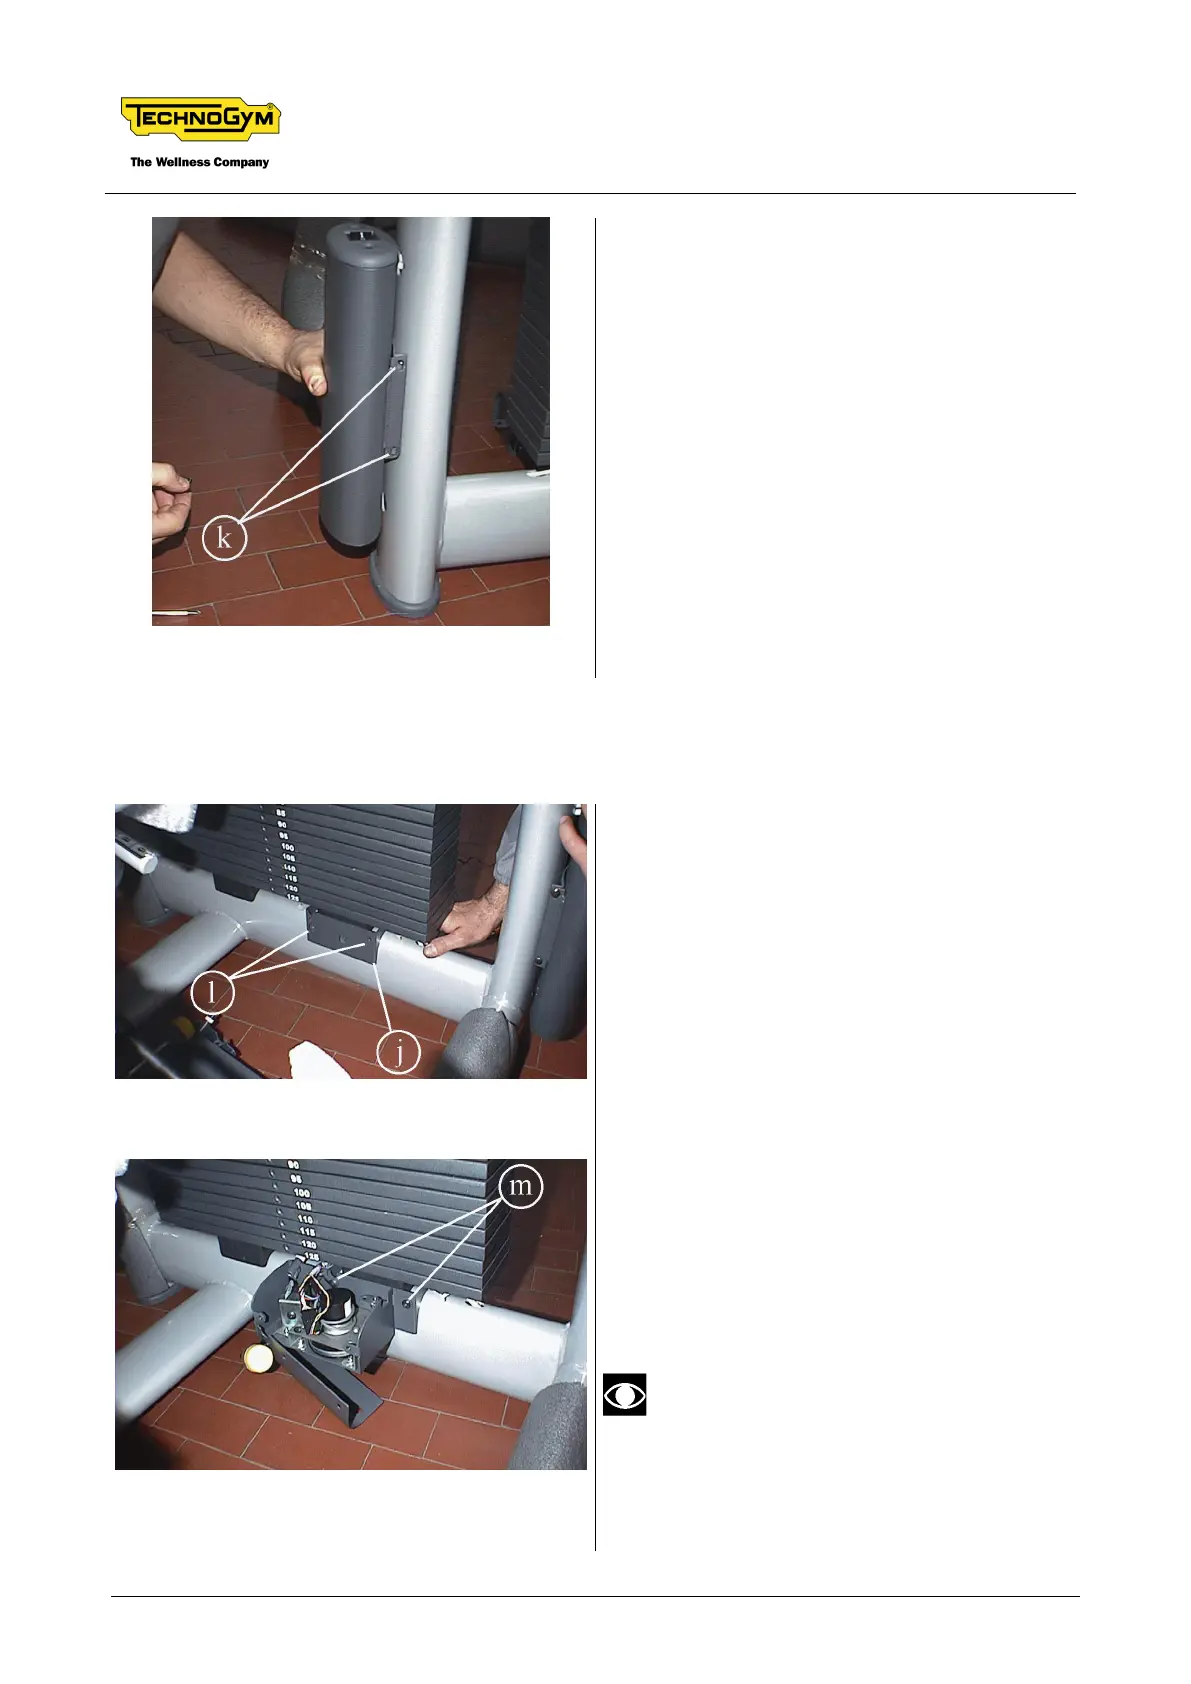
7. Fasten the lower electronic group to its
support using the 4 screws k (2 on each side).
Use a 4-gauge T-wrench.
4.1.3. ENCODER KIT INSTALLATION
4.1.3.1. Classic Selection
Assembling the encoder group:
8. Fasten the encoder group support j to the
frame using the 2 screws l. Use a medium-
sized Philips screwdriver.
9. Open the encoder group guard by removing
the 2 screw using a 4-gauge T-wrench.
10. Fasten the encoder group to its support using
the 2 screws m. Use a 4-gauge T-wrench.
11. Replace the old pin and the spring cable with
the new one, already connected to the
encoder group.
During assembly, the easy start lever or
the selector shaft may accidentally
knock against the sensor, causing it to
break.
Continued on the following page