61
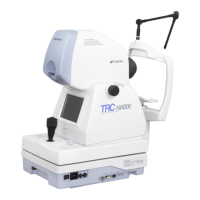
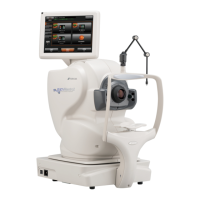
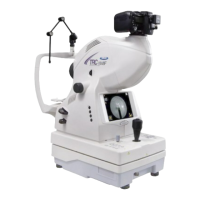
OBJECTIVE OPERATIONS
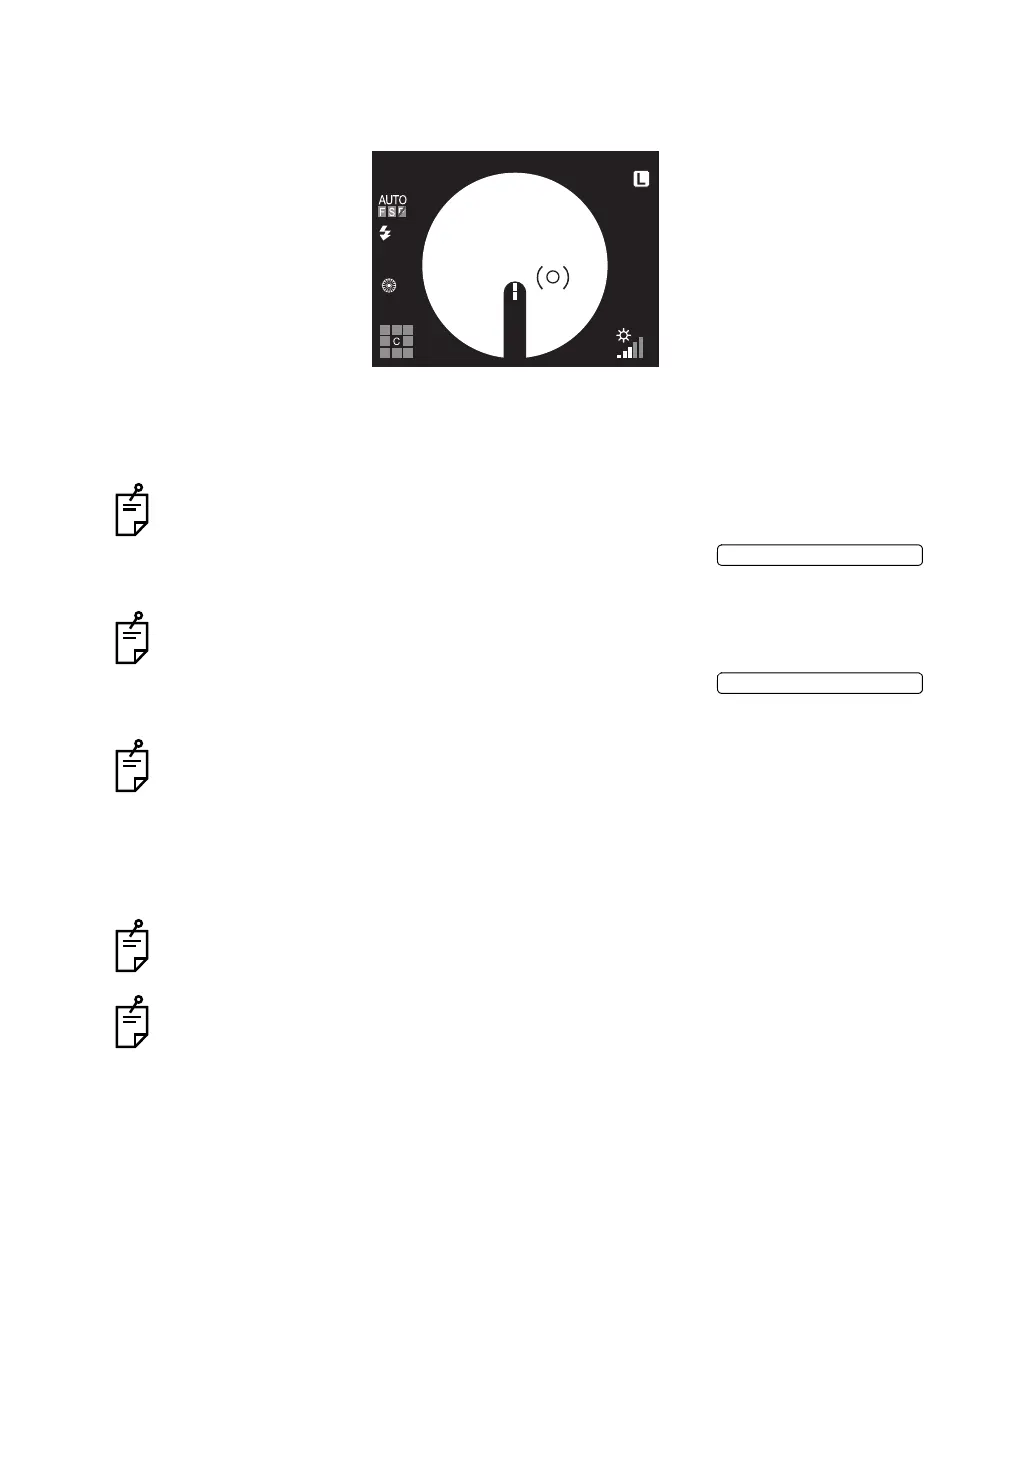
8 Operate the control lever and move the instrument body to bring the bright spot into the ( )
scale on the color LCD monitor.
9 When the positional relationship between the instrument body and the patient's eye is
proper for photography, the instrument automatically takes a picture.
When flares appear in the peripheral section, the instrument does not take a picture
automatically even if the auto shoot function is ON.
Check the bright spot on the color LCD monitor and press the to
take a picture.
When the auto shoot function is OFF, the instrument does not take a picture automati-
cally.
Check the bright spot on the color LCD monitor and press the to
take a picture.
If you cannot align the split lines into one line by operating the focusing knob, change the
diopter compensation lens.
For details, see "Changing the diopter compensation lens" on page 48.
Since the split lines are off when the diopter compensation lens is anything other than
(0), turn the focusing knob so that the fundus image is clearly visible on the color LCD
monitor.
If the split lines cannot be seen, check if the eye is obstructed by eyelashes or the eyelid.
Upon condition that the digital magnification mode is set, when the auto small pupil
selector function is ON and small pupil is detected or when you take a picture by press-
ing the switch, the image is stored with the digital magnification 30° in IMAGEnet, etc.
When the image is printed in this setting status, it is printed with the digital magnification
30°. When shipped, the digital magnification mode is not set. For details, contact your
dealer or TOPCON (see the back cover).