59
OBJECTIVE OPERATIONS
SMALL PUPIL PHOTOGRAPHY
When the patient's pupil diameter is small, use the small pupil function. When the auto small
pupil selector function is set to "ON", the small pupil diaphragm is automatically set. Take a
picture in the same way as the procedure of "COLOR PHOTOGRAPHY (CENTER)" on page
46 and after. When the auto small pupil selector function is set to "OFF", take a picture by the
following procedure. Even when the auto small pupil selector function is set to "ON", you can
also take a picture by the following procedure.
For the patient's pupil condition, refer to "MEMO" on page 50. When you have judged
before photographing that the pupil diameter is small or when the small pupil diaphragm
mark blinks, it is recommended to take a picture using the following procedure.
1 Using the control lever, move the instrument body in all directions to get the patient's eye
in the center of the color LCD monitor.
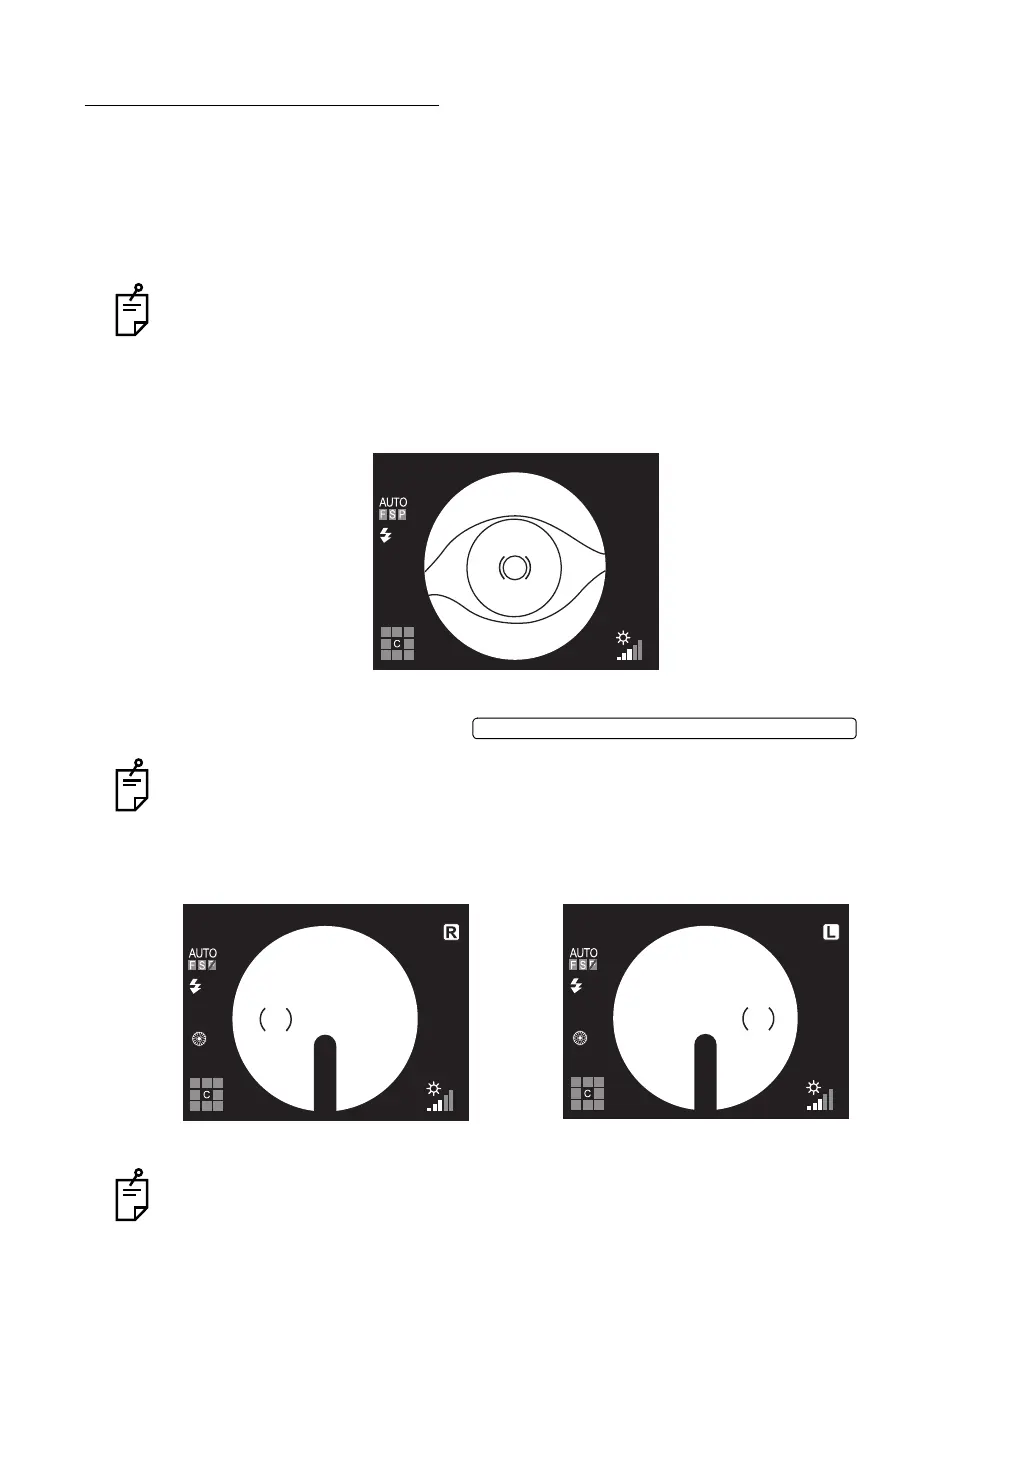
2 On the color LCD monitor, bring the ( ) scale to the patient's pupil. If the patient's pupil is
smaller than the ( ) scale, press the .
On the color LCD monitor, the small pupil diaphragm mark is displayed.
3 Slowly bring the base unit closer to the patient; the fundus image appears on the color
LCD monitor.
When the fixation target is in the center, the ( ) scale is displayed at the left side for right
eye, and at the right side for left eye.
4 Instruct the patient to look at the green light (internal fixation target).
ILLUMINATION DIAPHRAGM SELECTOR SWITCH