2. Move the X-axis motor cover over the X-axis motor, and
secure it to the X-axis motor mount with four screws and
a 4 mm hex wrench.
Figure 4-16: X-axis motor cover installed.
4.7.5 Install the Controller
Depending on your machine configuration, do one of the
following:
l
If You Have a Controller Arm Go to "Install the
Controller Arm" (below).
l
If you have a PathPilot Operator Console Go to "Set
Up the PathPilot Operator Console" (page48).
Note: The PathPilot operator console is
mounted to the enclosure, but we don't
recommend completely installing it (or the
enclosure) until after you've installed all other
major accessories.
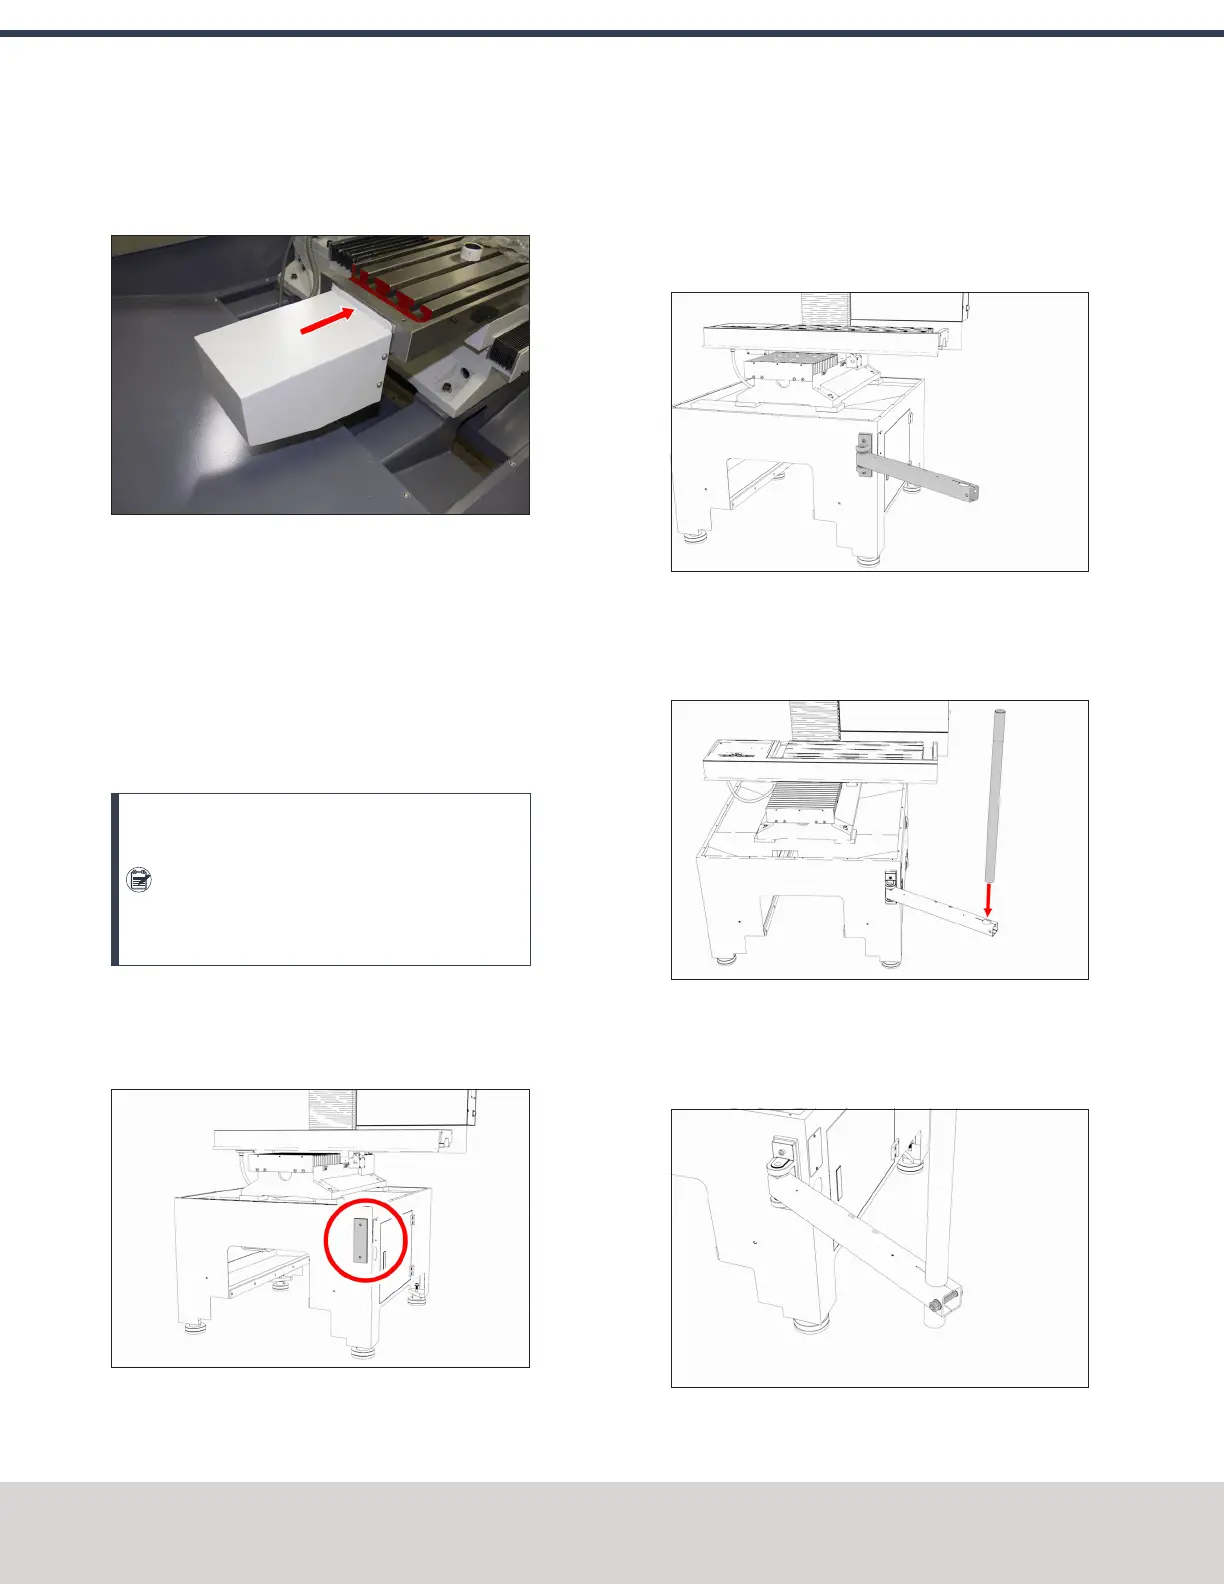
Install the Controller Arm
1. Find the mounting clevis on the front of the machine
stand, as shown in the following image.
Figure 4-17: Controller Arm mounting clevis.
2. Secure the square tube arm to the machine stand with a
6 mm hex wrench, two M8 socket head cap screws, and
two M8 washers. Verify that the access holes on the
square tube arm face toward the rear of the machine
stand.
Figure 4-18: Square tube arm installed on the
Machine Stand.
3. Put the monitor post in the square tube arm. Verify that
the threaded end is facing up.
Figure 4-19: Monitor post inserted in the square tube
arm.
4. Tighten the cross bolt on the square tube arm with an 8
mm hex wrench and 17 mm hex wrench.
Figure 4-20: Cross bolt on the square tube arm.
©Tormach® 2020
Specifications subject to change without notice.
Page 46 Tormach 1100MX Operator's Manual (Version 0720A)
For the most recent version, see tormach.com/support
4: INSTALLATION
 Loading...


