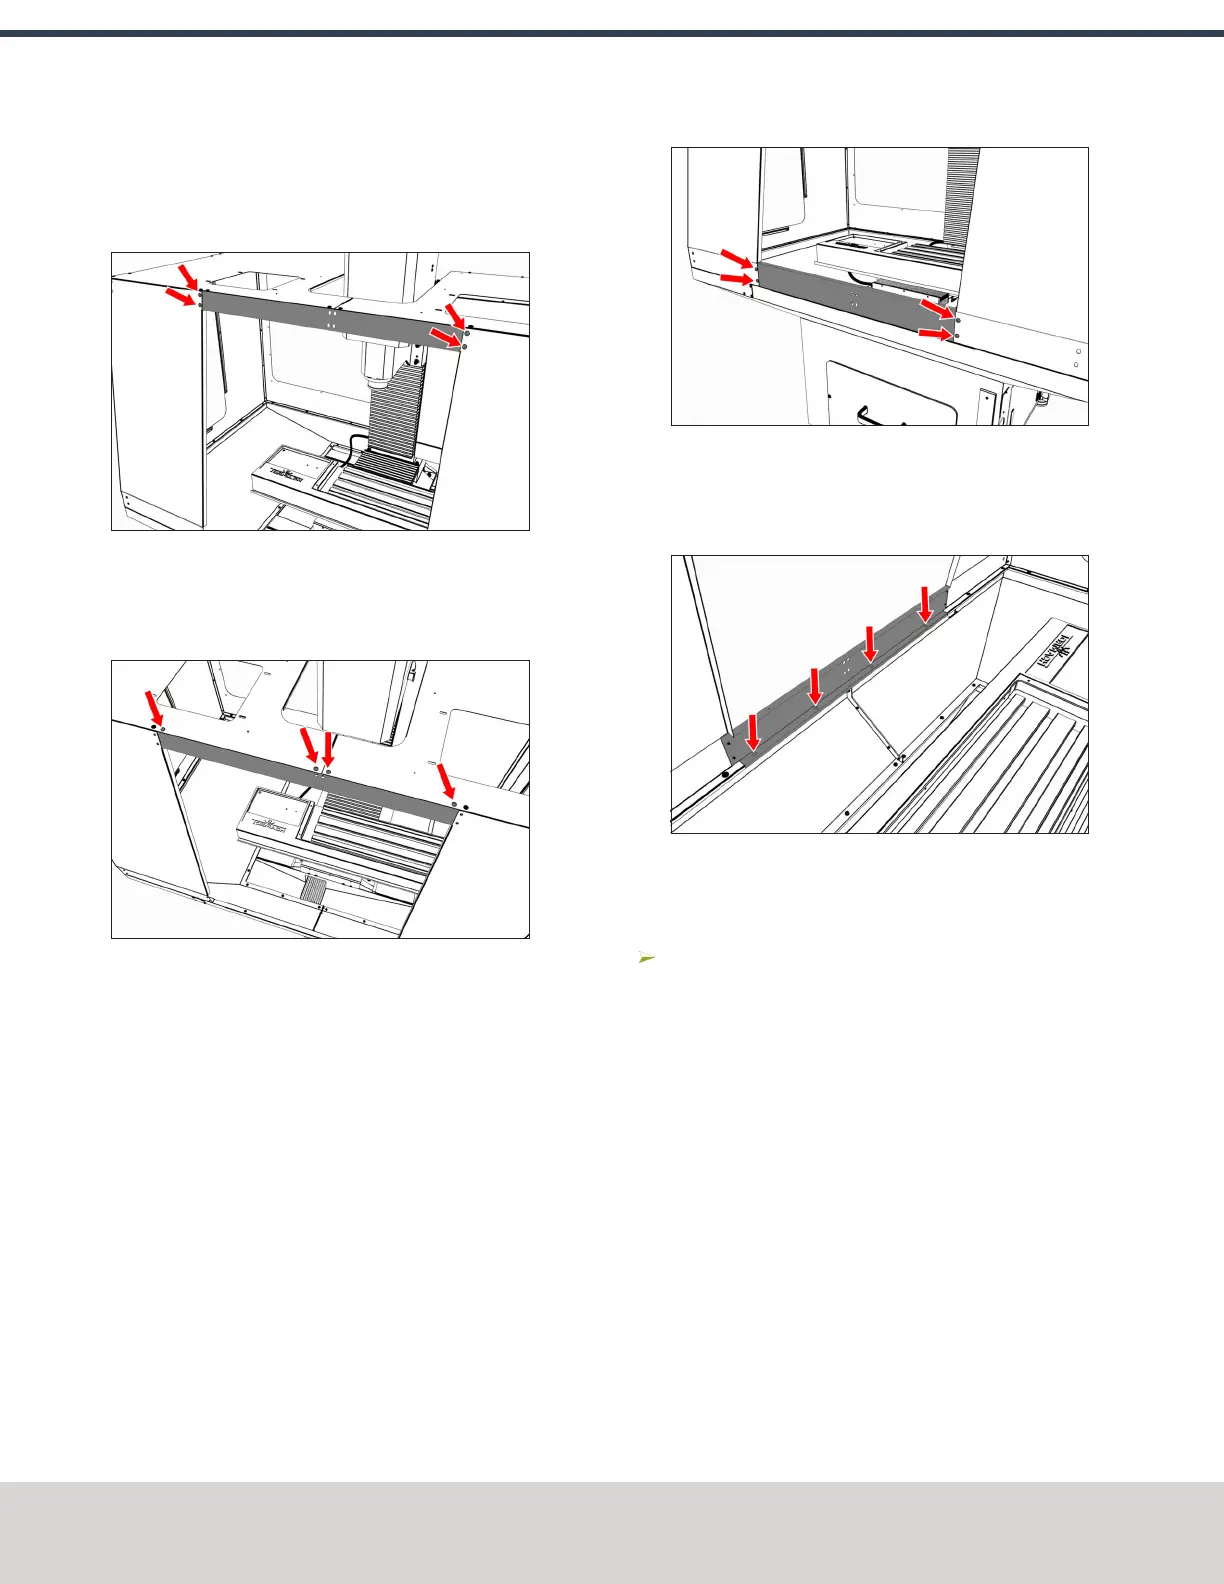
Install the Front Upper Panel
1. Attach the front upper panel to the right and left front
panels with two sets of two M5 × 0.8 - 10 screws.
Figure 4-98: Front upper panel attached to the right
and left front panels.
2. Attach the front upper panel to the right and left top
panels with four M5 × 0.8 - 10 screws.
Figure 4-99: Front upper panel attached to the right
and left top panels.
Install the Front Lower Panel
1. Attach the front lower panel to the right and left front
panels with two sets of two M5 × 0.8 - 10 screws.
Figure 4-100: Front lower panel attached to the right
and left front panels.
2. Attach the front lower panel to the right and left chip
pans with four M5 × 0.8 - 10 screws.
Figure 4-101: Front lower panel attached to the right
and left chip pans.
Install the Rear Splash Shield
Attach the rear splash shield to the right chip pan with
four M6 × 1.0 - 12 screws.
Assemble the Linear Rails
1. Find the four linear rails provided:use the two shorter
linear rails on the right side of the enclosure. Use the
two longer linear rails on the left side of the enclosure.
©Tormach® 2020
Specifications subject to change without notice.
Page 74 Tormach 1100MX Operator's Manual (Version 0720A)
For the most recent version, see tormach.com/support
4: INSTALLATION

 Loading...


