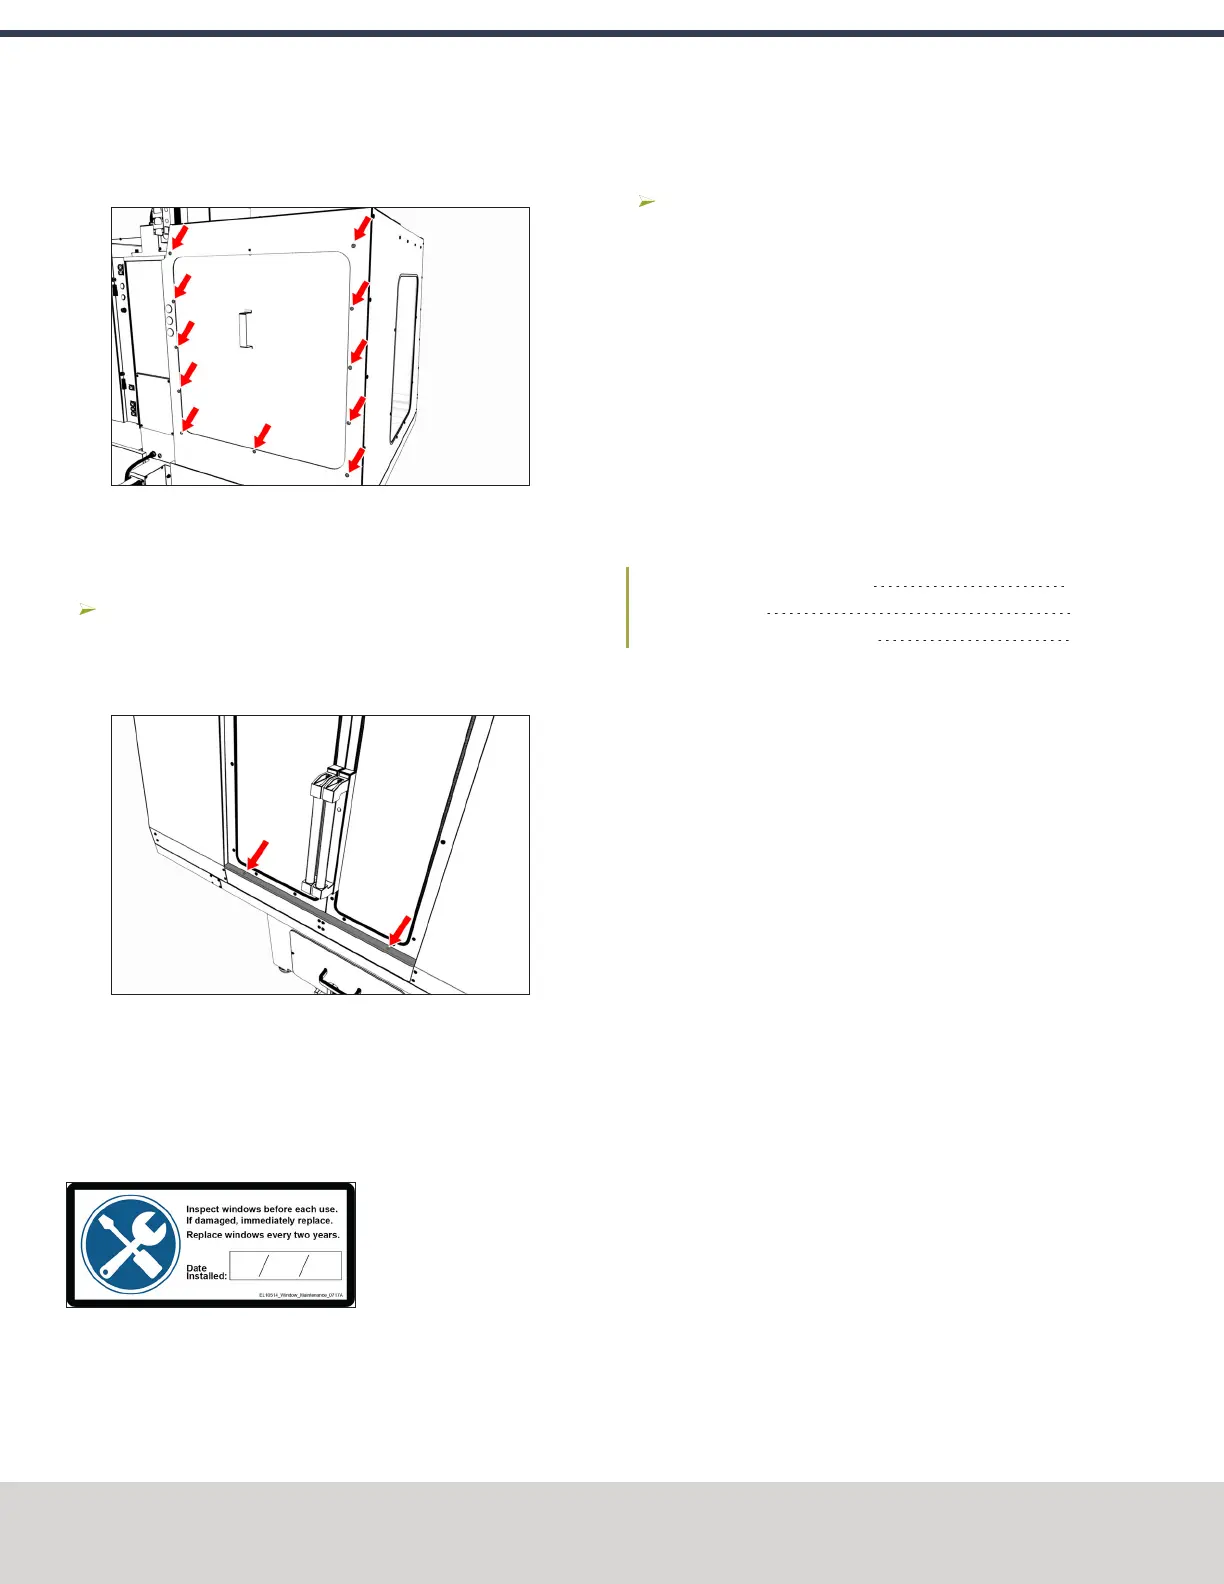
5. Attach the access panel to the left rear panel from the
outside of the enclosure with 11 M5 × 0.8 - 10 screws.
Figure 4-121: Access panel attached to the left rear
panel.
Install the Stainless Steel Wear Guard
Find the stainless steel wear guard that you set aside
earlier.
Attach it to the lower front panel with two M5 × 0.8 - 10
screws.
Figure 4-122: Stainless steel wear guard attached to
the lower front panel.
Use the Maintenance Labels
About the Maintenance Labels
The machine has one maintenance label on each window.
Figure 4-123: Window maintenance label.
Write the Date on the Maintenance Labels
Write down today's date on each label with a permanent
marker.
You have completed assembling and installing the
1100MX Enclosure.
Replace the Windows
When required, replace the windows with the following parts:
l Window, 1100, Side (PN 37648)
l Window, 1100, Left Door (PN 37649)
l Window, 1100, Right Door (PN 37650)
4.8.9 Set up the Door Lock Switch Kit
Complete the following steps in the order listed:
Install the Door Lock Switch Kit 80
Update PathPilot 82
Enable the Door Lock Switch Kit 83
Install the Door Lock Switch Kit
1. Power off the machine and the PathPilot controller.
a. Push in the Emergency Stop button on the operator
box, which removes power to motion control.
b. From the PathPilot interface, select Exit.
c. Turn the Main Disconnect switch to OFF on the side
of the electrical cabinet.
©Tormach® 2020
Specifications subject to change without notice.
Page 80 Tormach 1100MX Operator's Manual (Version 0720A)
For the most recent version, see tormach.com/support
4: INSTALLATION

 Loading...


