Introduction Connections Basic Setup Playback
Editing
VCR Functions Others
Function Setup
Recording
47
EN
Limitations (VCR to DVD):
• You cannot dub to the finalised Video mode
DVDs.
• You cannot dub to the protected VR mode
DVDs.
• Copy-once programmes which are recorded
directly from the TV can be dubbed to the HDD
and CPRM compatible VR mode DVD-RW.
• Copy-once programmes which are copied from
the HDD / DVD to a videotape cannot be
dubbed further from the videotape to the HDD /
DVD.
• If the unit detects that the dubbing will not finish
by 3 minutes before the Timer Recording, it will
display a confirmation message asking if you
really want to continue with the dubbing. If you
select “Yes”, you can continue with the dubbing,
and the Timer Recording will start after the
dubbing ends. Be noted that with VCR to DVD
dubbing, the unit recognise DVD’s remaining
time as the dubbing duration although the actual
dubbing will end when the videotape ends.
Preparing for dubbing:
• Insert a videotape to be dubbed.
Preparing for dubbing (VCR to HDD):
• Make sure there is enough space on the HDD.
Preparing for dubbing (VCR to DVD):
• Insert a recordable DVD. (See pages 28 to 30.)
• Make sure there is enough space on the DVD.
Press [VCR] first.
1 Press [PLAY P] to start playback of
the videotape, and press [STOP S]
when it reaches the point you want
to start dubbing.
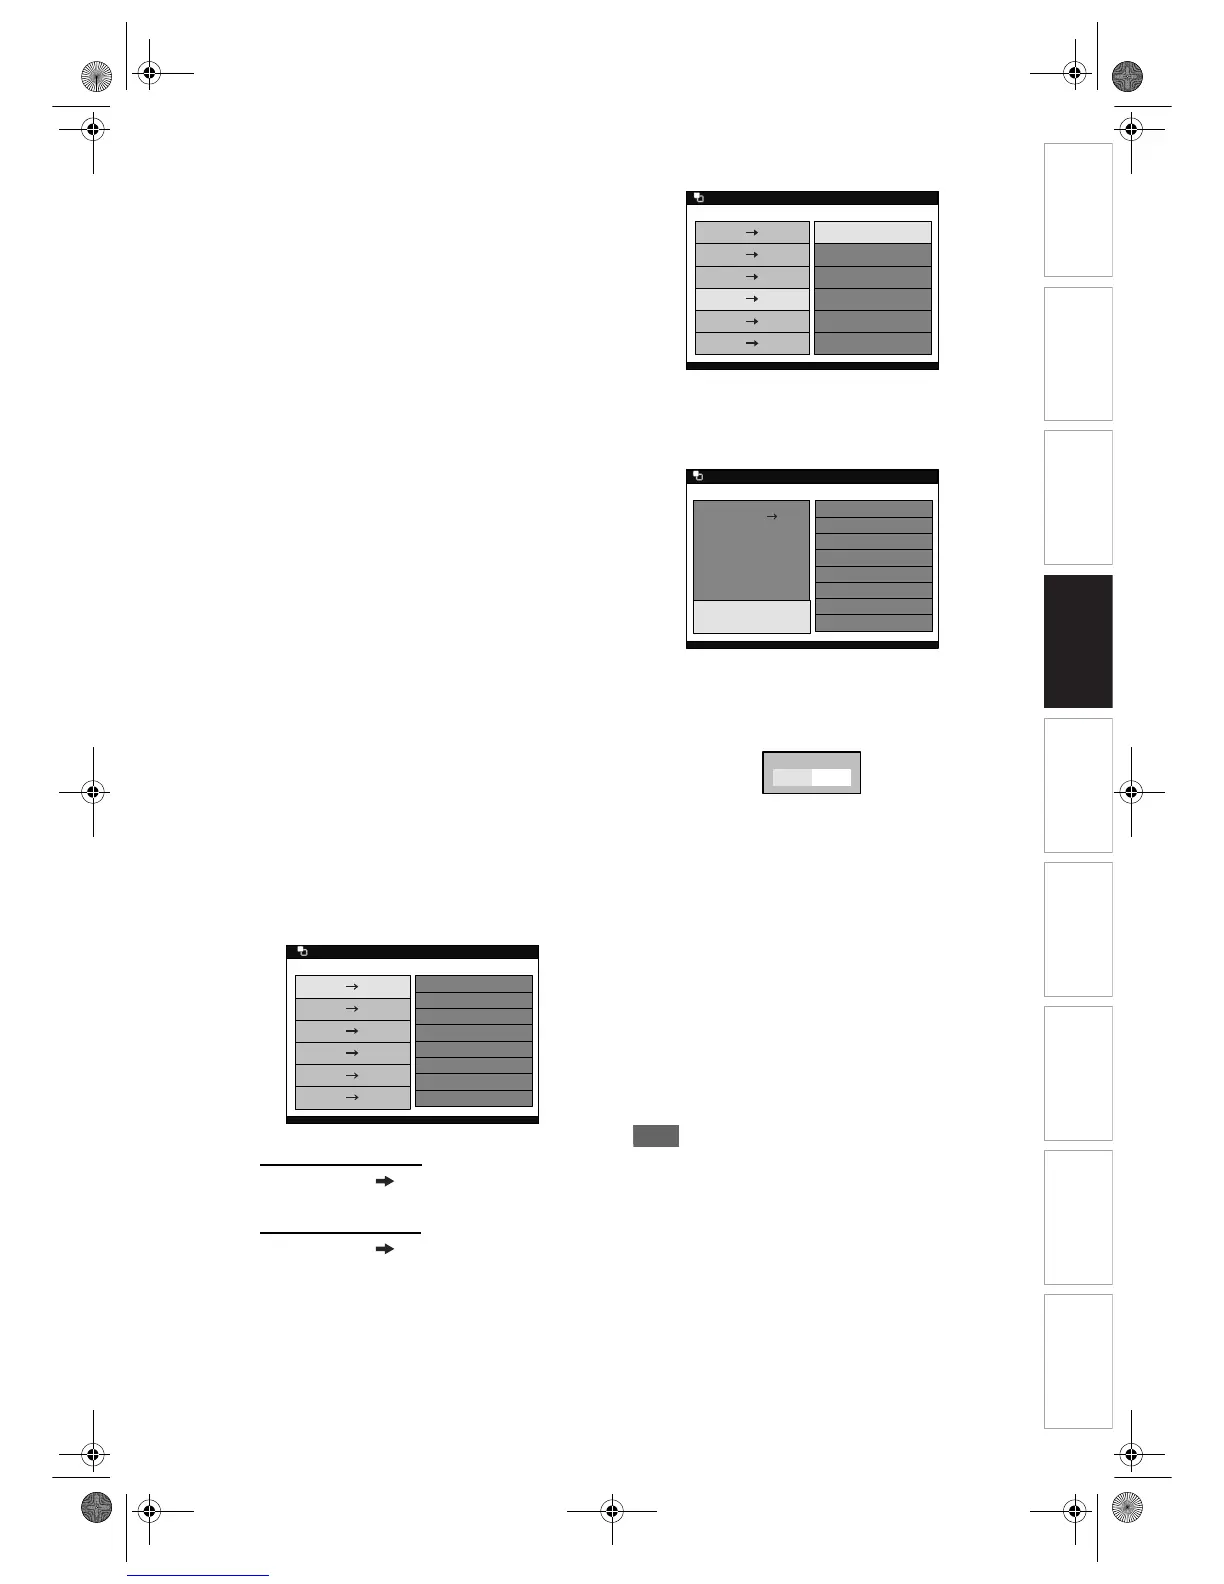
2 Press [DUBBING MODE].
The Dubbing Direction and the Rec Mode Menu
will appear.
3 For HDD dubbing:
Select “VCR HDD” using
[Cursor
U / D], then press [ENTER].
For DVD dubbing:
Select “VCR DVD” using
[Cursor
U / D], then press [ENTER].
Example: VCR ➞ HDD
4 Select a desired Rec Mode using
[Cursor
U / D], then press [ENTER].
Dubbing Top Menu will appear.
5 With “Dubbing Start” selected, press
[ENTER].
Confirmation window will appear.
6 Select “Yes” using [Cursor L / P],
then press [ENTER].
Dubbing will start.
To stop the dubbing while in the dubbing
preparation mode:
• Press the Device Select Button of the recording
device first (for example, if you are dubbing to
DVD, press [DVD] first), then press [STOP S].
To stop the dubbing in progress:
• Press the Device Select Button of the recording
device first (for example, if you are dubbing to
DVD, press [DVD] first). Then press and hold
[STOP S] for 2 seconds. Or press [STOP S] on
the front panel.
Note
• The device mode change is available only between
HDD and DVD during the videotape to the HDD /
DVD dubbing.
• After starting dubbing, the picture may be distorted
because of the digital tracking function. This is not a
malfunction. Be advised to playback the videotape
until the picture is stabilized, then set the starting
point at which you wish to start recording, and start
dubbing.
• Playback audio is determined by the setting you
make in the “Selecting the Sound Mode” section on
page 91.
HDD D
 Loading...