46
EN
To stop the dubbing while in the dubbing
preparation mode:
• Press the Device Select Button of the recording
device first (for example, if you are dubbing to
DVD, press [DVD] first), then press [STOP S].
To stop the dubbing in progress:
• Press the Device Select Button of the recording
device first (for example, if you are dubbing to
DVD, press [DVD] first). Then press and hold
[STOP S] for 2 seconds. Or press [STOP S] on
the front panel.
Note
• When dubbing from HDD to DVD (or vice versa),
even if the selected Rec Mode is set to the higher
quality than that of the material to be dubbed, the
programme will not be recorded in the higher quality.
It only protects the current picture quality.
• You cannot switch the device mode between HDD
and DVD during the bi-directional dubbing between
HDD and DVD.
• When you dub a copy-once programme from HDD
to DVD, it will be moved to the disc (not copied) and
the original data will be erased from the HDD.
Note on the High Speed Dubbing:
• Duration of the High Speed Dubbing will depend on
the Rec Mode, the length, the disc type of the
material to be dubbed.
• High Speed Dubbing is available only when dubbing
the titles in the HDD Original List to the VR mode
DVD.
Deleting a programme from the
Dubbing List
1 If you are in the Dubbing Top Menu,
select “Select Program” and press
[ENTER].
Program / Dubbing List will appear.
If you are already in the Program / Dubbing List,
proceed to step 2.
2 Press [Cursor P] to move to the
Dubbing List.
3 Select a programme you want to
delete using [Cursor
U / D], then
press [ENTER].
Dubbing List Menu will appear.
4 Select “Delete from Dubbing List”
using [Cursor
U / D], then press
[ENTER].
The programme is deleted.
5 Press [RETURN] to go back to the
Dubbing Top Menu.
Changing the order of the dubbing list
1 If you are in the Dubbing Top Menu,
select “Select Program” and press
[ENTER].
Program / Dubbing List will appear.
If you are already in the Program / Dubbing List
Screen, proceed to step 2.
2 Press [Cursor P] to move to the
Dubbing List.
3 Select a programme you want to
move using [Cursor
U / D], then
press [ENTER].
Dubbing List Menu will appear.
4 Select “Position Change” using
[Cursor
U / D], then press [ENTER].
The selected programme will be replaced by a
single line.
5 Move the line to the desired position
using [Cursor
U / D], then press
[ENTER].
The programme is inserted in the selected
position.
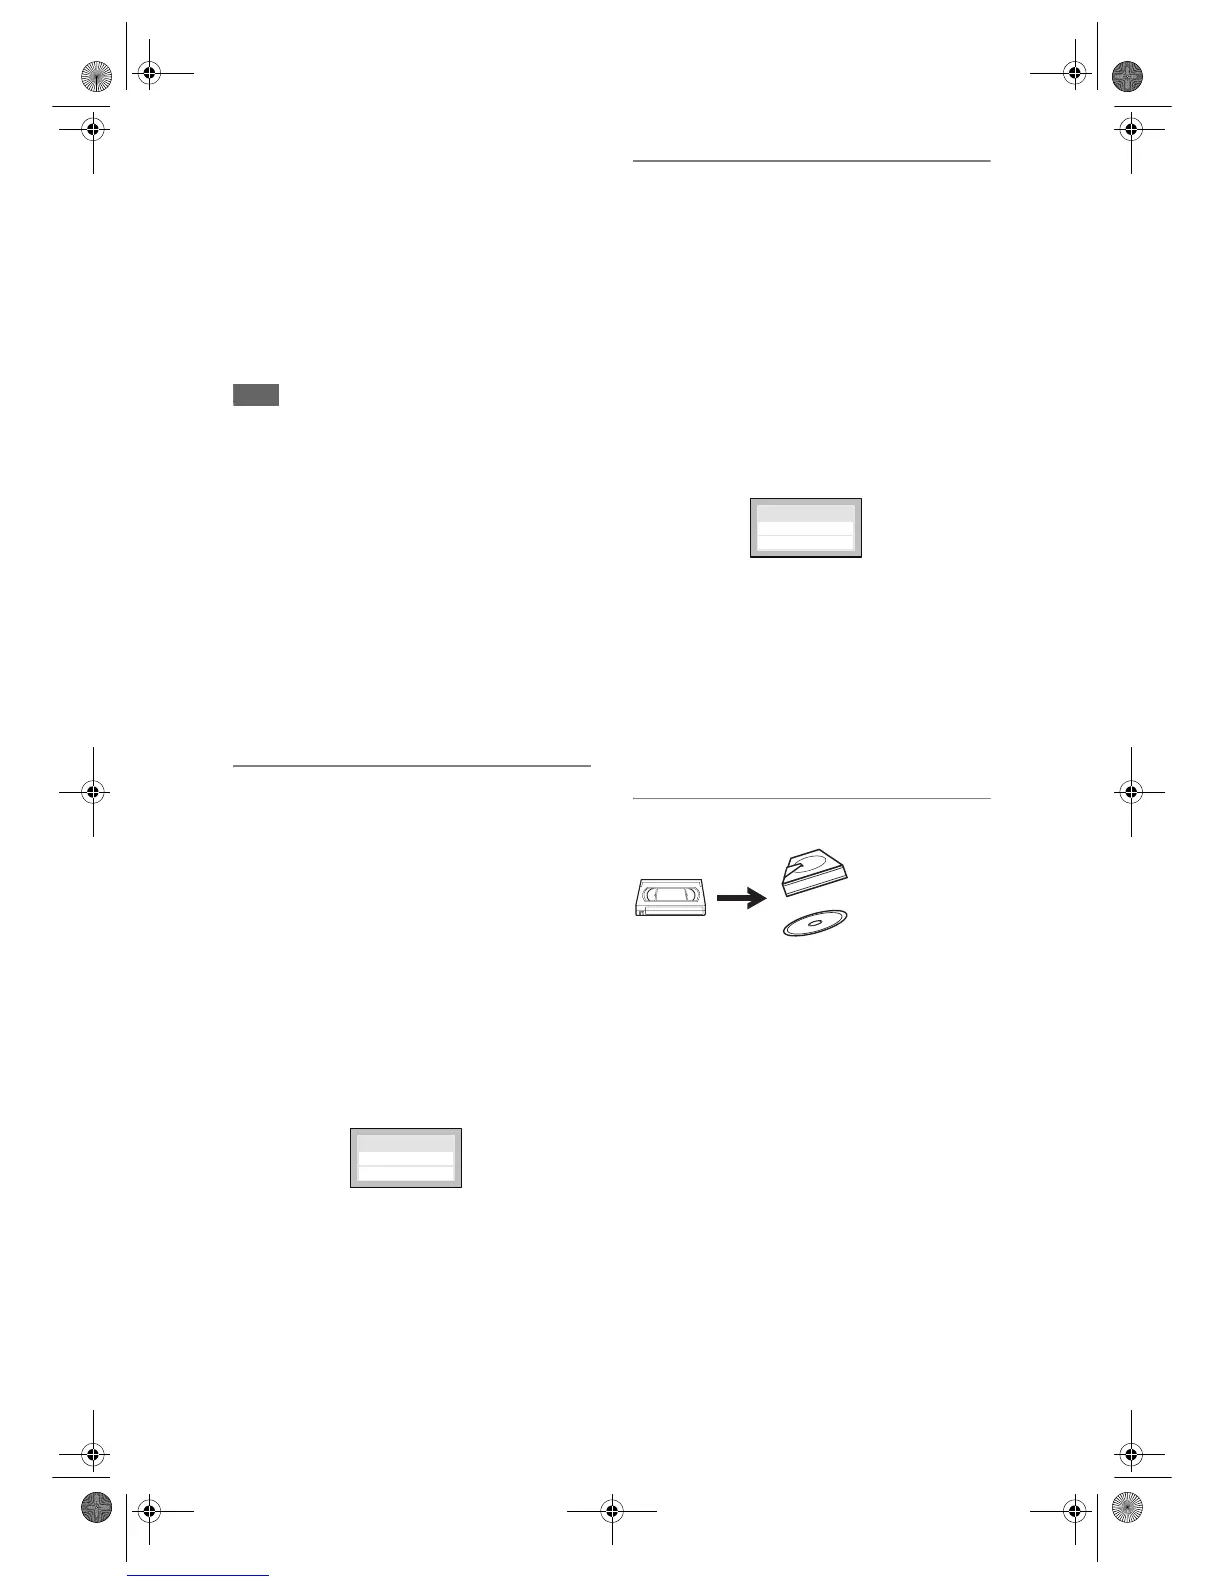
Dubbing from videotape to HDD / DVD
You can copy the contents of a videotape to HDD or
DVD disc.
Limitation:
• If a copy control signal is detected during
dubbing, the dubbing will be stopped.
Limitations (VCR to HDD):
• If the unit detects that the dubbing will not finish
by 3 minutes before the Timer Recording, it will
display a confirmation message asking if you
really want to continue with the dubbing. If you
select “Yes”, you can continue with the dubbing,
and the Timer Recording will start after the
dubbing ends. Be noted that with VCR to HDD
dubbing, the unit recognise the HDD’s
remaining time as the dubbing duration. The
maximum possible duration is 10 hours and 30
minutes.
Decide
Position Change
Delete from Dub
 Loading...