The mass of the part
ahead of the arm 1 is
about 26 kg.
The hand,
workpiece, etc. are not
included.
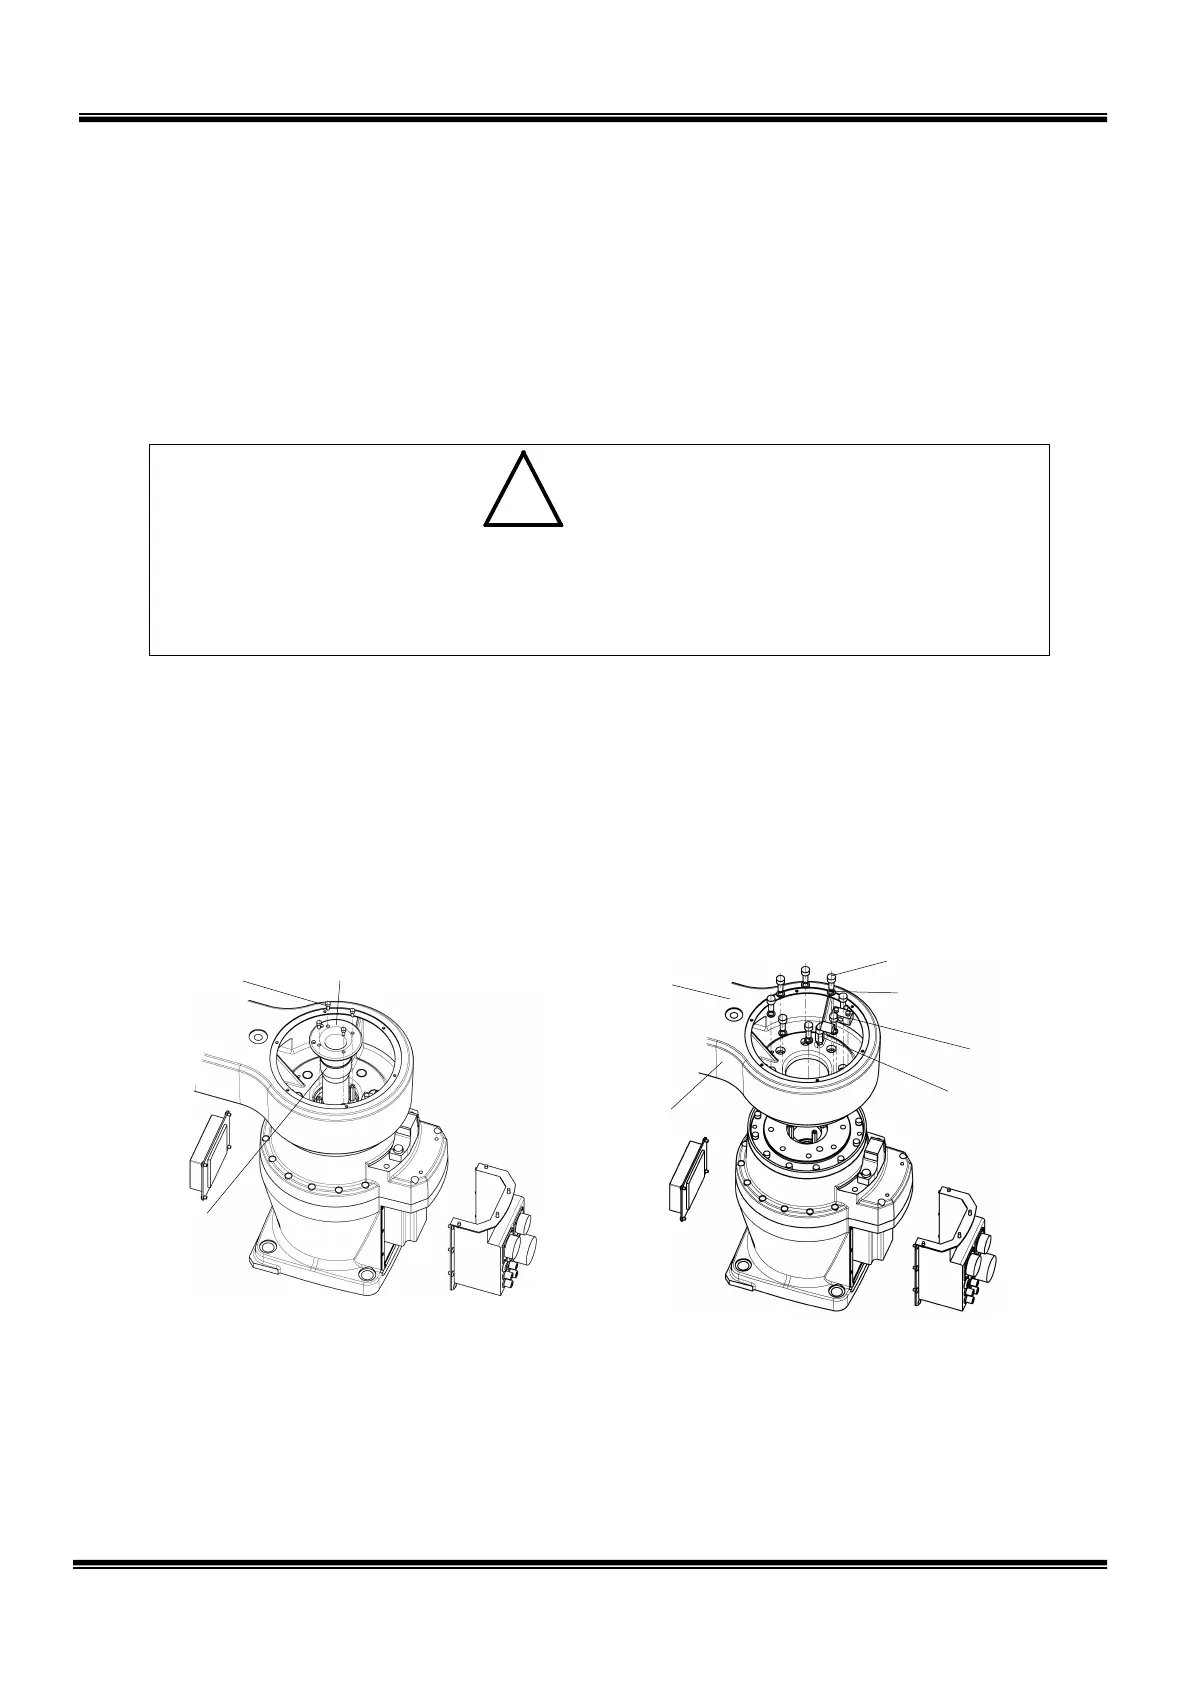
2.8.4 Dismounting Axis 1 Reduction Gear
1) Remove the cover on top of the arm 1. (See Para. 2.4.2.)
2) Disconnect the cable connectors and air tubing connected in the arm 1.
3) Remove the base cover and pull out the cables and air tubes up to the base
interior. See Para. 2.4.3.
• The arm should always be mounted and dismounted by two (2) or more
persons. When removing the arm set bolts, take careful precautions because
the arm will drop. Also, if an excessively large impact is imposed on the arm,
the robot will be damaged.
4) Remove the four (4) bolts (M4 × 10) and disconnect the axis 1 center shaft.
(The “O” ring is attached.)
5) While more than one (1) person is holding the arm, another person should
remove the eight (8) bolts (M8 × 20) securing the arm 1, long type union and
block where the grease nipple is secured, then disconnect the arm 1. Place
the arm thus disconnected in such a manner that no impact is exerted on it.
6) Remove the four (4) hexagonal struts attached to the reduction gear.
7) Remove the twelve (12) bolts (M6 × 65) securing the reduction gear, then draw
out the reduction gear upward. If it is hard to disconnect, screw the bolt into
the tap for disassembly (M6) which is machined on the reduction gear.
STE 85306
– 69 –
 Loading...