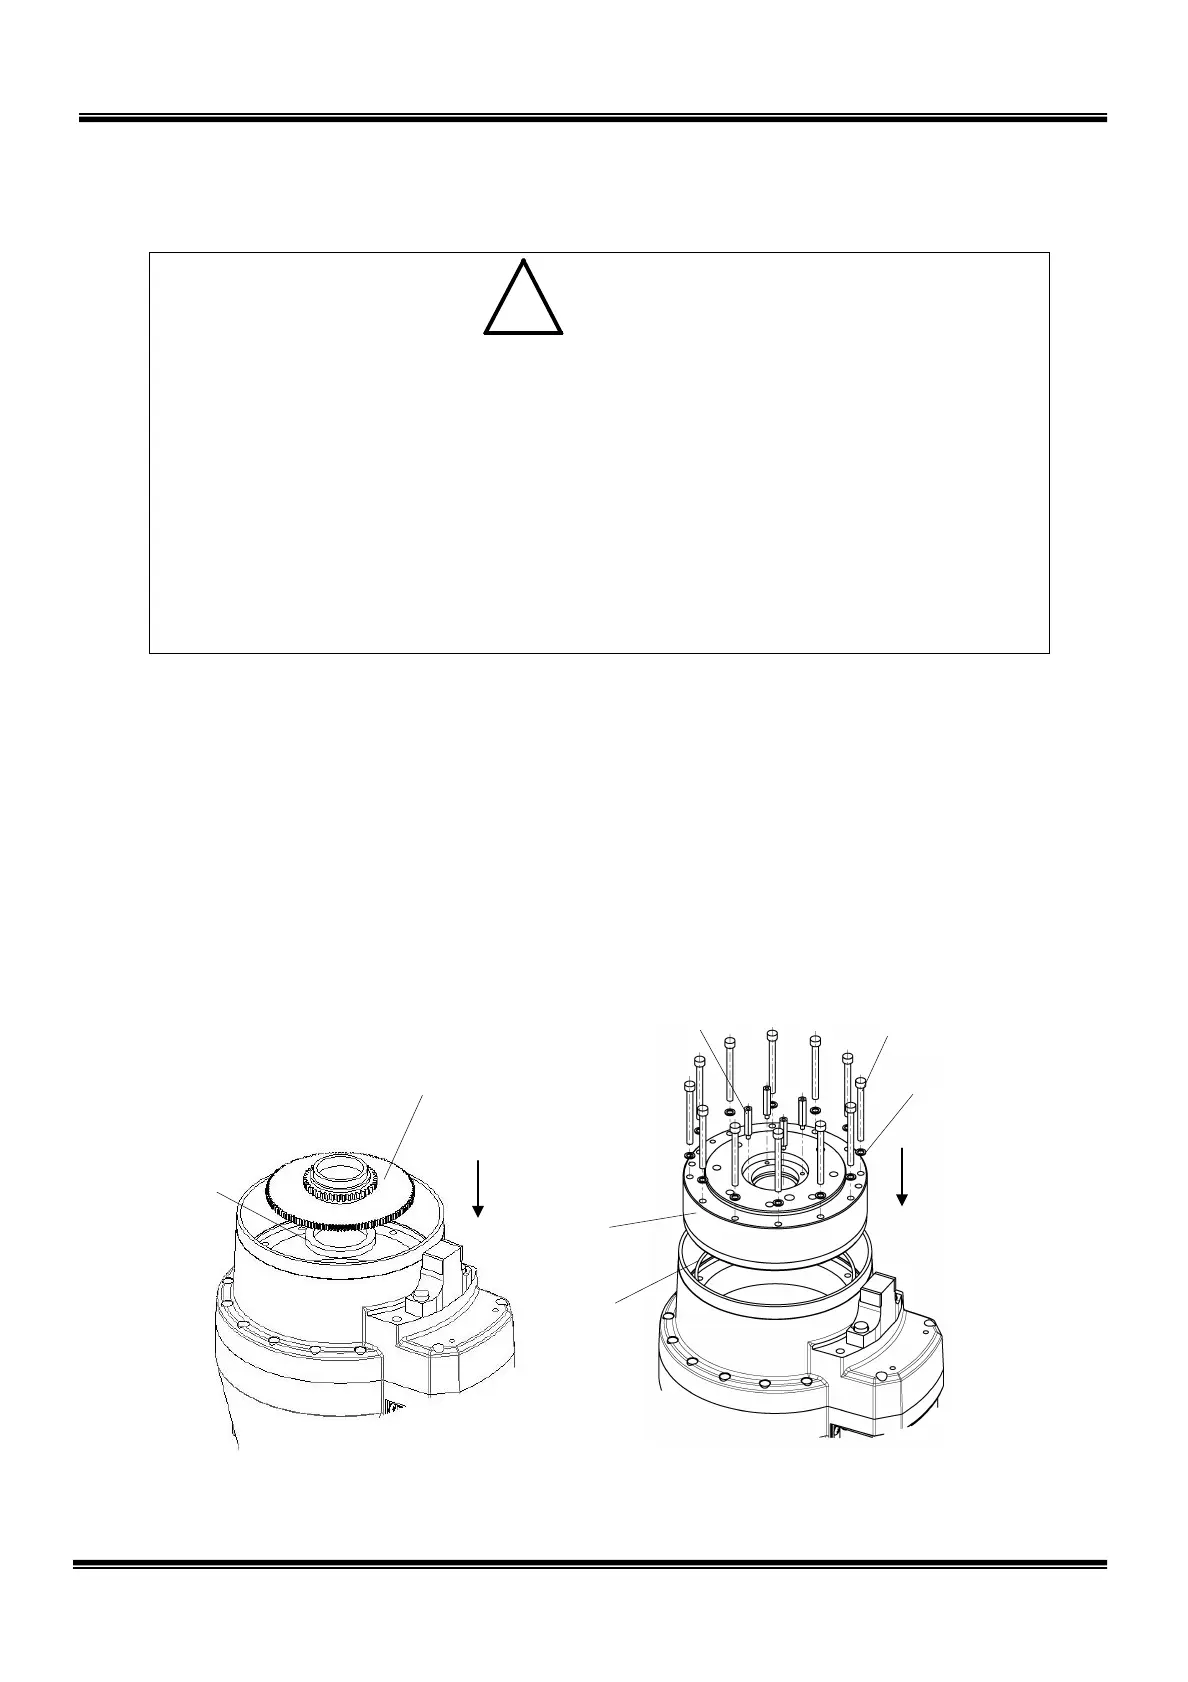
2.8.5 Mounting Axis 1 Reduction Gear
• Handle the reduction gear with extreme care. If it drops or an unusually large
external force is exerted on it, the reduction gear cannot function any further.
• Use the center gear which is attached to the new reduction gear.
If the old center gear is u
sed as it is, abnormal noise will be caused, the service
life will shorten or positioning accuracy will deteriorate due to incompatibility
with the new reduction gear.
• Also use the “O” ring attached to the new reduction gear. Be sure to set the
“O” ring. Unless the “O” ring is set, grease will leak from the axis 1 reduction
gear set surface. When mounting the reduction gear, take careful precautions
not to break the “O” ring.
1) Mount the new bearing, and center gear attached to the new reduction gear.
2) Mount the reduction gear with the twelve (12) bolts (M6 × 65). Be sure to apply
the Loctite adhesives to the threaded area of each bolt. Before mounting the
reduction gear, set the “O” ring in the “O” ring groove on the bottom of the
reduction gear. Attach the four (4) hexagonal struts. The “O” ring is attached
to the new reduction gear.
Center gear
The pinion is located
on the upper side.
M6×65
Recommended clamping
torque: 17 N
·m
STE 85306
– 71 –
 Loading...