98 Third Party Supp ort
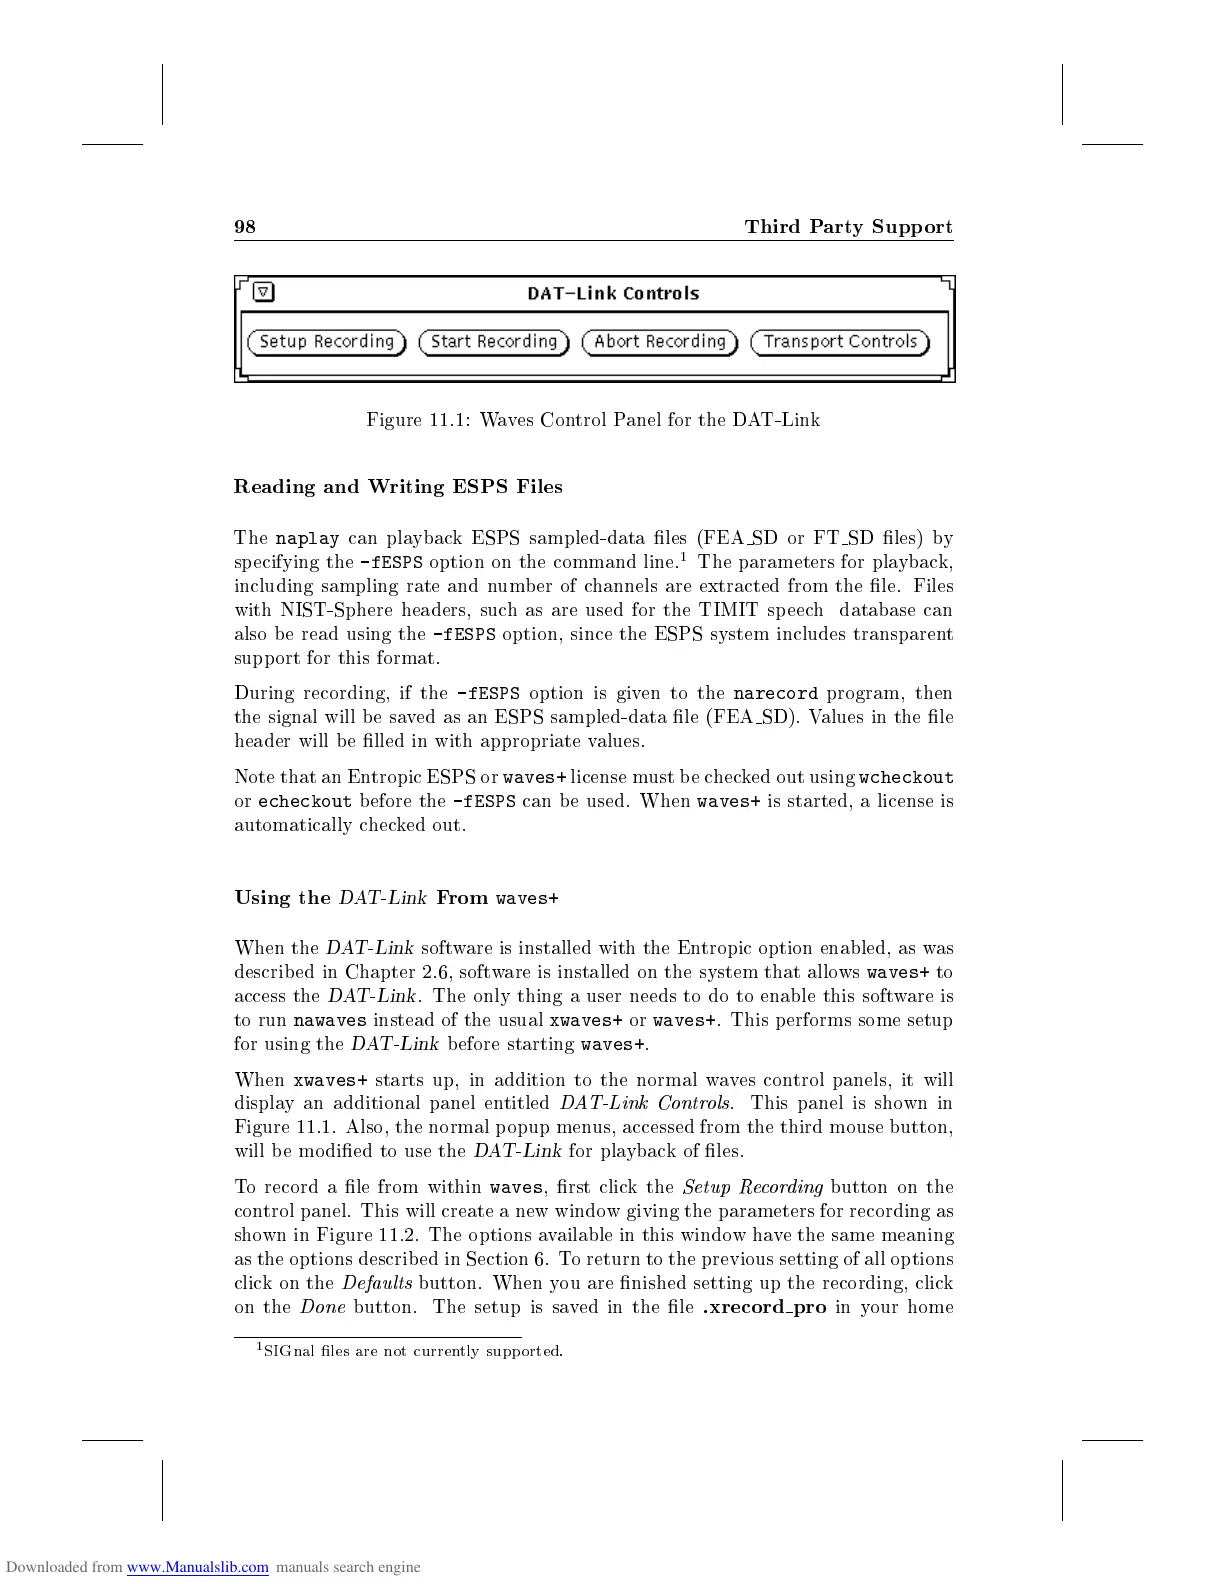
Figure 11.1: Waves Control Panel for the DAT-Link
Reading and Writing ESPS Files
The
naplay
can playback ESPS sampled-data les (FEA SD or FT SD les) by
specifying the
-fESPS
option on the command line.
1
The parameters for playback,
including sampling rate and number of channels are extracted from the le. Files
with NIST-Sphere headers, such as are used for the TIMIT speech database can
also b e read using the
-fESPS
option, since the ESPS system includes transparent
support for this format.
During recording, if the
-fESPS
option is given to the
narecord
program, then
the signal will be saved as an ESPS sampled-data le (FEA SD). Values in the le
header will b e lled in with appropriate values.
Note that an Entropic ESPS or
waves+
license must be checked out using
wcheckout
or
echeckout
before the
-fESPS
can be used. When
waves+
is started, a license is
automatically checked out.
Using the
DAT-Link
From
waves+
When the
DAT-Link
software is installed with the Entropic option enabled, as was
described in Chapter 2.6, software is installed on the system that allows
waves+
to
access the
DAT-Link
. The only thing a user needs to do to enable this software is
to run
nawaves
instead of the usual
xwaves+
or
waves+
. This p erforms some setup
for using the
DAT-Link
before starting
waves+
.
When
xwaves+
starts up, in addition to the normal waves control panels, it will
display an additional panel entitled
DAT-Link Controls
. This panel is shown in
Figure 11.1. Also, the normal p opup menus, accessed from the third mouse button,
will b e mo died to use the
DAT-Link
for playback of les.
To record a le from within
waves
, rst click the
Setup Recording
button on the
control panel. This will create a new window giving the parameters for recording as
shown in Figure 11.2. The options available in this windowhave the same meaning
as the options described in Section 6. To return to the previous setting of all options
clickonthe
Defaults
button. When you are nished setting up the recording, click
on the
Done
button. The setup is saved in the le
.xrecord pro
in your home
1
SIGnal les are not currently supp orted.