22 Installation
between the cable and the
DAT-Link
's SCSI connector. Once it is ho oked up and
powered on you can reb oot the computer. If you have trouble reb o oting, verify that
the SCSI ID selected on the
DAT-Link
was not one that was already in use.
Conguring the Device Drivers
The computer must now be informed that a new device has b een installed. This is
done by using
smit
again after logging in as
ro ot
. Enter the command:
smit tape
and select, using the
#
key, the menu item:
Add a Tape Drive
and press return. A new menu will then appear. Make sure the item
8mm scsi 2.3 GB 8mm Tape Drive
is highlighted and press return again. The next menu allows you to select which
SCSI controller the
DAT-Link
is connected to. Usually, there will be only one
choice. Select
scsi0 Available 00-08 SCSI I/O Controller
or the controller you are using if you havemultiple ones, and press return.
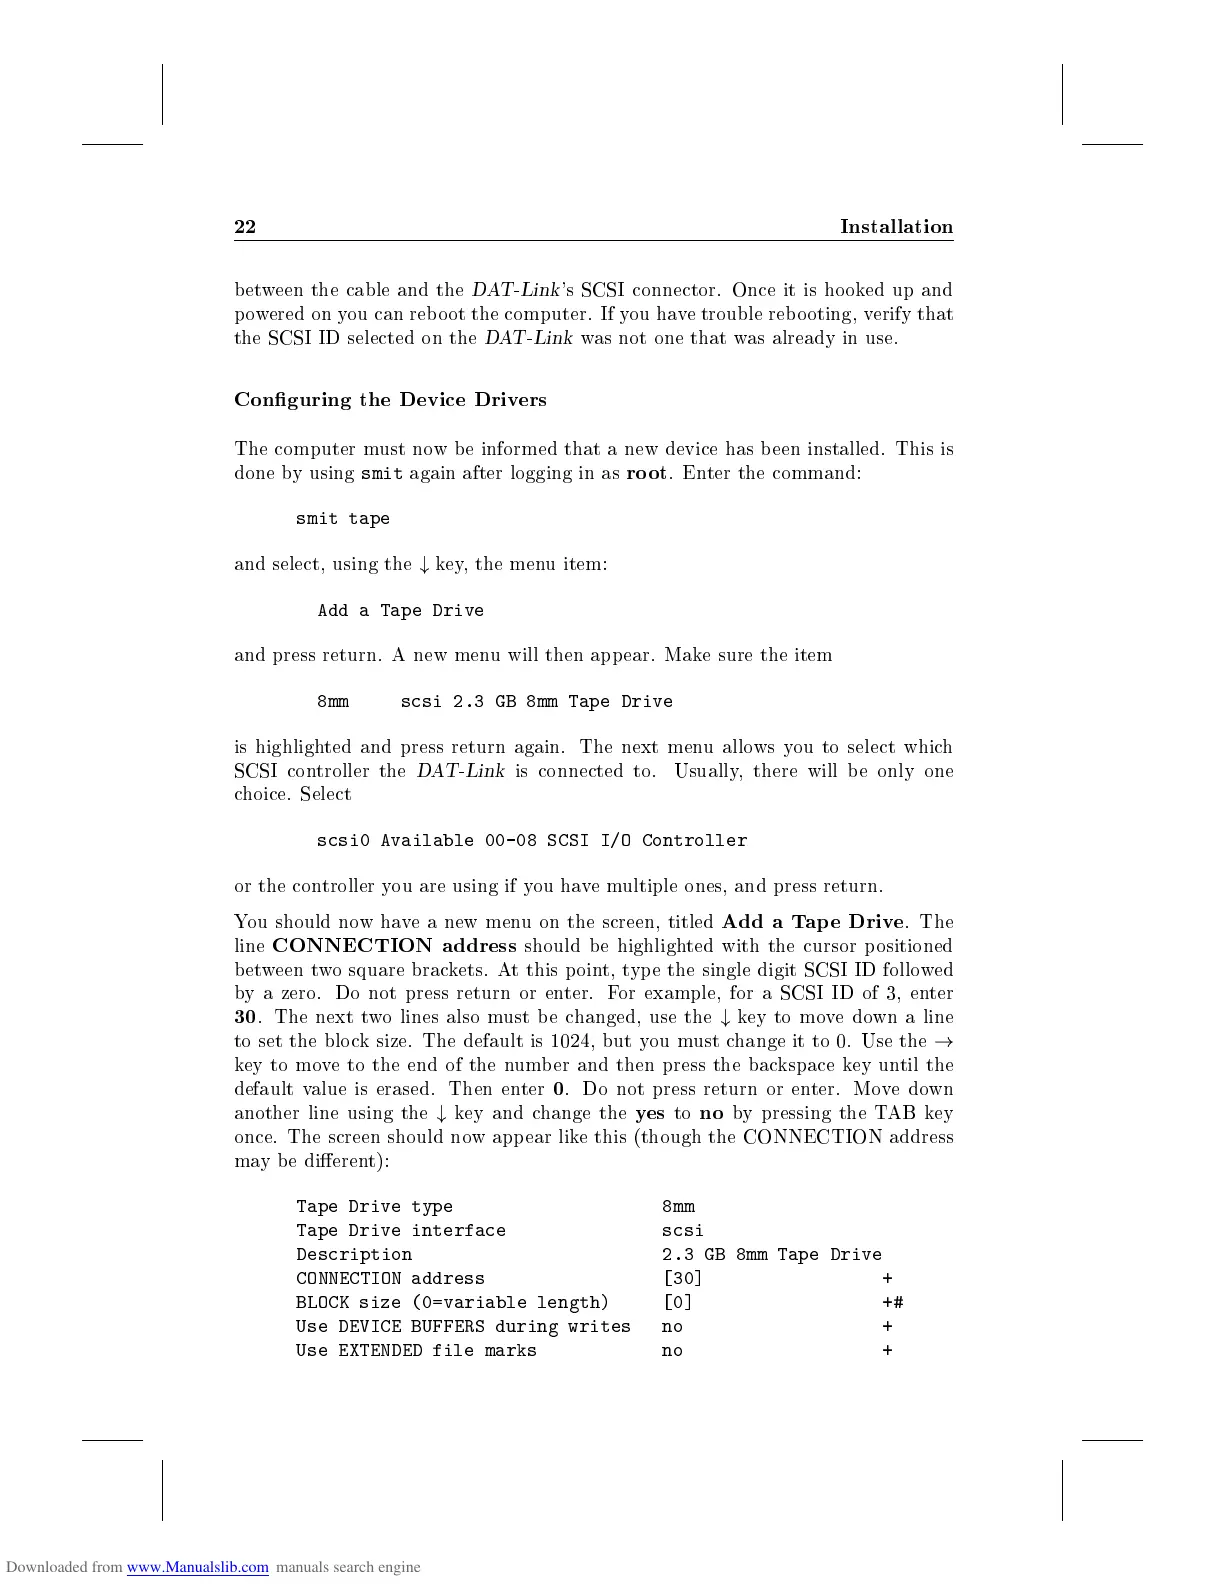
You should nowhave a new menu on the screen, titled
Add a Tap e Drive
. The
line
CONNECTION address
should be highlighted with the cursor positioned
between two square brackets. At this p oint, type the single digit SCSI ID followed
by a zero. Do not press return or enter. For example, for a SCSI ID of 3, enter
30
. The next two lines also must be changed, use the
#
key to movedown a line
to set the block size. The default is 1024, but you must change it to 0. Use the
!
key to move to the end of the number and then press the backspace key until the
default value is erased. Then enter
0
. Do not press return or enter. Movedown
another line using the
#
key and change the
yes
to
no
by pressing the TAB key
once. The screen should now app ear like this (though the CONNECTION address
may b e dierent):
Tape Drive type 8mm
Tape Drive interface scsi
Description 2.3 GB 8mm Tape Drive
CONNECTION address [30] +
BLOCK size (0=variable length) [0] +#
Use DEVICE BUFFERS during writes no +
Use EXTENDED file marks no +