V7 / V9
750 50 0042 03 45
9.2 Acquisition of Points
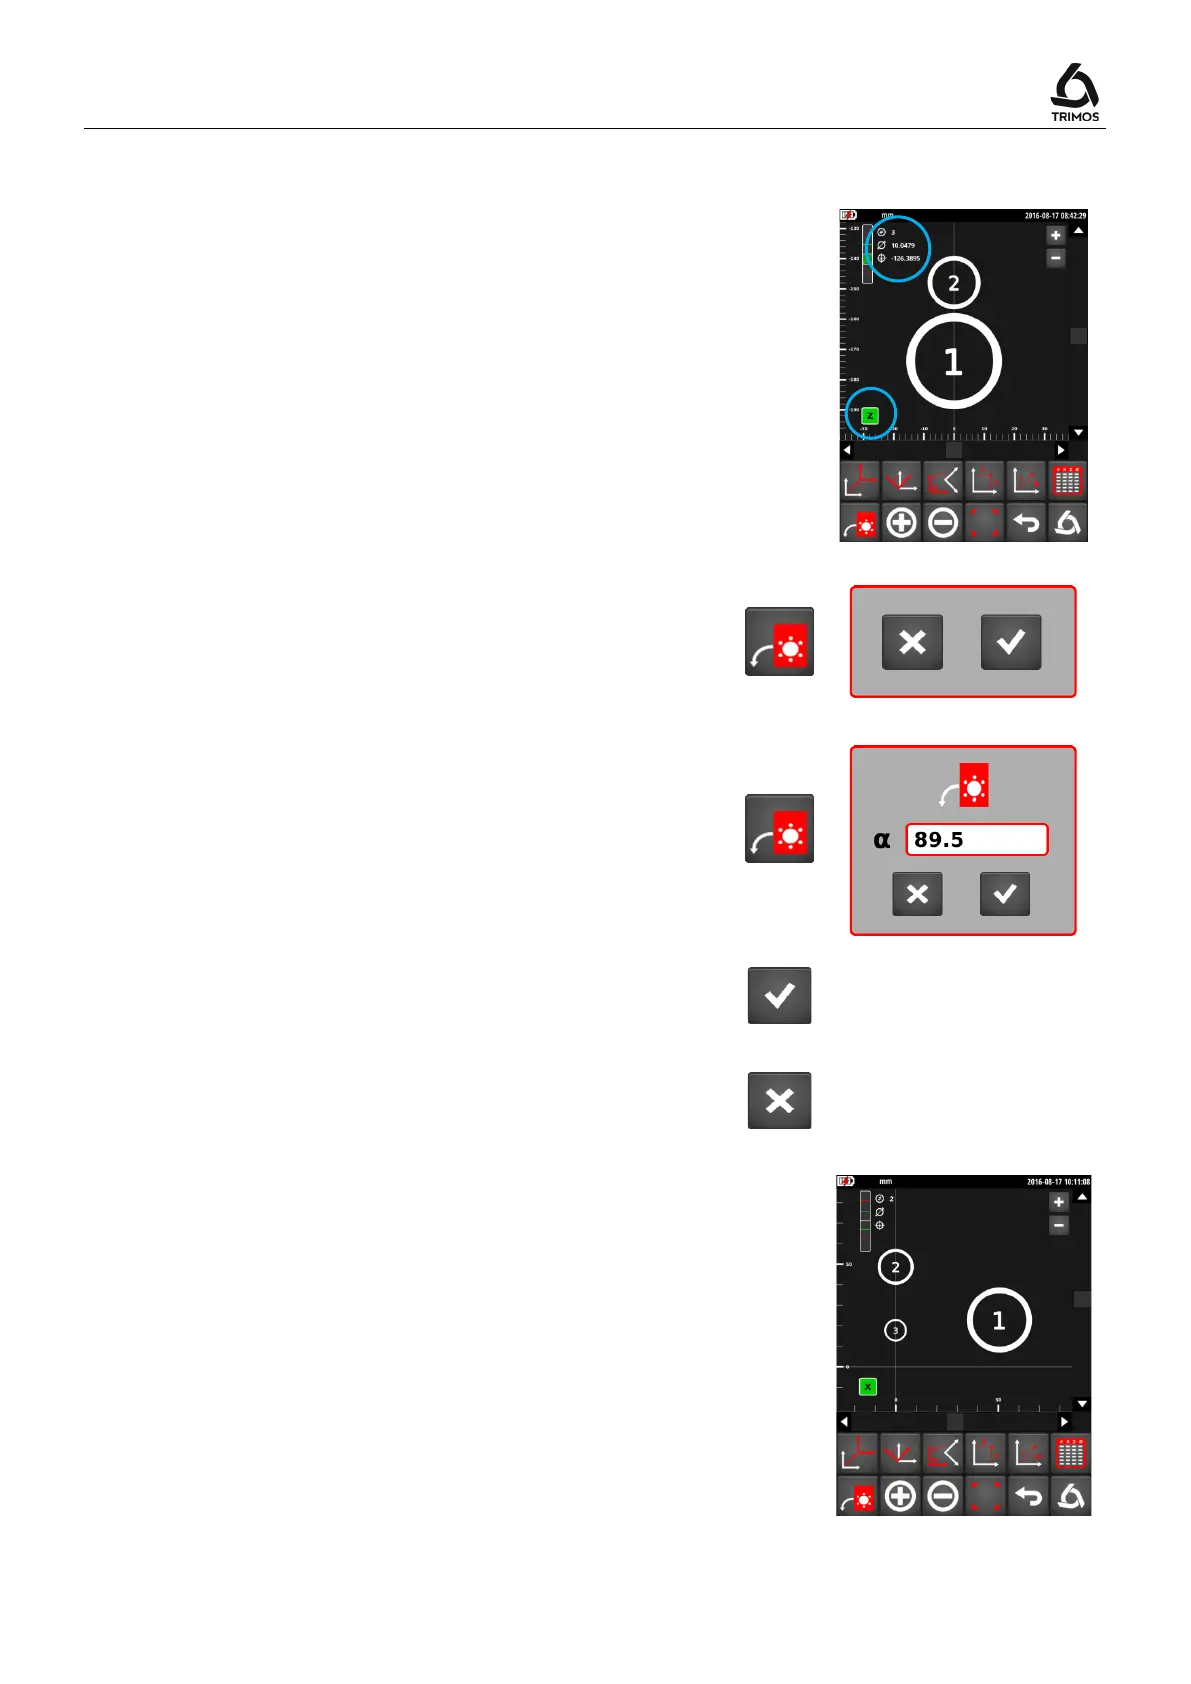
Acquisition along Z-axis
Directly after starting-up, measure the bores in the order
of numbering according to the diameter and centreline
measurement procedure.
All the bores are displayed along the Z-axis. Its symbol is
displayed in green to the bottom left of the axes system.
During measurement, the number of the bore as well as
its diameter and centreline are displayed on the top left of
the display.
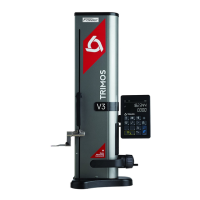
Tilting the part at 90°
After measurements along the Z-axis are completed,
press on the tilting key. A short press on this key implies a
90° tilt.
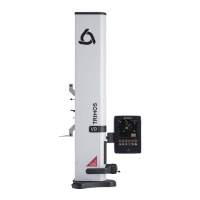
Tilting the part at an angle other than 90°
When the desired angle of tilting is other than 90°, press
the same key for 2 seconds. It is possible to assign a
value between 45° and 135°.
>2 s
Validate the inclination with the OK key.
To cancel the inclination, press the Cancel key.
OK
Cancel
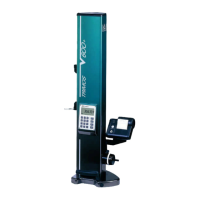
Acquisition along X-axis
When the part has been tilted
, enter the bores in the same
order as was done along the Z-axis. The position of the
bores on the screen is updated after each measurement.
During acquisition, the
symbol is displayed in green to
the bottom left of the axes system.