16)Remove the bolts which tighten the front
transmission and spacer transmission cases.
17) Move the rear part of the tractor rearwards
by pushing the rear wheels by hand, and then
the spacer and rear transmission assembly
will be separated from the front transmission.
Note :When moving the rear part of the tractor.
Be careful not to allow the garage jack to
shift from the front transmission case.
Remarks
The rear transmission and spacer transmission
cases should be separated and the reverse shift
metal removed in order to take out or provide
access to the main shift and transmission range
shift gears. For further details, refer to Chapter 5.
Transmission.
(2) installation
Reassemble in reverse order of disassembly.
1) Assemble the front and spacer transmission.
(Tightening torque : 1,300~1,500 kg-cm)
2) Install the reverse shift metal, the creep shift
rod and the creep shift metal.
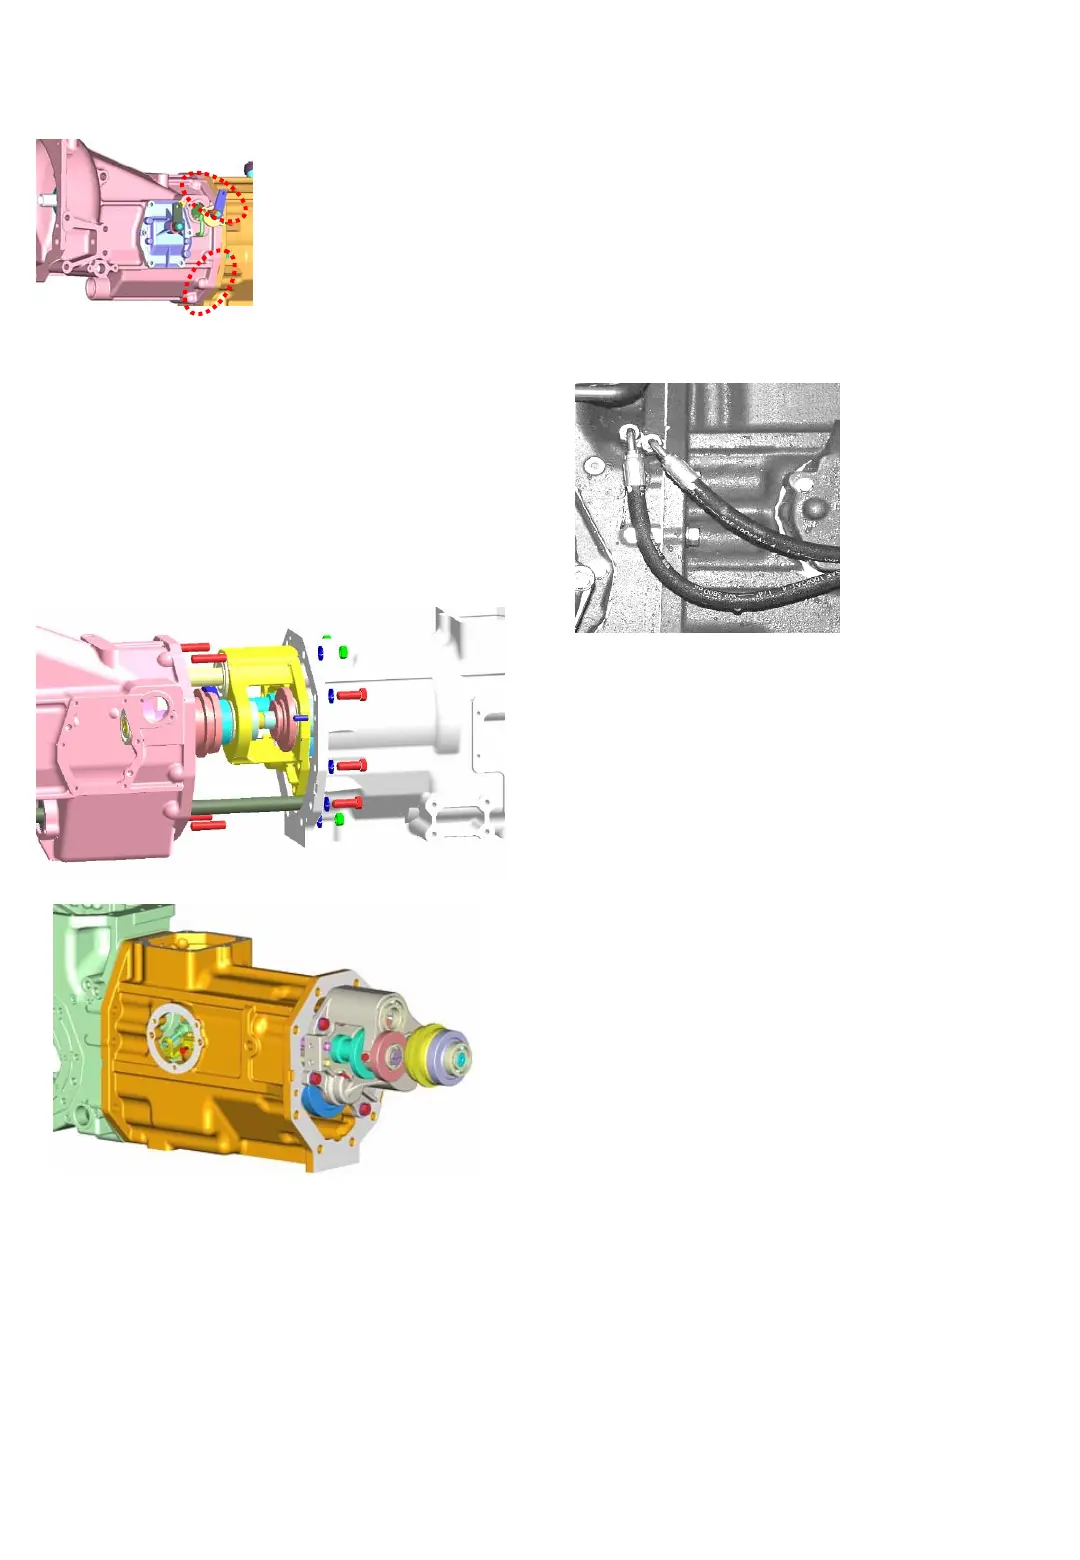
3) Install the delivery pipe and the valve for
the PTO clutch.
4) Install the suction, delivery and drain pipes.
Fig.2-51 The position of the bolts and the nuts
Upper : 2 x Nuts M14
LH, RH : 6 x Bolts M14
Lower : 2 x Nuts M14
Pin : 2 x D10-22
Fig.2-52 The state under separation
Fig.2-53 The separated state
2-16
5) Install the brake rods(LH, RH)
6) Install the front wheel drive shaft.
7) Install the fuel tank and the fuel hoses.
8) Install the creep shift rod.
9) Connect the fuel gauge coupler on the fuel
tank and the PTO valve switch.
10)Install the position , draft control levers,
External hyd. levers and Joy-stick levers.
(Refer to the Fig. 2-36 in the service manual)
11)Install the control rods of the PTO shift,
the creep shift and 4WD shift levers from
the transmission.
12)Install all levers, knobs and Rods.
13)Fix the floor at the four rubber mounts.
14)Install the tire assembly.
15)Fill the transmission case with oil :
43ℓ
(11.36 US gal)
D
eli
v
e
ry
p
i
p
e
Drain pipe
Tightening Torque :
460~550kg-cm
Fig.2-54 PTO delivery pipe