Page 10 of 39 Rev. 13
7. Select option “3” at the prompt, enter the board’s new IP address based on the configuration you are using:
If the board is connected to the local host system through a crossover cable: Use your host system’s IP address,
incremented by one, in the final position. For example, if the host system’s IP address is “169.225.150.10” enters
“169.225.150.11”.
If the board is connected to a fixed address network: Use the IP address assigned by your system administrator.
Press <ENTER>.
8. Select option “8” to disable DHCP. This menu will configure the board to use the manually assigned IP address. If
DHCP is disabled, text for option “8” will change to: “8: Enable DHCP & IP Gleaning: DHCP is Currently disabled
”
To re-enable DHCP, select option “8”.
9. Select option “0” to save changes and quit.
10. In the PCOM board reconfigure the switch “BAUD RATE” as shown on (Figure 8), and restart PCOM board.
on
1
BAUD RATE
SW2
Figure 8
11. Close the terminal session. For your convenience, you may save the terminal session when prompted. You are now
ready to communicate with the board.
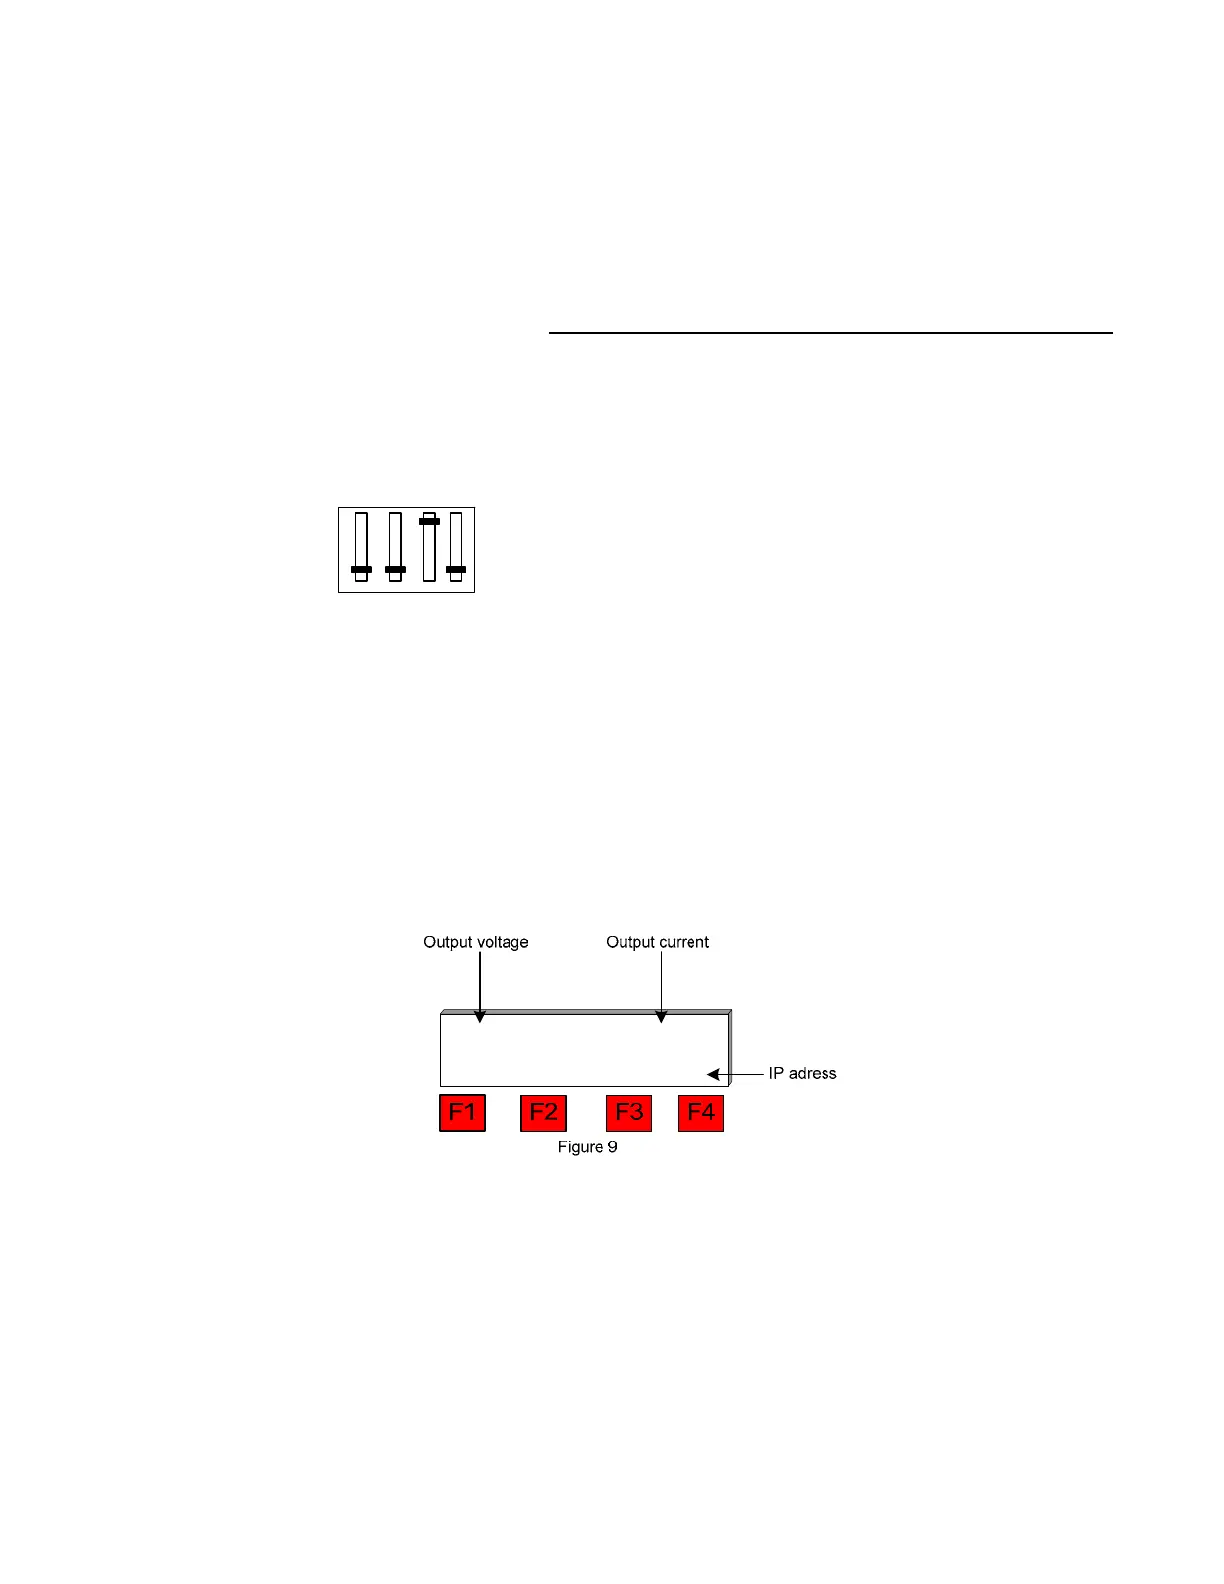
1.4.6.2 Display IP address
The IP address assigned by the server to PCOM card is displayed on the LCD display charger (Figure 9).
Display example:
30V
.150 .1 168 . 192 #
10A
 Loading...