Default Setting (System Menu)
8-20
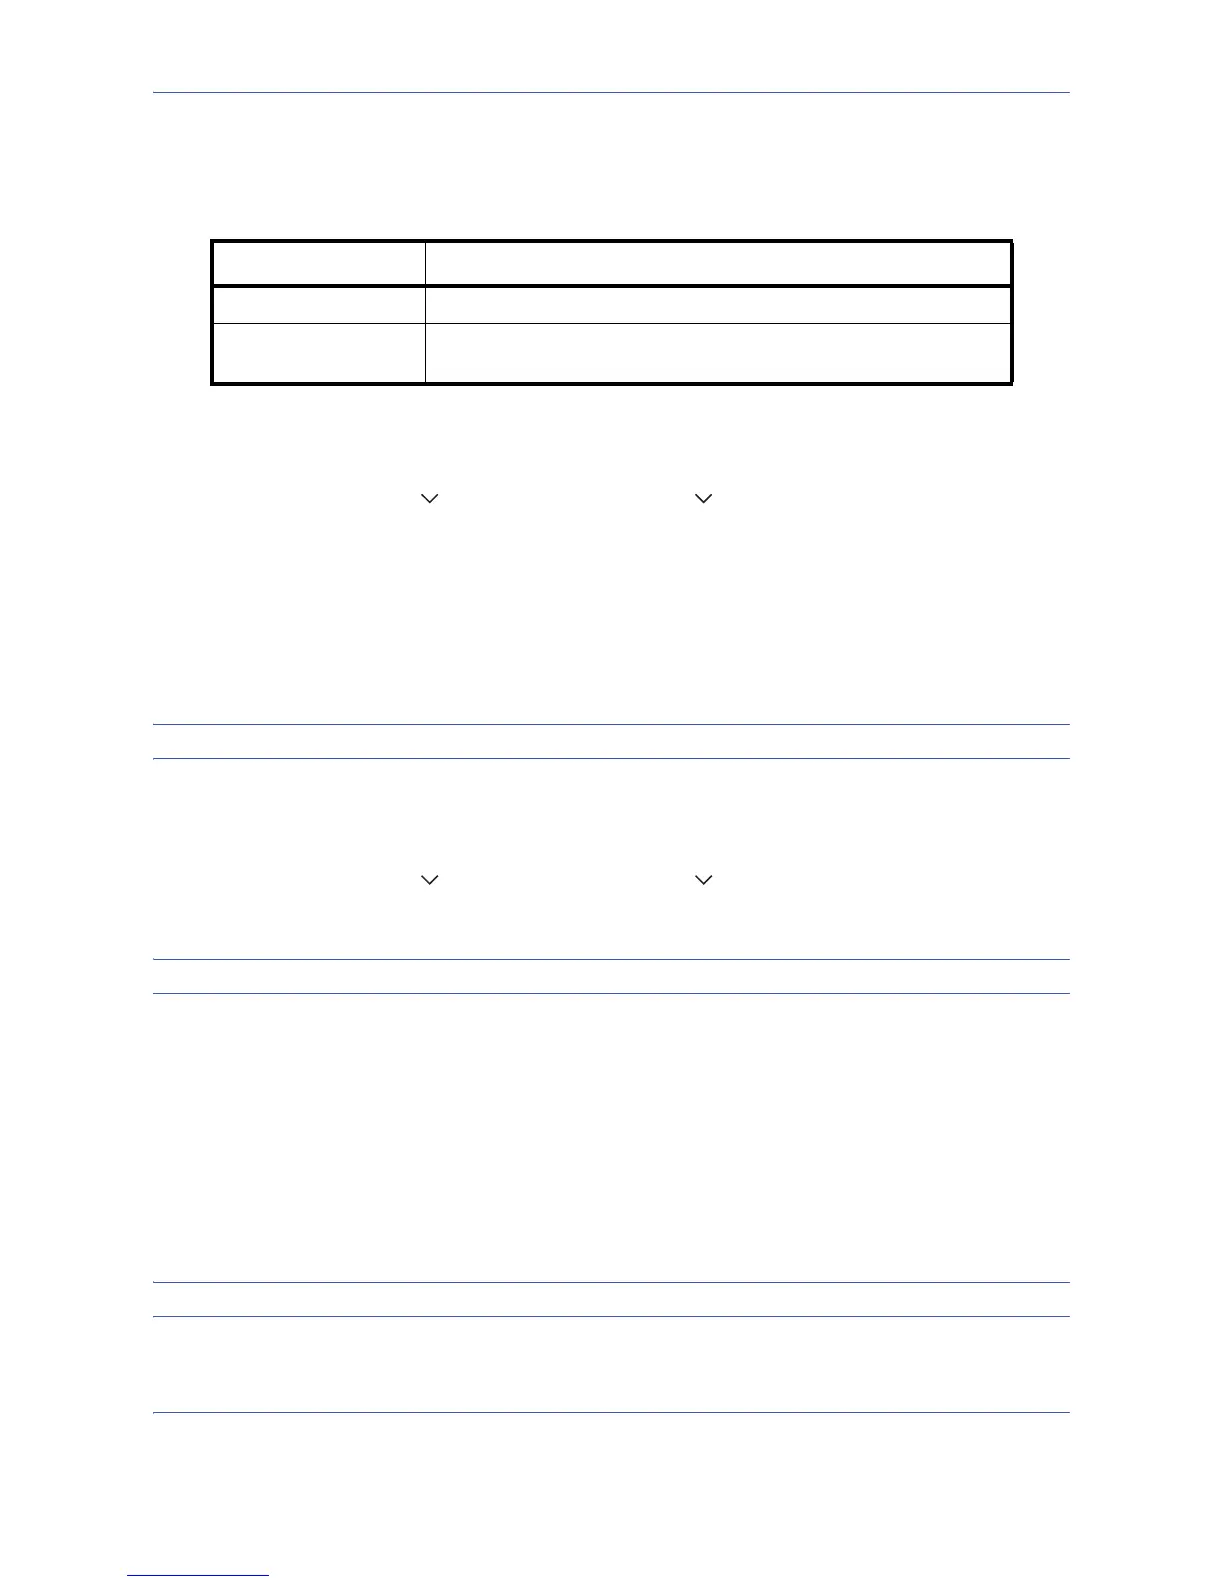
Zoom
Select the enlarged/reduced default when paper size/sending size changed after the originals set. The available
default settings are shown below.
Use the procedure below to select the default zoom setting.
1 Press the System Menu key.
2 Press [Common Settings], [ ], [Next] of Function Defaults, [ ] and then [Change] of Zoom.
3 Select the default zoom setting.
4 Press [OK].
File Name Entry
Set an automatically entered name (default) for jobs. Additional information such as Date and Time and Job No.
can also be set.
NOTE: Refer to page 4-41 and page 5-25 for name entry.
Use the procedure below to set the default file name.
1 Press the System Menu key.
2 Press [Common Settings], [ ], [Next] of Function Defaults, [ ] and then [Change] of File Name Entry.
3 Press [File Name] to enter the file name in not more than 32 characters.
NOTE: Refer to the Character Entry Method on page Appendix-7 for details on entering characters.
4 Press [OK].
5 Press [Date and Time] to add the date/time to the job, or press [Job No.] to add the job number to the job.
The added information will be displayed in Additional Info.
6 Press [OK].
E-mail Subject/Body
Set the subject and body automatically entered (default subject and body) when sending the scanned originals
by E-mail.
NOTE: Refer to Send as E-mail on page 3-25.
Use the procedure below to set the default e-mail subject and message body.
Item Description
100% Copy (send/save) at actual size (100%).
Auto Automatically reduce or enlarge the originals to match paper size/
sending size.