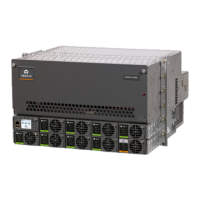
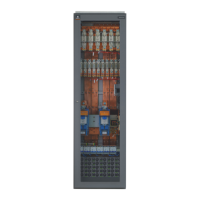
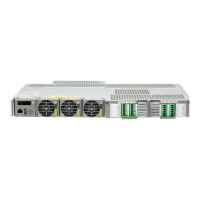
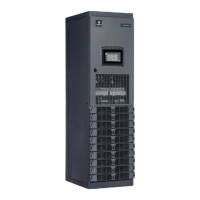
Vertiv™ NetSure™ 5100 Series -48 VDC Power System Installation Manual
Proprietary and Confidential © 2023 Vertiv Group Corp.
TABLE OF CONTENTS
Admonishments Used in this Document ............................................................................................................................. vi
Important Safety Instructions ............................................................................................................................................... vii
Safety Admonishments Definitions ....................................................................................................................................................................................................................... vii
Safety and Regulatory Statements ........................................................................................................................................................................................................................ vii
Déclarations de Sécurité et de Réglementation ........................................................................................................................................................................................ vii
1 Customer Documentation Package ..................................................................................................................................1
2 Installation Acceptance Checklist ................................................................................................................................... 2
3 Installing the System ............................................................................................................................................................ 4
3.1 General Requirements ..............................................................................................................................................................................................................................................4
3.2 Securing the Relay Rack to the Floor.........................................................................................................................................................................................................4
3.3 Mounting the System in a Relay Rack or an Equipment Rack ........................................................................................................................................ 10
3.3.1 Mounting the Distribution Cabinet with Module Mounting Assembly(s) ....................................................................................... 10
3.3.2 Installing a List 93, 94 Battery Tray .................................................................................................................................................................................... 16
3.3.3 Installing Optional 4-Post Flush Mounting Kit for Data Cabinets, P/N 559801 ......................................................................... 27
3.4 Changing Orientation of Load Return Busbars Located in a List 20, 21, 25, or 26 Distribution Cabinet ................................... 31
3.5 Installing Optional Lug Adapter Busbar Kits .................................................................................................................................................................................... 33
3.6 Installing Circuit Breakers, Fuses, and Optional Transient Voltage Surge Suppressor (TVSS) Device(s) ........................... 34
3.7 Vertiv™ NetSure™ SPD (Surge Protection Device) Field Installation Kit P/N 60051981 and P/N 60056702
Installation Instructions ....................................................................................................................................................................................................................................... 42
3.7.1 Kit Description ....................................................................................................................................................................................................................................... 42
3.7.2 Kit Contents ............................................................................................................................................................................................................................................. 42
3.7.3 Tools and Material Required .................................................................................................................................................................................................... 44
3.7.4 Installation Procedure .................................................................................................................................................................................................................... 44
4 Setting Jumper and Switch Options ............................................................................................................................ 57
4.1 Circuit Cards with Jumpers and Switches in a List 20, 21, 25, 26, 27 Distribution Cabinet ................................................................... 57
4.2 Jumper Settings on the System Interface Circuit Card ........................................................................................................................................................ 60
4.3 Switch Settings on the IB2 (Controller Interface Board) ....................................................................................................................................................... 61
4.4 Switch Settings on Optional EIB (Controller Extended Interface Board) ..............................................................................................................62
4.5 Switch Settings on the SM-DU (List 60 Hybrid Connection Cabinet) ................................................................................................................... 63
4.5.1 Procedure .................................................................................................................................................................................................................................................. 63
5 Making Electrical Connections ...................................................................................................................................... 67
5.1 Important Safety Instructions ......................................................................................................................................................................................................................... 67
5.2 Wiring Considerations............................................................................................................................................................................................................................................ 67
5.3 Relay Rack / Equipment Cabinet Frame Grounding Connection ................................................................................................................................ 68
5.4 Power System Shelf Frame Grounding Requirements ........................................................................................................................................................... 69
5.5 Assemblies Comprising the Power System Frame Grounding Connection ....................................................................................................... 70
5.6 Central Office Ground Connection ........................................................................................................................................................................................................... 70
5.7 Rectifier Nominal 120 VAC / 208 VAC / 240 VAC Input and AC Input Equipment Grounding Connections ...................... 71
5.7.1 Wiring Considerations ...................................................................................................................................................................................................................... 71
5.7.2 To 19” or 23” Rectifier AC Input / Solar Converter DC Input Panel (List 40, 45) and 23” Rectifier AC
Input Panel (List 46) .......................................................................................................................................................................................................................... 71
5.7.3 To Individual Module Mounting Assembly(s) Equipped with Molex Connectors and Provided with
Rectifier AC Input Cable Assemblies or Rectifier AC Input Line Cords ........................................................................................... 77

 Loading...


