Vertiv™ NetSure™ 5100 Series -48 VDC Power System Installation Manual
Proprietary and Confidential © 2023 Vertiv Group Corp.
5.10 Nominal 120 VAC Input and Equipment Grounding Connections to List 50,
51, 52, 53, 54, 55, 56, 57 Inverter Module Assembly
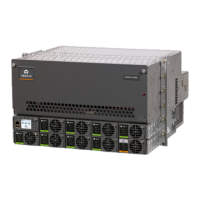
The AC input connections are made to the inverter module mounting shelf(s) comprising the system. Refer to Figure 5.12 to identify
the shelf.
Procedure
Refer to Figure 5.13 as this procedure is performed.
NOTE!
A grounding conductor must be provided with each conduit. Make equipment grounding connections to earth
ground, not to the branch circuit neutral conductor.
1. Remove the access cover from the rear of the inverter module mounting shelf(s). Remove the conduit plate(s) from the rear
of the inverter module mounting shelf(s).
2. Install a 3/4-inch conduit fitting(s) as required in the right-side panel (as viewed from the rear) or the conduit plate(s)
removed in above step (from the rear of the inverter module mounting shelf). If using the rear panel location, transfer the
plug button factory installed in this location to the conduit hole in the right-side panel.
3. Route commercial AC input and ground leads into the inverter module mounting shelf(s) through the previously installed
conduit fitting(s).
4. Connect the commercial AC input leads to the appropriate AC input terminal block inside the inverter module mounting
shelf(s) as shown in Figure 5.13. Connect each wire by inserting the stripped end into the wire opening, and then tightening
the screw. Torque connections to value shown in Figure 5.13.
5. Connect equipment grounding leads to the frame ground stud(s) using installer-provided lug(s) and factory-supplied
mounting hardware. Torque connections to value shown in Figure 5.13.
6. After all AC input and equipment grounding connections have been made and checked, reinstall the rear access covers and
rear conduit plate.

 Loading...


