MXPRODV USER GUIDE CHAPTER 10
124
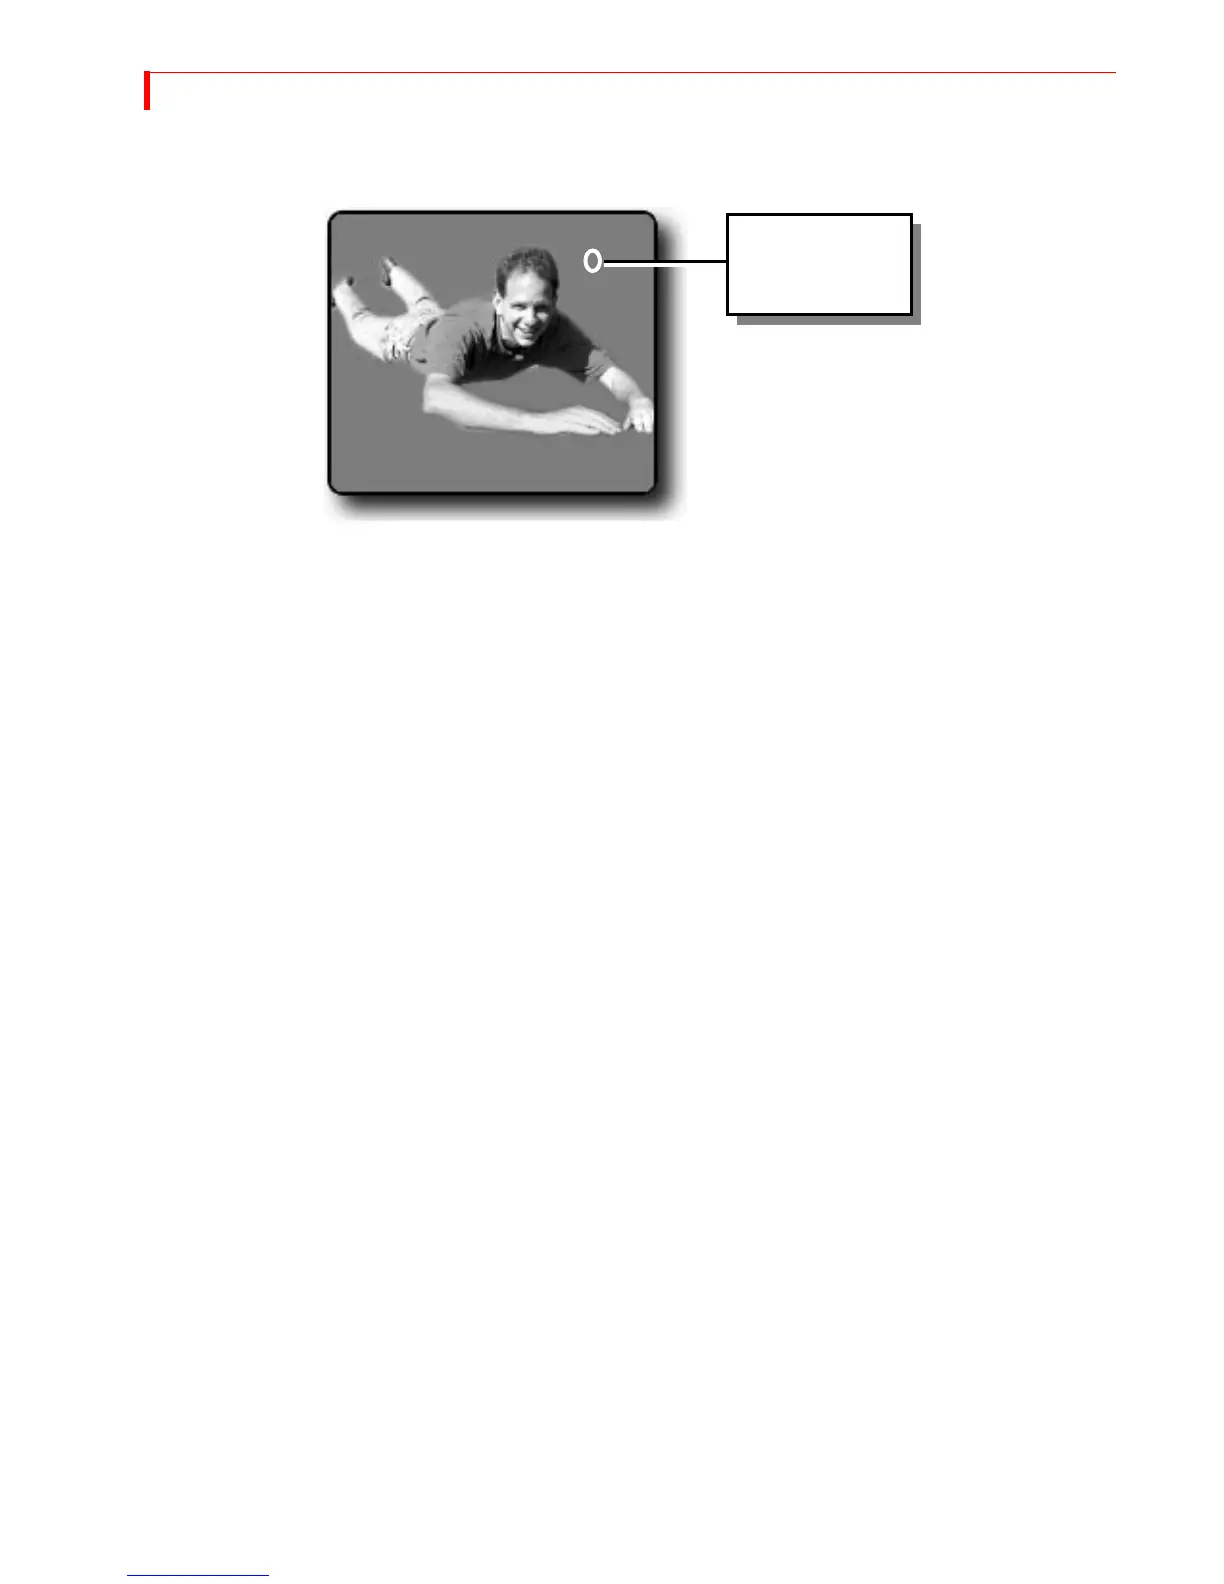
The Preview screen displays a full-screen picture of the keyed footage from source C.
A cursor (a small flashing circle) appears atop the image.
Once you activate Chromakey it stays in effect until you specifically deactivate it
(which you’ll learn to do later in this procedure).
6 Use the
JOYSTICK or ARROW keys to move the cursor so that it is directly over the area
that contains the color to key out — that is, to specify the area in which the other
video source is going to play.
7 Press
OK. Those areas in the picture that match the color under the cursor get
replaced by the background source.
a If you need to include other colors in the keyed-out area, repeat steps 6 and 7.
You can repeat the steps as many times as necessary to key-out the entire back-
ground.
b To remove the last keyed color change, enter
SHIFT+0 (zero).
c To remove all keyed colors, enter
SHIFT+CHROMAKEY.
d To fine-tune the keyed color, use
SHIFT+ARROW KEY.
If you aren’t able to successfully isolate the background from the subject, you might
have to re-shoot the scene using a background of a different color — or, you might
just need to change the lighting to eliminate glare and shadows.
Cancelling the
Selections
If you need to start over, you can cancel all of the chromakey selections made thus
far by pressing
SHIFT+CHROMAKEY, as explained above.
The chromakey
cursor is a small,
flashing circle.